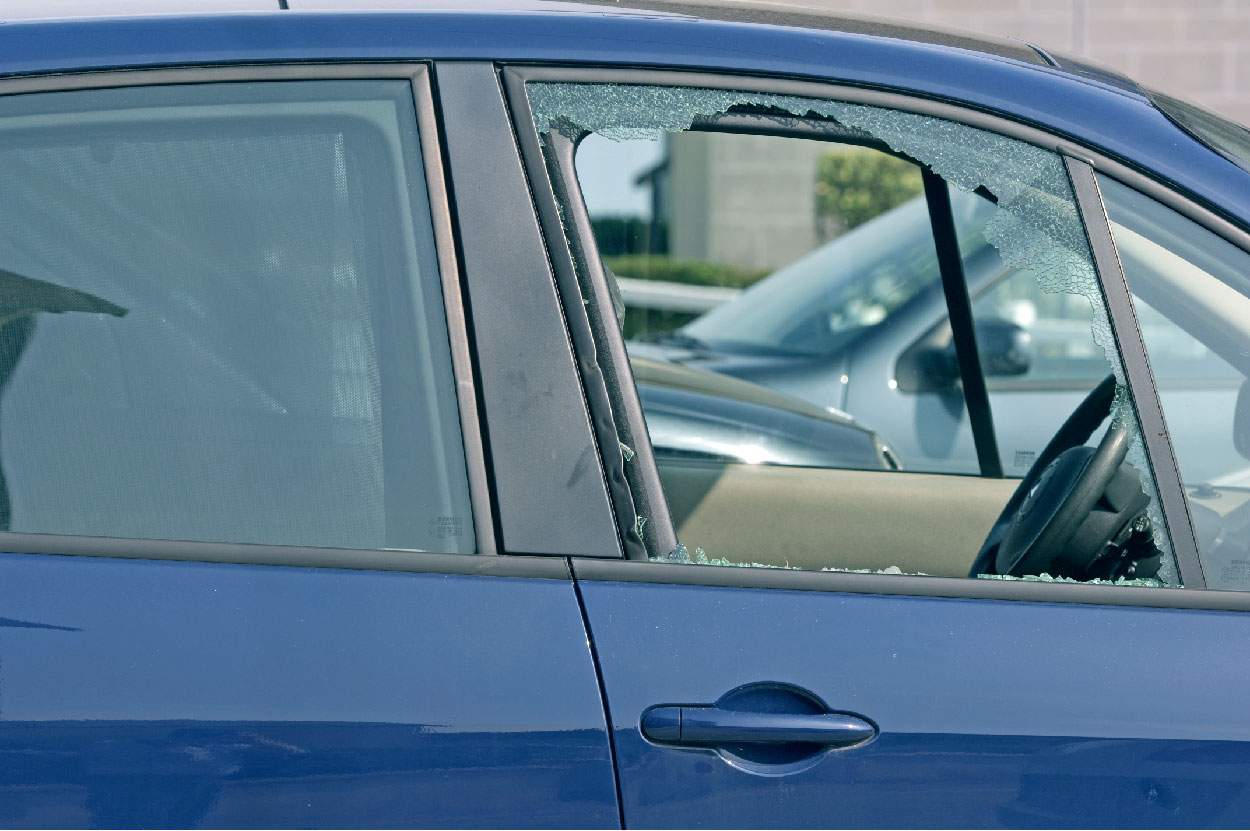
Having a broken car window can be a real pain. If it gets cracked, broken, stuck, or misaligned, water and dirt can find their way into your car.
Nobody wants to find bugs in their car. Nobody wants rain to soak their car’s interior. Not only are these issues caused by broken windows a nuisance, but they can also lead to long term damage to the car.
Even though it may seem trivial, window repairs need to happen sooner rather than later. However, if you don’t have the time or the money to get a full window repair, there is an alternative; a broken car window cover can be used to temporarily cover a car window before you can get it repaired.

How to Temporarily Cover a Broken Car Window
1. Obtain Collision Wrap
If you are in a pinch and need your car window sealed, there are ways to use trash bags and tape to cover a window. However, this seal is not guaranteed to stick, which could make a mess of things if you don’t realize it has come off.
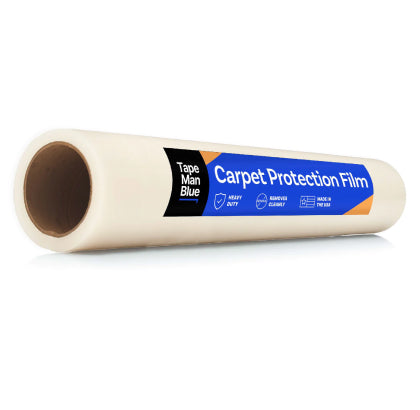
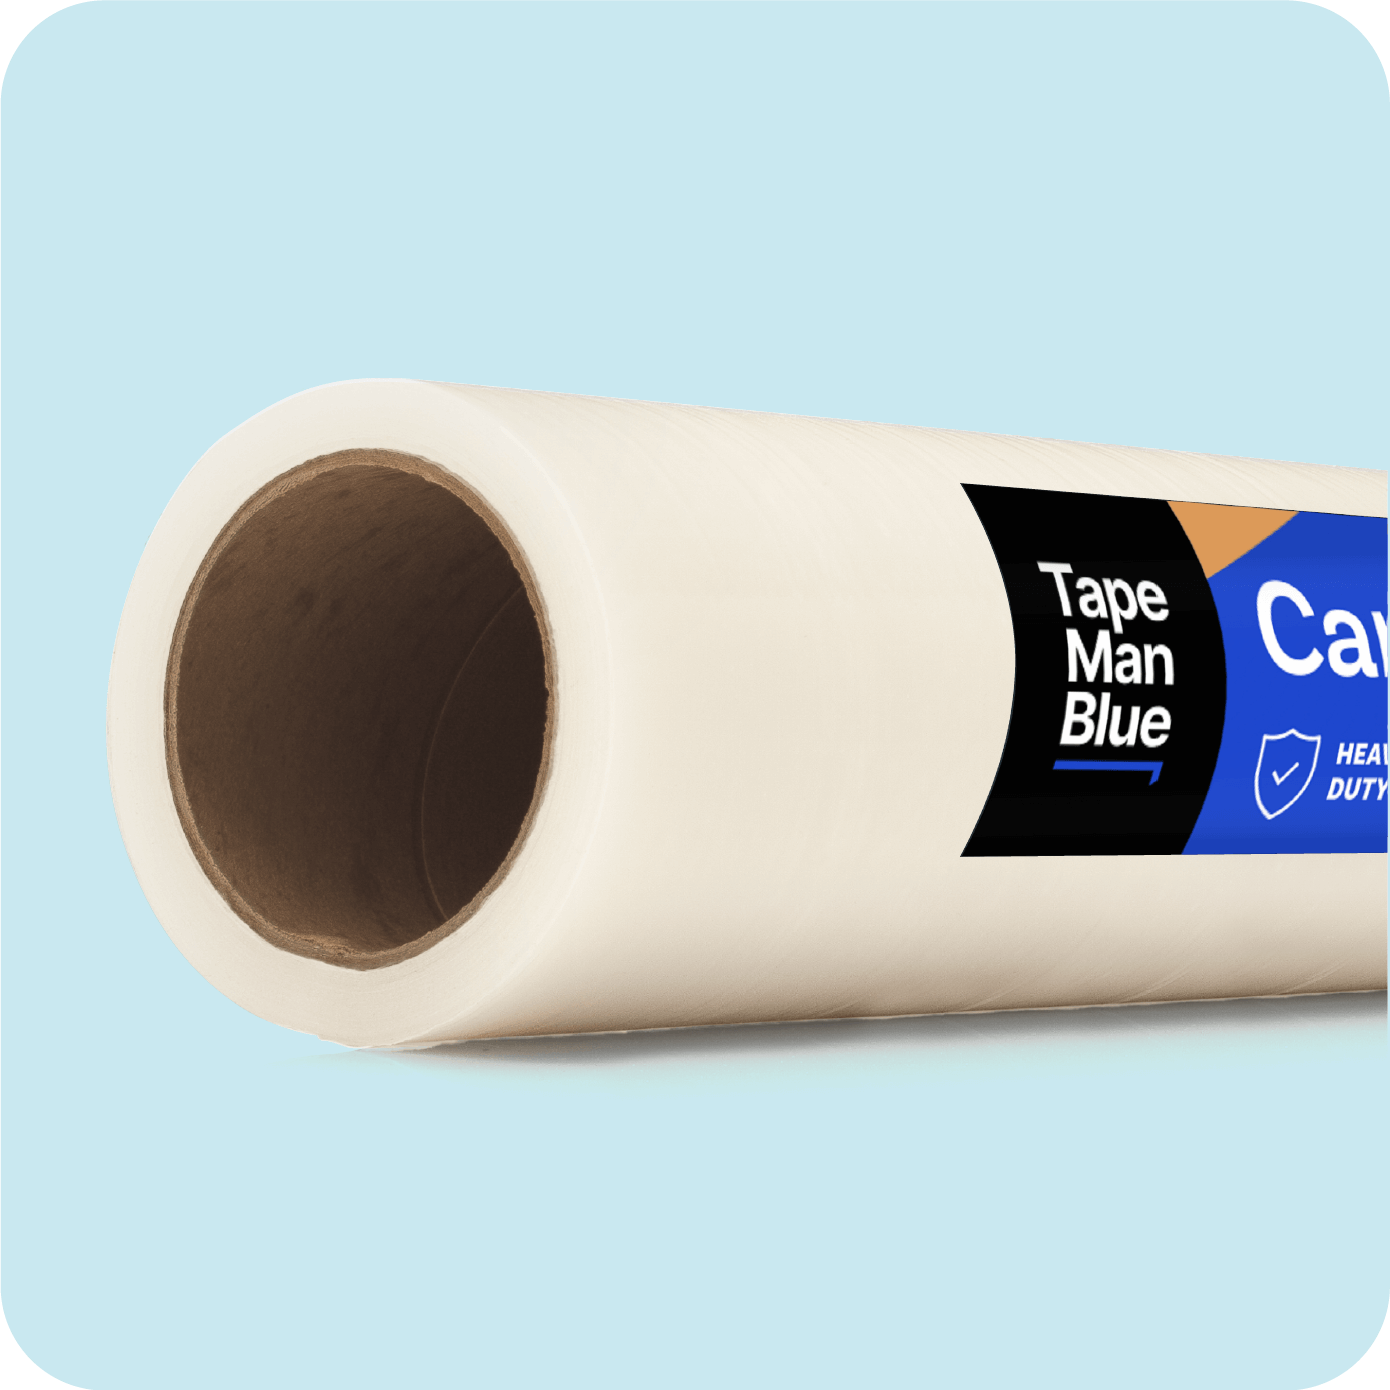
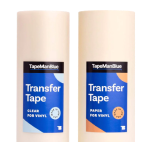
Alternatively, we recommend using a roll of automotive protection film. This self-adhesive film will create a tight bond to the car that won’t come unstuck, and the high-quality film is durable enough to withstand rain, wind, and snow.

This type of protection won't keep your car safe!
2. Open the Door
Once you have your wrap, the first thing you need to do is open up your car door, as it can be difficult to apply the collision wrap without having access to both sides of the door. If the broken window is not attached to a door, you will have to be more meticulous with placing the film.
3. Determine the Direction of Film for Application
Depending on the width of the roll of film and the height of the window, you have several options to align the wrap. If the wrap is wider than the window is tall, you can use one long piece to cover the whole window. In this case, you should apply your film horizontally.
If the wrap is too small to cover the whole window with one piece, you will have to use multiple pieces to cover the window. In this instance, you should plan on applying the film vertically, arranged so that there are one or two inches of overlap between the sheets.

4. Adhere the Film to the Car
Once you have a plan for how you are going to apply the film, you can begin the process of sealing your window. To start, unroll about a foot of film. With this piece still attached to the roll, press the adhesive part of the film down where you want it to be positioned on the car.
With one end anchored onto the car, you can unspool as much film as you need to reach the other side of the window, leaving yourself a few extra inches to work with.
5. Cut the Film
Once your film is anchored and the correct length, the next step is to cut the film. Carefully run a knife or Exacto-blade along the film until it is completely removed from the rest of the roll.
6. Smooth the Film Along the Window Frame
Now that the film is separated from the roll, position the rest of the film where you want it to cover, pull it tight, and press it down firmly against the door. You want to smooth it out so there are as few wrinkles or bubbles as possible.
If you only needed to apply one piece of film, press down all around the window, or frame if the window is completely gone, to create a perfect seal. If you needed to use multiple pieces of film, work your way across the window, pressing the film against the door frame and the piece of film that it is overlapping. You can use your hand on the overlapping film to help press them together.
7. Remove the Collision Wrap When You're Ready to Repair
Once you have the film fully attached, the last step is removing it when you are ready to repair the window. Unsticking the film is as simple as grabbing a corner and pulling it off! It will come off cleanly, leaving no adhesive residue on the door of your car.

Need Collision Wrap to Cover Your Window?
If you have a broken, cracked, or stuck car window, you should cover it as soon as possible. Protect your car today with Collision Wrap from TapeManBlue. With assured quality, easy online ordering, and free shipping, you can protect your windows without any hassle!


