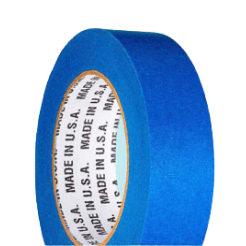

Painters, both professionals and do-it-yourselfers alike, know how helpful blue tape for painting can be when it comes to achieving professional results. This tape is blue in color and is ideal for painters, both professionals and DIY-ers. Before painting a surface, you can apply blue painter's tape to edges, such as on baseboards or at the ceiling line, so you don't accidentally get paint on a surface where it doesn't belong. Quality blue painter's tape can also help you paint with clean lines so your painting project looks great every time.
Shop Blue Painter's TapeTapeManBlue has collected some of the top tricks of the trade from professional contractors and DIYers to help even the most novice painter achieve a flawless look using blue adhesive tape. We hope that these tips help you use our products more effectively.
How Do You Use Blue Painter's Tape?
Let's start with a basic step-by-step guide of how to use blue painter’s tape, then we'll go over some tips for getting the most out of your tape. Using painter's tape is a simple process that involves five basic steps:

Step 1. Clean the surface:
Before you even begin applying the tape, make sure the moldings and anywhere you plan to apply tape are clean. Dust and dirt can prevent the tape from sticking. If the area is greasy and requires a more thorough cleaning, wait until the surface is completely dry before applying painter’s tape.Step 2. Apply tape:
Once you have a dry, clean surface, you can start to apply your painter's tape. If you're painting interior walls, you can either start by taping off the ceiling line or the baseboard. Either way, start at a corner of the room and tear or cut off pieces of tape no longer than your arm. For corners, tear the tape at an angle to fit.Step 3. Smooth tape:
As you apply the pieces of blue tape to your borders, smooth it down with your hands to ensure it adheres well and that there are no wrinkles or air bubbles that could get in the way of achieving a clean, straight line. It helps to press the tape down and smooth it out as you go rather than applying a whole run of tape and then smoothing it.Step 4. Paint:
Once your borders are all protected by painter's tape, you can start painting. You may find it easiest to start by cutting in, which means painting around the border and then filling in the rest of the wall. The tape is there to keep you from getting paint on the ceiling and floorboard, so it's fine to get some paint on the tape, but try to avoid getting too much paint on it.Step 5. Remove tape:
Once the paint is dry to the touch, which typically takes about an hour, you can remove the tape. Pull the tape gently at a 45-degree angle. Once you've pulled a foot of tape off, grab the tape again at the base. Continue to pull all the tape off the ceilings, baseboards and anywhere else you've applied it, revealing your finished project.
What Are Some Tips for Applying Painter's Tape Like a Pro?
We've gone over the basics, but to tape a room off like a pro, you may want to pay attention to these tips and tricks we've assembled:
Cover outlets and switches:
You can use medium tack blue tape to cover outlets, light switches and anything else that's in danger of getting paint on or in it. It can be easy to let paint drip into an outlet, for example, while you're painting a wall, but a layer of tape can keep that from happening.Use paper or plastic for more protection:
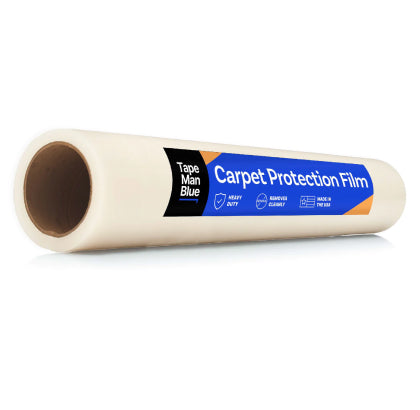
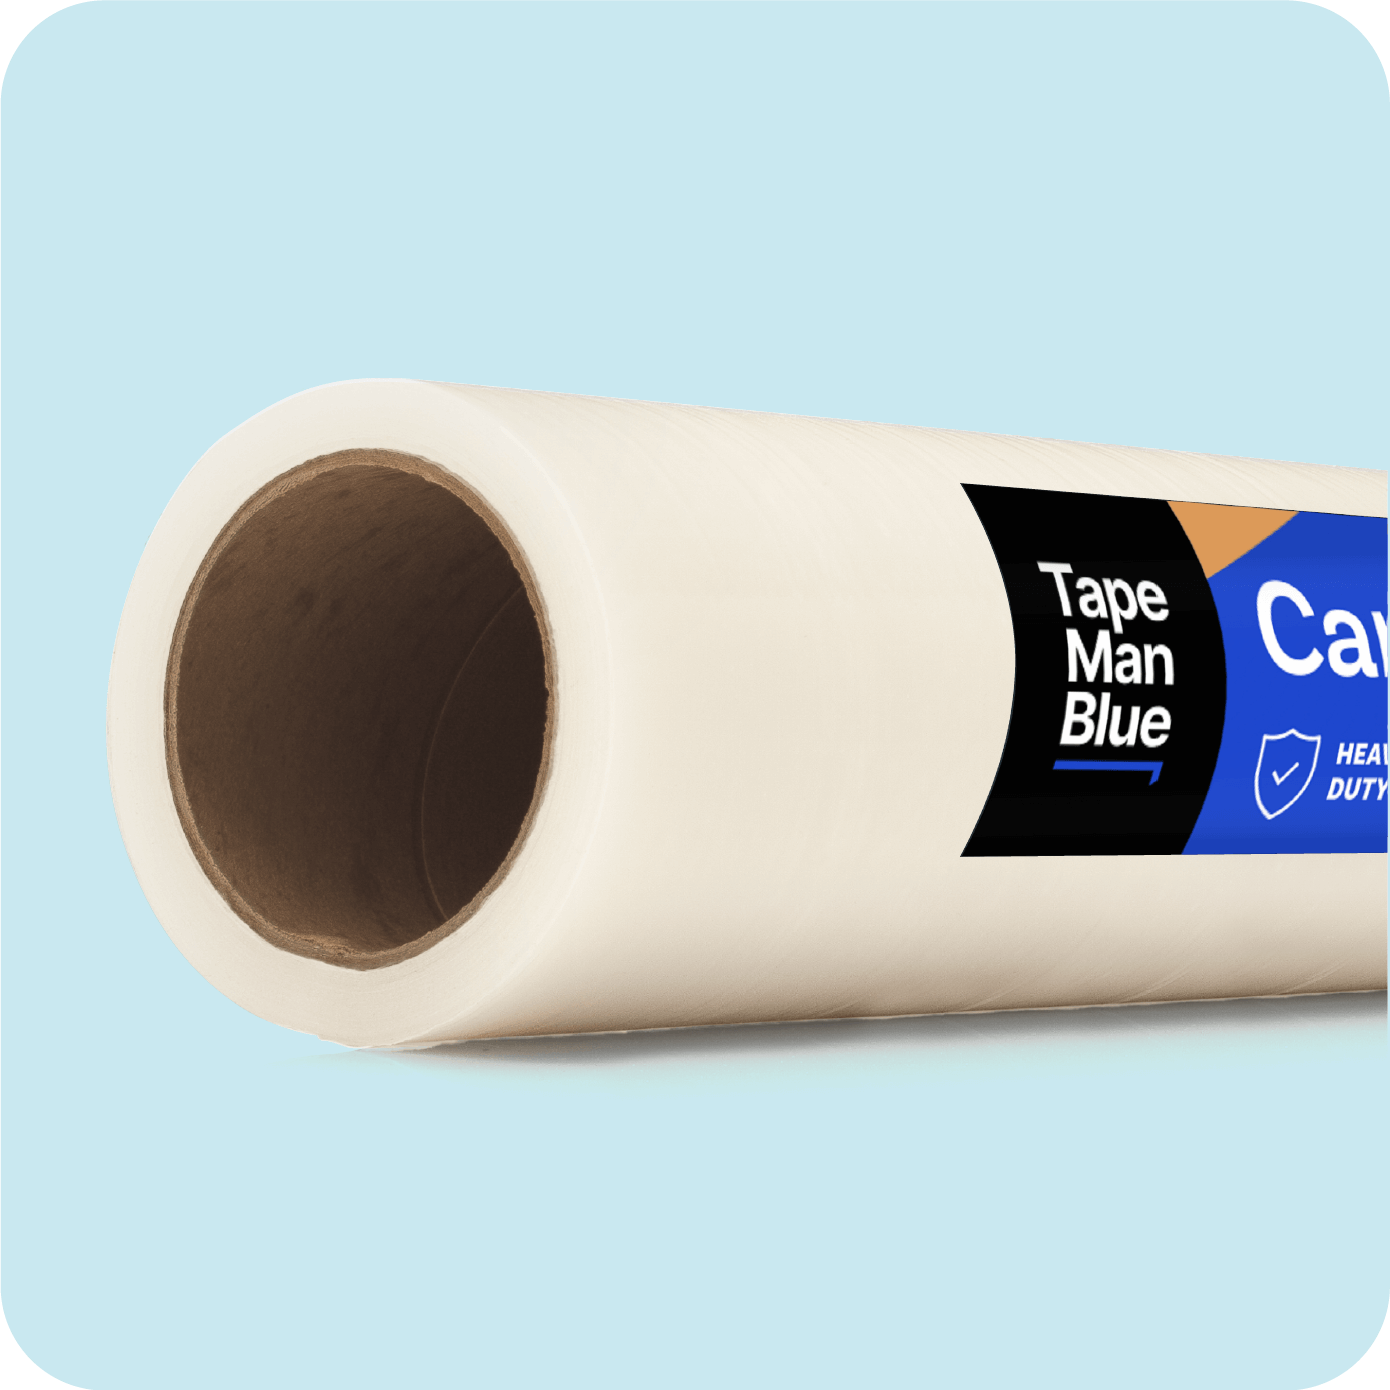
Use self-adhesive temporary carpet protection film or temporary hard surface and floor protection film in conjunction with painter's tape to avoid splatter. This can be very helpful if you’re painting a surface with large trim or using a paint roller on the walls or ceiling.Speed up painting prep with an applicator:
Overlap the tape generously:
Use a tool to smooth tape:
While you can use your fingers to press and smooth tape, your fingers may get overheated or feel raw from doing this task for too long. Thankfully, you can also use a flat tool like a credit card or a putty knife to assist with the application, so your tape stays smooth and bubble-free.Beware of uneven services:
Since flat surfaces in older houses tend to be uneven, you'll have to work harder to press and smooth tape and make sure you have the protection you need. The best thing you can do in these cases is to avoid painting over the tape. When painting the desired area, don't bring the fully-loaded brush all the way to the tape. Instead, paint lightly when you get close to the edge.Use tape to divide walls:
If you’re painting an accent wall, you can use blue painter’s tape to get a straight line at the inside corner where the walls meet. Start by painting around the corner with the first color. When that dries, mask off that side with painter's tape. Place the tape about 1/8 inch from the corner, and you’re ready for your second color. You will have a nice straight transition between colors.Blue Painter's Tape From TapeManBlue
TapeManBlue knows the right tape can make or break a painting project. Our high-quality, multi-use blue painter's tape is the best product on the market today. It's American-made and is designed to help you achieve the best results possible on your next painting project. We offer painter's tape at wholesale prices and free shipping on all online orders. At TapeManBlue, you'll find tape you can trust to get the job done right, every time.