A Cricut machine is one of the best pieces of equipment to use for cutting out specialized designs and working with vinyl. There are several different types of vinyl that can be cut by Cricut machines to produce everything from customized T-shirts to water-resistant graphic mugs. To get the most out of your Cricut machine and create unforgettable DIY projects, you need to know how to use it properly, especially if you plan to cut vinyl.
Whether you want to know how to cut iron-on vinyl with a Cricut or how to cut Cricut stencil vinyl, you should know the basic steps of using your Cricut machine.
Shop Cricut Transfer Tape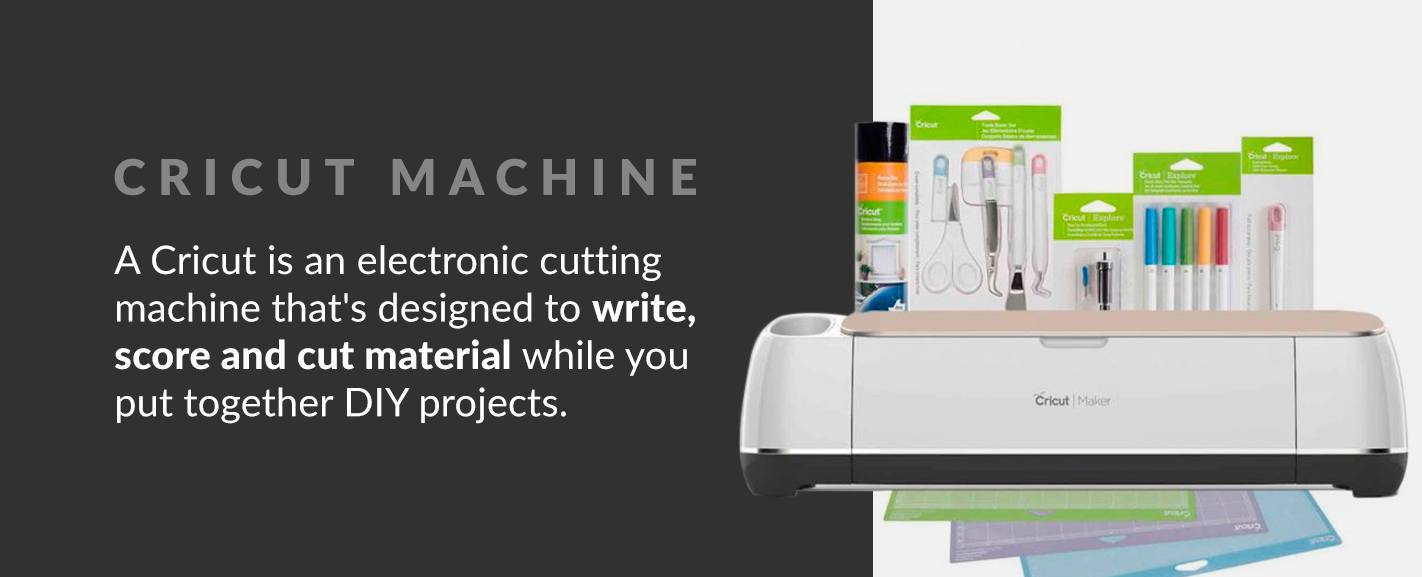
What Is a Cricut Machine?
A Cricut is an electronic cutting machine that's designed to write, score and cut material while you put together DIY projects. While you can cut vinyl by hand, a Cricut machine provides users with much cleaner cuts that also can produce intricate designs. Cricut machines can usually cut a variety of materials, such as vinyl, paper and cardstock. The machine usually has a pen, scoring tool, rotary cutter or tiny blade installed in it.
To operate a Cricut machine, you'll connect it with your computer wirelessly. While connected, you can create your designs or download preset designs that can then be sent to the Cricut to be cut out. To design your projects, you'll utilize a piece of software, Design Space, from Cricut.
How to Use the Cricut Machine
When you decide to use a Cricut machine, you get greater accuracy and faster cuts as a result. You should learn how to cut vinyl on Cricut machines first to get the most out of the device. Review the following steps to gain a deeper understanding of how you can effectively use your Cricut machine to cut vinyl:
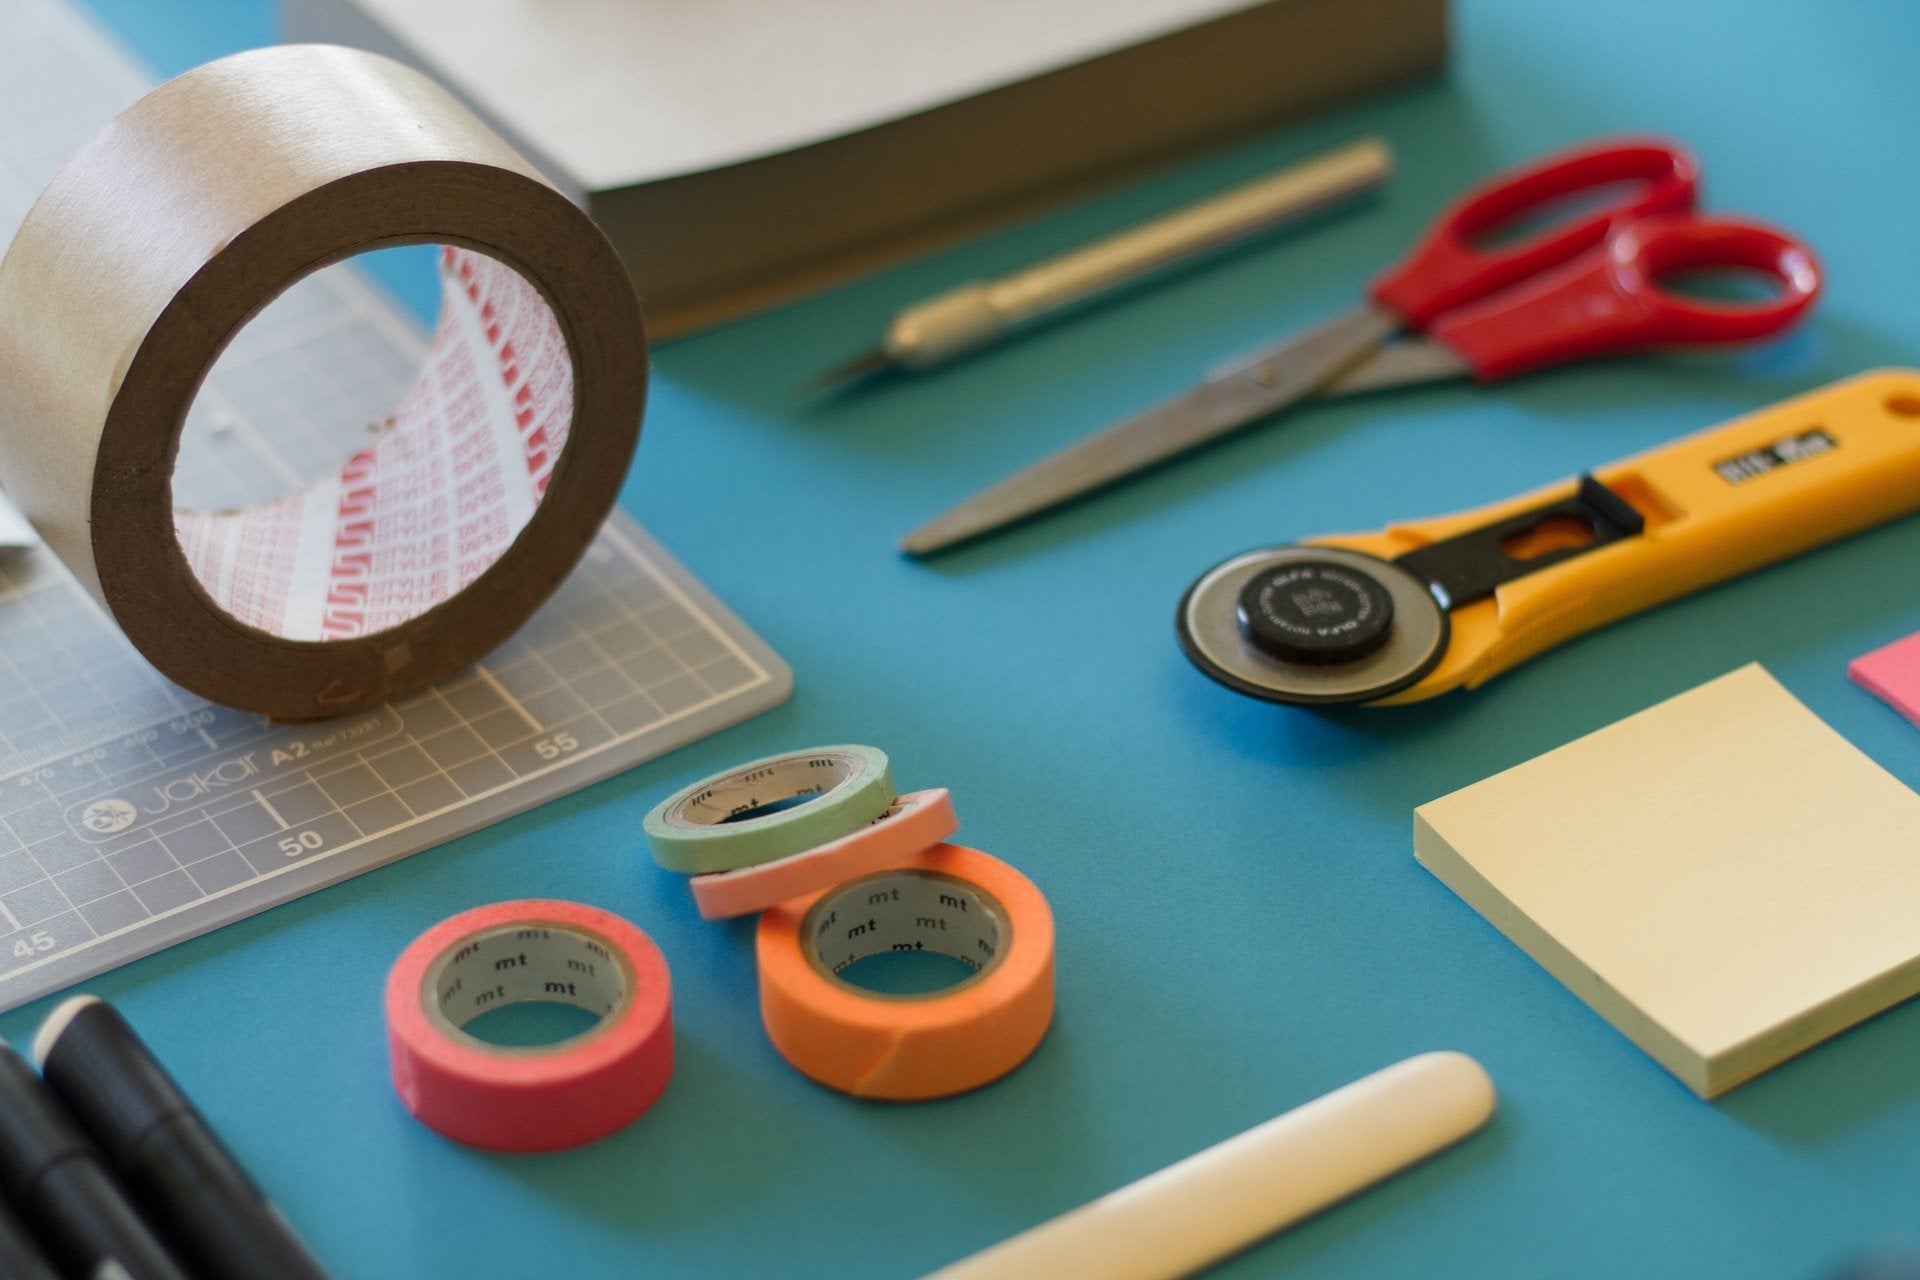
1. Gather Your Supplies
To prepare to use your Cricut machine, make sure you have the right supplies. Additionally, you should have your Cricut machine and a cutting mat. It's also important to have a Cricut basic tool set and adhesive vinyl.
2. Create a New Project or Open a New One
To operate your Cricut, open up the Cricut Design Space program that you can download for free. In this program, you can upload your projects, modify them as needed and then send them to your Cricut Machine to provide the needed cuts. Cricut Design Space is easy-to-use and cloud-based, so you have the ability to access your projects from most internet-connected devices. In this stage, you can open up an older project, or you can create one from scratch.
3. Get Your Project Ready to Cut
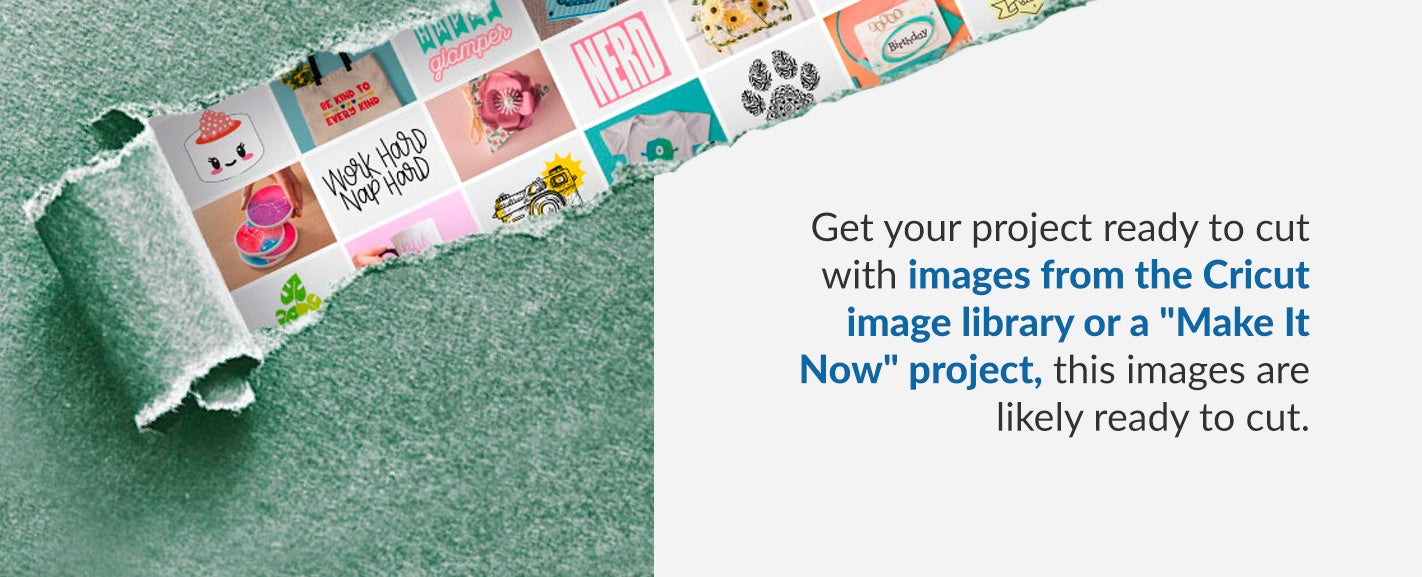
For those who are using an image from the Cricut image library or a "Make It Now" project, the project is likely ready to cut. You won't have to take any extra steps, and you should be ready to send the image to the machine.
If you don't have any pre-made projects or images, you may need to take a few different actions to prepare the project for cutting. Users often upload their SVG or JPEG files, which require you to make adjustments to the colors, groups and layers of the image to get the right cut.
To check if your image is ready for cutting, you can click on the green "Make It" button located near the top right-hand corner. If your image is ready to go, you'll see an image that's properly aligned and spaced out, while properly separated into the appropriate layers and colors. At this point, you're ready to send the image to the next step.
However, if the screen reveals an image that looks smushed together, you need to take some steps. Often times, the issue will be that you've separated the shapes by color, but the spacing will be off base. To make the proper adjustment to your project, you need to ensure the shapes in your image are attached.
Select all of the shapes that are the same color in the project. After selecting them all, you can click the "Attach" button in the layers panel. By attaching the project's layers, you make it so that the shapes move in unison when the image is resized or moved. This attachment process also causes the layers to be in the correct position when the Cricut machine cuts. This process can be repeated with any other colors in the project for proper spacing.
4. Send the Completed Image to the Cricut Machine for Cutting
After all of the colors have been attached and your shapes are appearing properly on the screen after pressing the "Make It" button, you should be ready to cut your image. After pressing the "Make It" button, you'll notice your image will be divided up by color into different mats. These mats then allow you to cut multilayered or multicolored projects.
With the design split up, you'll be ready to set the number of copies you want of your project. Additionally, you'll set how large you want the material to be as well. You can move the design around on the mat to preview how it will look, and once you're satisfied, you can press the "Continue" button.
With the button pressed, you then just follow along with instructions that pop up. Ensure that your Cricut machine is turned on. After verifying that the machine is on and connected, you need to set your Smart Dial to vinyl.
Now that everything is ready in the program, you need to know how to put vinyl on a mat for Cricut cutting. Begin by taking your piece of vinyl and placing it on your cutting mat. Ensure that the vinyl is placed backing side down. Take the cutting mat and vinyl and load it into the Cricut machine. To load it properly, press the "Load/Unload" button that should be flashing.
After the mat has been loaded properly, you can go back to the software. If loaded correctly, the program should give the user the opportunity to start the cutting process by pressing the "Go" button.
While the machine completes its cut, you'll be able to monitor its progress through a progress bar on your screen. Once the machine finishes the cutting process, you'll then press the "Load/Unload" button to unload the cutting mat. If your project needs only one color, you'll be done.
For projects that have multiple colors, peel the vinyl off of the cutting mat. Next, place a new sheet of vinyl that comes in the needed color onto the mat. You'll repeat the previously mentioned steps to get as many colors that you need to complete the project.
After all of the sheets of vinyl have been completed, you'll unload the cutting mat and then click the "Finish" button. At this point, you'll have finished cutting your vinyl with the Cricut machine. You may also want to remove any background vinyl manually before applying it to the project.
Transferring the Vinyl
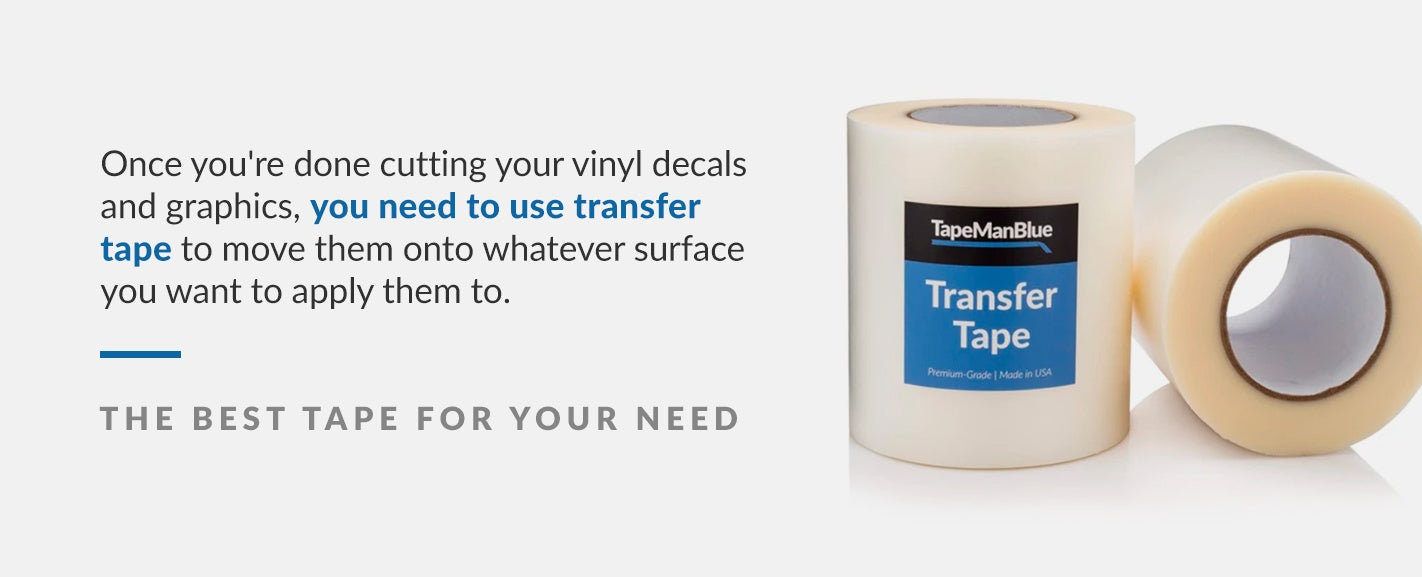
Once you're done cutting your vinyl decals and graphics, you need to use transfer tape to move them onto whatever surface you want to apply them to. To transfer the Cricut vinyl tape and the vinyl properly, you'll first need to attach the vinyl images to the transfer tape by following this four-step process:
- Begin by removing any extra or unneeded pieces of your vinyl images. This removal of background vinyl or loose material is usually referred to as weeding. There are many weeding tools offered that you can utilize to remove the material with greater accuracy and speed. During the weeding process, ensure that the clear liner is left intact.
- After you've finished the weeding process, remove the liner for the transfer tape.
- With the liner removed, place your transfer tape over the vinyl image that you're planning on placing on your project. The transfer tape should be placed adhesive side down on the image. Press down on it, starting in the center before moving outwards to prevent bubbles. Next, use your preferred craft stick to help rub the tape onto the vinyl image.
- Finally, get a hold of the vinyl liner and peel it away at a 45-degree angle. If you run into an issue where the vinyl is clinging onto the liner and not separating, you can run or burnish the transfer tape once again onto the vinyl images. After doing this, try to peel it away again.
With the vinyl images now firmly placed on the transfer tape and the vinyl liner removed, you're ready to apply the image onto your project. To apply the vinyl appropriately, you should follow these three steps:
- Prepare the surface of the project. To do so, make sure the project's surface has been cleaned and there aren't any contaminants that could harm the durability of the vinyl or disrupt how it looks. Also, ensure that that the surface is dry. Once the surface is clean and dry, you can then place the transfer tape that holds the images onto the surface in your desired location.
- Once you've put the tape and vinyl onto the surface and positioned it correctly, you should then burnish the transfer tape with a craft stick. Begin by rubbing in the center and then moving outward to prevent wrinkles or bubbles in the vinyl.
- With the vinyl image now secured, peel your transfer tape at a 45-degree angle away from the vinyl. If the transfer tape doesn't separate from the vinyl, you need to further burnish the vinyl before attempting to peel it away again.
With all of these steps taken, your vinyl should be properly applied to your project's surface.
The Best Tapes for Transferring Vinyl From Your Cricut
There are various transfer tapes available to use during the application process, so you should review them to ensure you're getting the best tape for your needs. As you search for tapes, you'll often see two types of transfer tapes offered to consumers: paper transfer tape and clear transfer tape. To make a more informed decision, learn more about each of them below:
Paper Transfer Tape
Paper transfer tape is made out of paper that has an adhesive coating on one side. Though this tape will be somewhat transparent, it won't be entirely translucent. It's very similar to masking tape, though it has superior power. It's also more flexible and softer than clear transfer tape. The main drawback of paper transfer tape is that it's not ideal for laying down multi-colored vinyl graphics or other projects that require exact placing since the tape isn't totally see-through.
Clear Transfer Tape
Clear transfer tape is made out of a translucent plastic face film. The translucency of the tape makes it much easier to use to install vinyl graphics, especially when a job requires precision. The primary challenge you might encounter with clear transfer tape is that air and bubbles are more likely to show up due to the plastic's lack of breathability.
Shop Transfer TapeWhich Cricut Machine Is Best for Vinyl?
Those who are planning on cutting vinyl with their Cricut machine should ensure that they're getting one designed to cut vinyl. Luckily, all three major lines of Cricut machines — the Cricut Joy, Cricut Explore Air 2 and Cricut Maker — all cut vinyl exceptionally well.
As you choose between them, you should be aware that the Cricut Joy is a compact machine designed to cut smaller pieces of vinyl for basic crafting projects. The Cricut Explore Air 2 is made to cut standard sized cuts of vinyl and has a secondary tool holder to allow users to write and cut simultaneously. Finally, the Cricut Maker is the premium option for Cricut machines since it has the most features to assist your vinyl cutting needs.
Do All Cricut Machines Cut Vinyl?
All models of Cricut machines can be set to cut vinyl, but there are some differences in each model's capabilities. Some will be more equipped for thicker sheets of vinyl and for larger projects, so it's important you evaluate more than just if the machine cuts vinyl before investing in one.
Which Cricut Mat Should I Use for Vinyl?
What mat should you use for vinyl? There are a few available, and they each serve different needs.
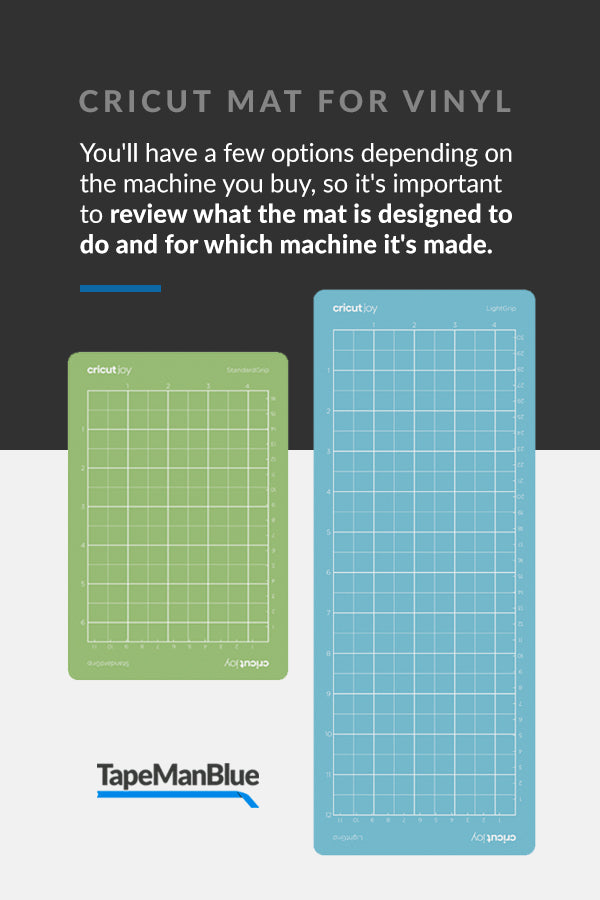
You'll have a few options depending on the machine you buy, so it's important to review what the mat is designed to do and for which machine it's made. For example, the Cricut Joy has a Cricut Card Mat specifically for the smaller machine, while the SrongGrip mat is crafted for the Cricut Explore and Cricut Maker. Knowing what mat to use for vinyl Cricut comes down to the thickness of the vinyl, the sheets size and the type of Cricut you have.
What to Look for When Buying Vinyl for Your Cricut Machine
The best vinyl to use with a Cricut is based on your needs. There are a few different types of vinyl that'll be better, depending on your project's specs. The best place to buy vinyl for Cricut will provide you with a variety of options to help you complete several different types of DIY projects. Refer to the following Cricut vinyl guide to help you determine which type of vinyl you should choose:

1. Removable Vinyl
When you're crafting more temporary projects, removable vinyl is likely going to be your go-to choice. Generally, removable vinyl is used for indoor projects to keep it away from being exposed to corrosive weather or other forces. The material also often features an adhesive that can last for some time but isn't designed for long-term projects.
Often, removable vinyl is great for people who are crafting projects and want to try out a few designs before settling on a more permanent option. Temporary vinyl can give users a chance to test out their idea on a surface, allowing them to remove the vinyl more easily after placement if they decide they like another design. Removable vinyl is also commonly used for interior decorations, phone cases and removable wall decals.
2. Permanent Vinyl
Permanent vinyl is a much more rugged and strong type of vinyl that you can use. The vinyl will come with a much more heavy-duty adhesive that keeps it attached for a long time, even through heavy use or in areas where the vinyl is exposed to the elements. Some permanent vinyl will also come with water resistance to help maintain its durability when placed outdoors.
Since permanent vinyl is tougher, it's often used outdoors to craft commercial signs since it won't tear away, proudly displaying a company's message for years. Besides commercial signs, there are plenty of indoor and outdoor projects that permanent vinyl is used for. Some common items that utilize permanent vinyl include car decals, glasses, tumblers and mugs.
Due to the stronger adhesive, it should be noted that removing it will often result in more residue being left behind. If the surface it was placed on was painted, the adhesive could end up peeling up paint during the removal process.
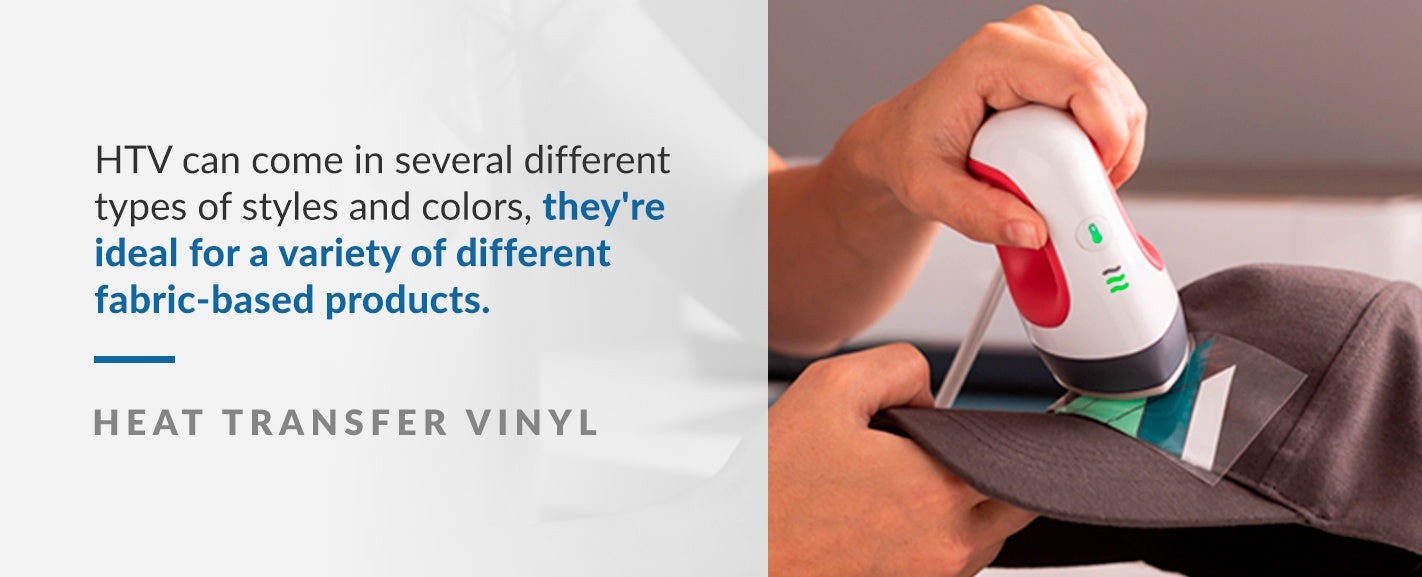
3. Heat Transfer Vinyl
Heat transfer vinyl (HTV) is a type of vinyl that's commonly used by those making their own clothing. As a result, it's often referred to as iron-on vinyl or T-shirt vinyl.
To use HTV, you simply cut it into the appropriate shape. Once it's cut out with a Cricut, you can apply it to a fabric surface using an iron or heat press. If you use a heat press, Cricut offers a heat press temperature guide for vinyl and other materials. One of the major benefits of this type of vinyl is that it can then layer the HTV on top of itself to produce even more compelling designs.
Since HTV can come in several different types of styles and colors, they're ideal for a variety of different fabric-based products. For example, HTV is commonly applied to T-shirts, aprons, socks, costumes, stuffed animals, canvas shoes and more.

4. Printable Vinyl
You can find printable vinyl in either adhesive or heat transfer varieties. Usually, you can simply print out a design onto a sheet of vinyl using a standard inkjet printer. After printing out the design, you can use a Cricut machine to cut it out.
Printable vinyl is often used to create stickers and removable decals. A Cricut can be set to make a kiss cut, in which it leaves the backing intact on the vinyl rather than a more standard approach that sees the Cricut cutting through vinyl backing. This type of vinyl can be removed easily as well, making it a great choice for temporary signage and graphics.
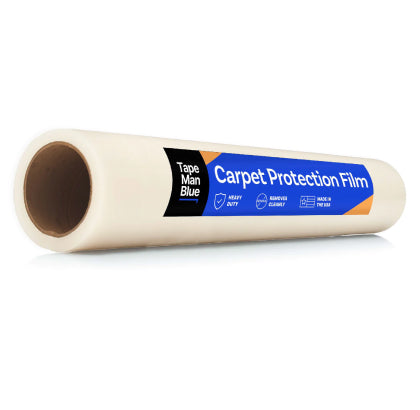
Choose TapeManBlue for Your Vinyl Transfer Tape Needs
If you're using a Cricut cutter for vinyl projects, you need specialized vinyl transfer tape to get the freshly cut vinyl onto your project. At TapeManBlue, we're proud to provide high-quality transfer tape. We offer transfer tape and screen printing pallet tape for all your vinyl project needs.
Purchase our most popular transfer tape on Amazon to use with your Cricut cutter. If you have any questions, don't hesitate to contact us.
![]()
Shop Transfer Tape on tapemanblue.com