
Whether you've just bought a Cricut machine, or you're wondering if it's worth the investment, there are a lot of things to learn before you can operate them effectively. Different Cricut cutters have unique features and abilities, so you should do your research before choosing a Cricut machine that's right for your intended projects. You can use this guide to learn some Cricut tips for beginners and about the best Cricut accessories.
What Is a Cricut Cutter?
A Cricut is a machine that writes, scores and cuts to help you design DIY projects. In this guide, we will answer the following questions:
- Which Cricut cutter should you buy?
- How do you know which one is right for your projects?
- What type of mats should you use?
- What materials can you use with a Cricut?
- What can you make with a Cricut machine?
- How do you get the most out of your Cricut cutter?
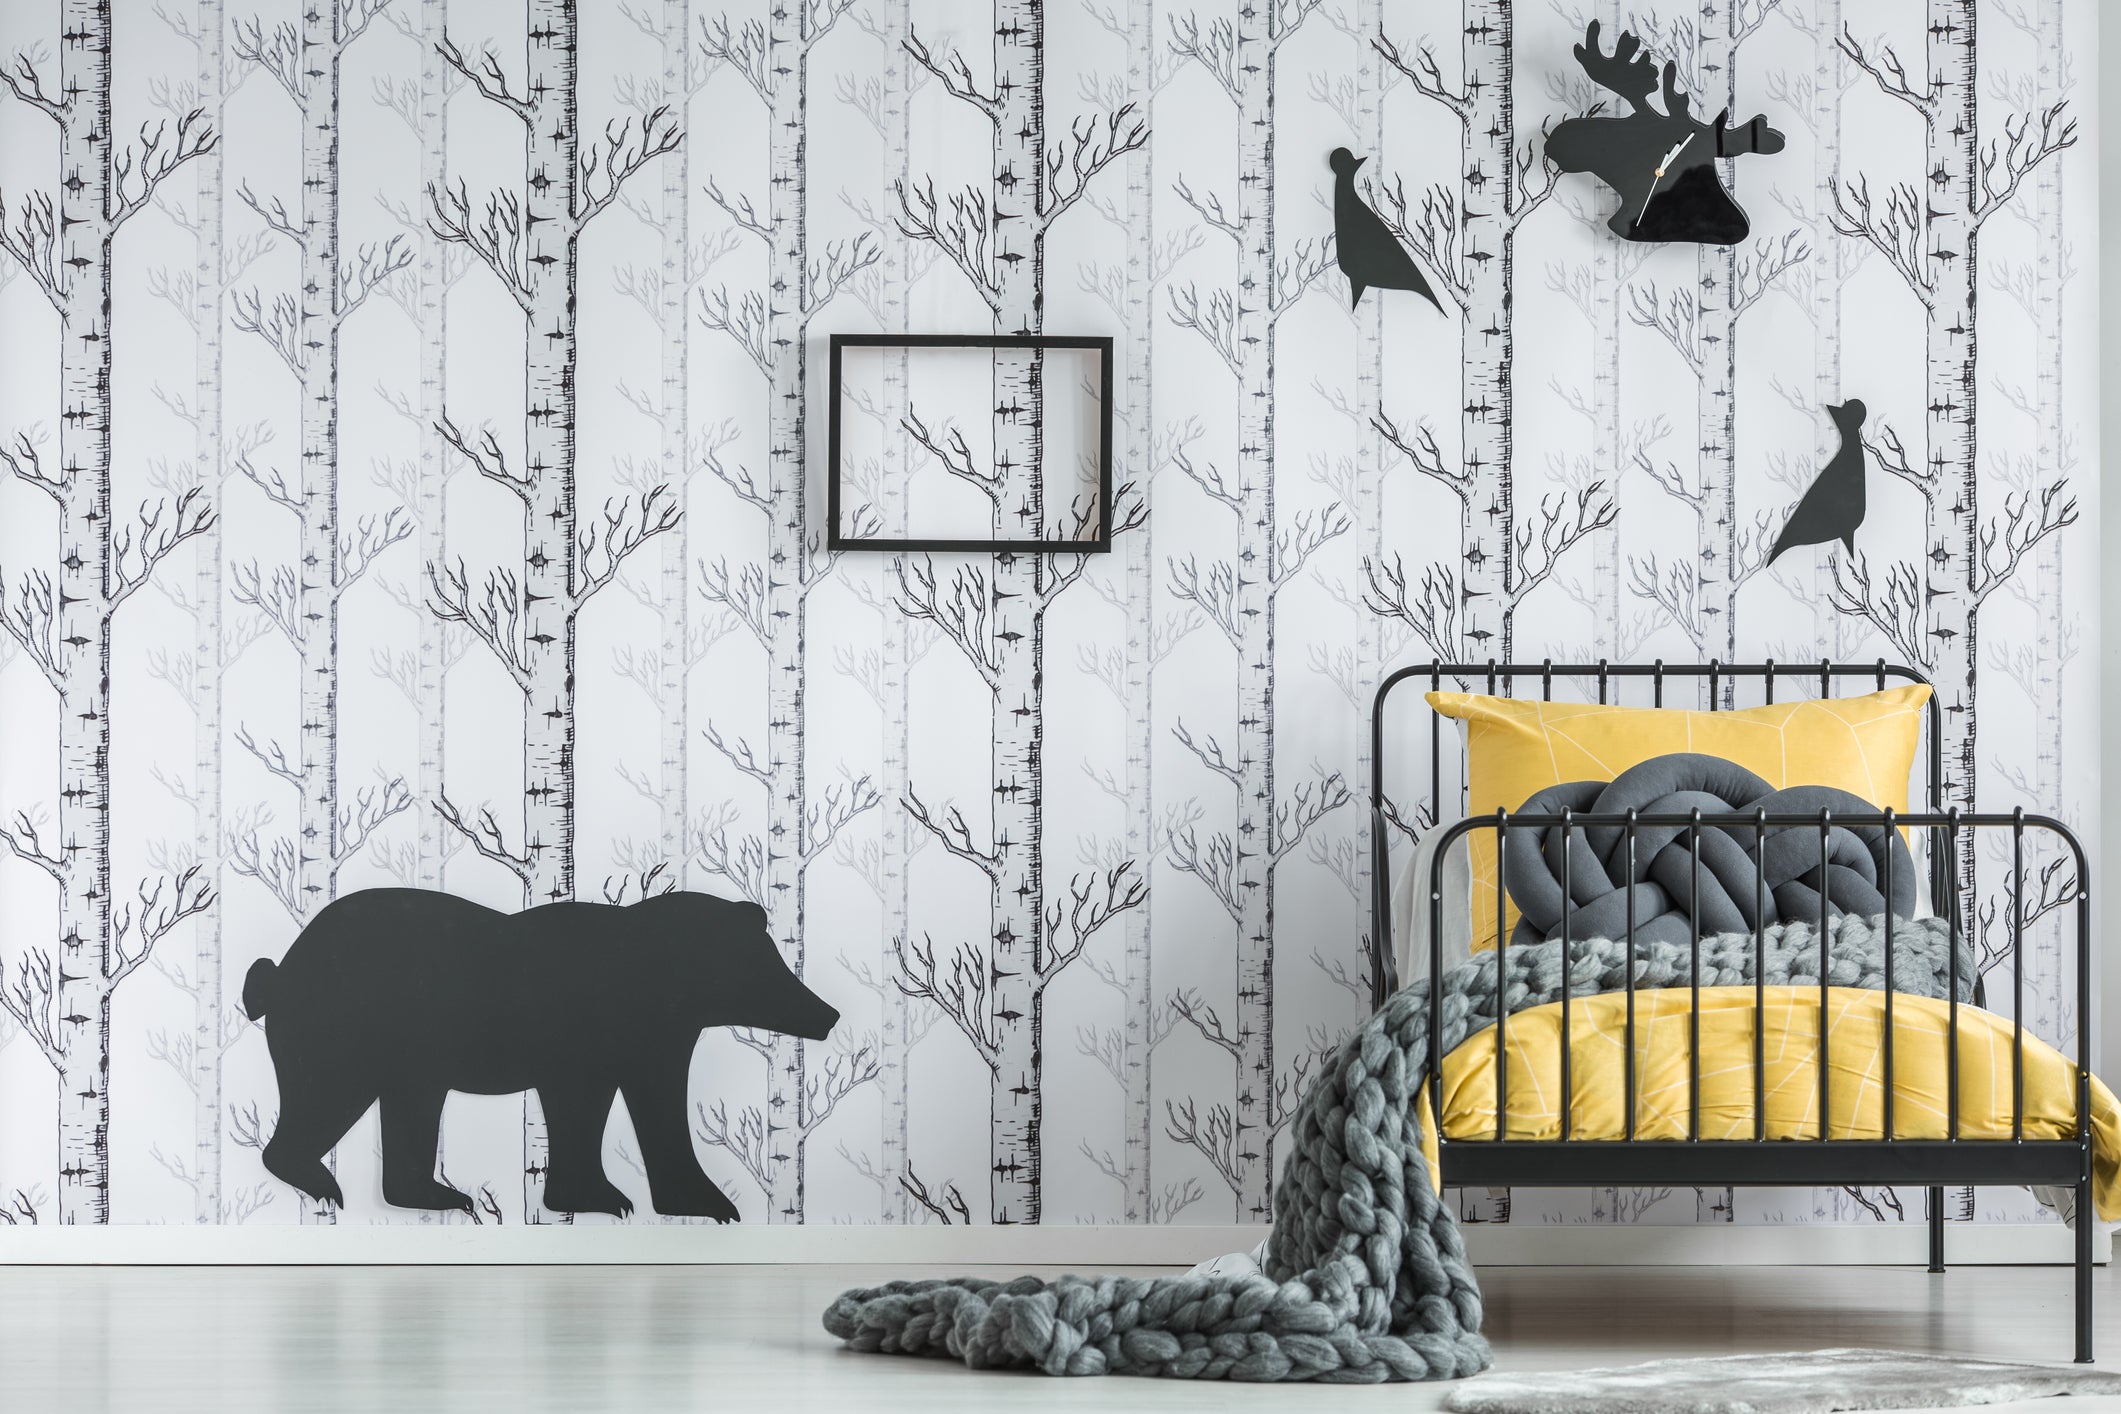
With a Cricut cutter, the possibilities are endless. You can create a vast array of projects with over 100 materials that can be designed from your computer and add creative flair to your home decor with your Cricut machine.
Which Cricut Cutter Should You Buy?
The Cricut cutter is currently available in four different models — the Maker, the Explore One, the Explore Air and the Explore Air 2. As you consider which Cricut cutter you should buy, think about how you want to use your it and how much you're willing to spend.
Cricut Maker
Out of all four models, the Cricut Maker has the most features and is available in six colors: champagne, lilac, mint, blue, raspberry and rose. Its rotary blade can cut unbonded fabric, and its knife blade can cut thick materials, such as balsa wood and leather. The Cricut Maker also uses a rotary cutter for fabric and crepe paper.
The Maker's Scoring Wheel can score practically any material for any project. This machine features an adaptive system that allows it to use a wide array of tools. Plus, since it's Bluetooth enabled, the Cricut Maker can easily connect to your electronic device.
Cricut Explore One
The most basic model is the Cricut Explore One in standard white. You can cut almost 100 materials with this basic machine without compromising on the writing, scoring and cutting features of the Cricut Explore Air.
This machine doesn't offer Bluetooth, so you will have to connect a wire from your computer or electronic device to your Cricut Explore One. This model also doesn't have a double cartridge feature, so you cannot write and cut at the same time.
Cricut Explore Air
The Cricut Explore Air model contains all the same features as the Explore One, but it can also connect to Bluetooth and has the double cartridge feature. Since it's comparable to the Cricut Explore Air 2 with only a small price bump, you may want to invest in the newer model because of the Explore Air 2's speed and efficiency.
Cricut Explore Air 2
The Cricut Explore Air 2 can cut twice as fast as its predecessor. The Explore Air 2 also comes in different colors, including rose, lilac, mint, raspberry, black, blue, fuschia, sky and peach kiss. A rotary blade is also compatible with this machine to cut thicker materials.
How to Know Which Cricut Cutter Is Right for Your Project
If you're a beginner, you'll most likely want a cheaper machine so you can grow your Cricut skills before splurging on an expensive, more versatile model. As you advance in your Cricut skills, you can buy a model that specializes in the projects you enjoy. Use this guide to help you decide which Cricut machine matches your skill level and needs:
Cricut Cutter Mats
Cricut cutter mats contain grid lines that will help you measure and precisely place each material on your mat. Cricut cutter mats have different levels of adhesiveness, depending on the grip strength required for each material. You will need the following types of Cricut cutter mats for each of your projects:

All cutting mats also come in two different sizes: 12 by 12 inches and 24 by 24 inches. To use the Cricut cutter mat, stick the material you want to cut on the mat and load both the mat and the material into your Cricut cutting machine. After you press the load button, your Cricut cutting machine will cut your design for you.
Tips for Caring for Your Cricut Cutter Mats
To prolong the life of your Cricut cutter mats, follow these tips:
Using your mat: Only cut the recommended materials when using each mat. For example, if you use a purple mat for office paper, it may get stuck on the mat, adding wear and tear to your mat over time. As you transfer your project, keep your fingers off the grip.Cleaning your mat:
For blue, green and purple grip mats, you can use a scraper to remove excess pieces and use a spatula to remove your finished cut projects. You can also use non-alcoholic baby wipes, a lint roller or soapy water to clean your mat. Alternatively, for a pink mat, you should only use a lint roller or transfer tape to clean stray pieces off your mat. A scraper might pull off the grip adhesive of your fabric mat. Safely storing your mat: Your Cricut cutter mats come with clear film covers. Cover your mat with the clear film cover to protect it from debris and dust.Transfer Tips for Your Cricut Projects
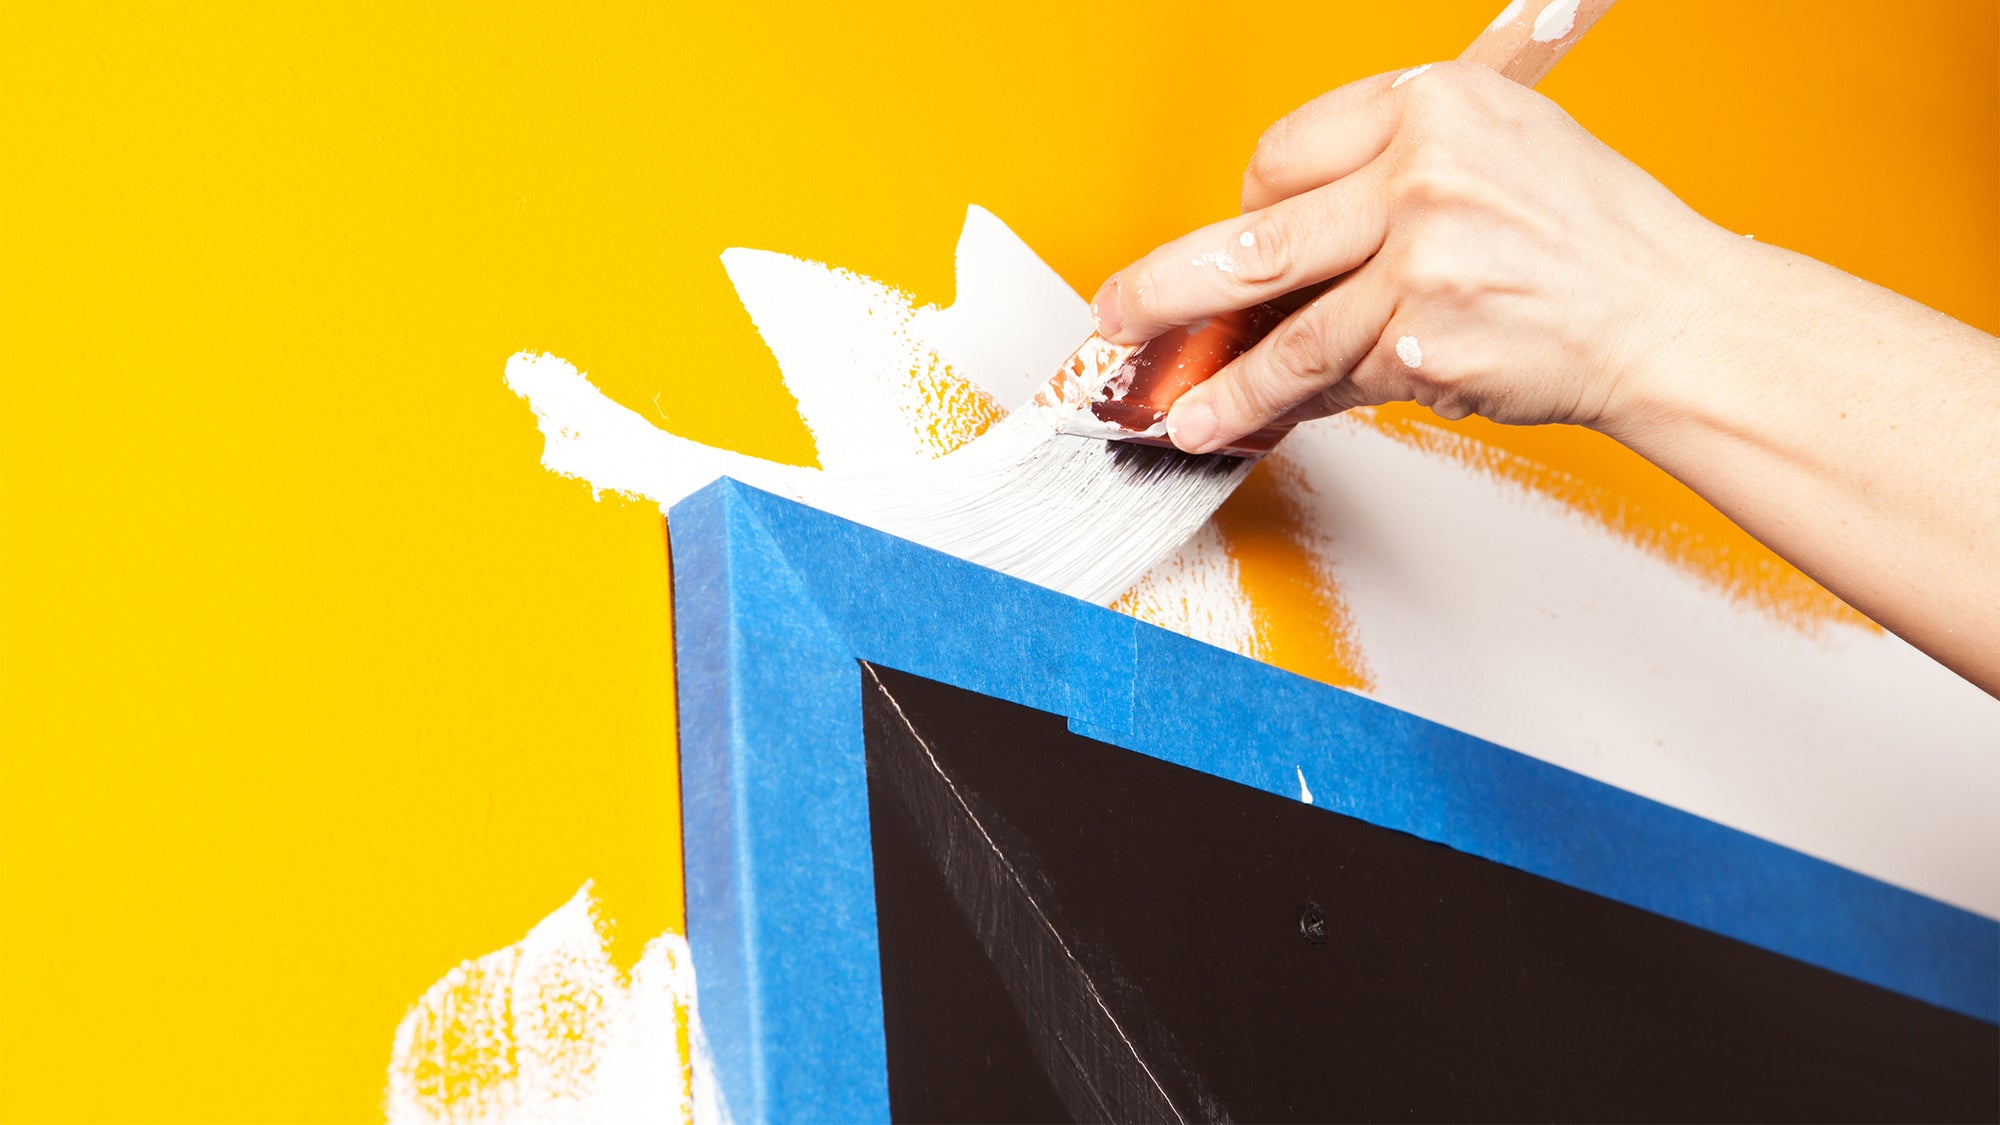
Transfer tape is an efficient way to transfer your vinyl projects from the adhesive mat cover to your wall or other surfaces. With a removable adhesive on the side of your transfer tape, you can use vinyl to stick decals on water bottles, journals, windows, cell phone covers and more. You should also use transfer tape for easy project handling on your Cricut cutter mats.
To use transfer tape for your vinyl projects:
- Cut your design with a kiss cut — a shallow cut that doesn't break through the paper backing — and weed out the excess vinyl.
- Cut out a piece of transfer tape that will fit over your vinyl project and completely smooth it over the vinyl.
- As you peel the adhesive side off of the vinyl backing, the decal should come with the adhesive.
- If any pieces continue to stick to the backing, smooth the tape over the vinyl in those spots until it completely comes off the backing.
When choosing what type of transfer tape is right for your project, you should consider the tape's tack level, transparency, and width:
- Paper transfer tape for crafters: This premium, multi-use transfer tape provides medium and high tack levels for vinyl projects. It is perfect for crafters and includes a blue alignment grid suitable for precise application of vinyl stickers, graphics and letters. It also has an easy-release liner to make vinyl application quick, simple and hassle-free.
- Clear transfer tape: This type of transfer tape is more versatile than paper transfer tape in terms of tack levels and width. It is available in medium-high and low tack levels and is available in widths between 6 inches and 48 inches. Since clear transfer tape is transparent, you can use this tape for projects where the vinyl design needs to be visible.
Tips and Tricks for Using Your Cricut Cutter
Now that you know the types of Cricut cutters, the mats you should buy and the materials you can use for your projects, you can begin using your Cricut cutter machine. Here are some tips and tricks to keep in mind:
Other Helpful Tools and Accessories to Consider Purchasing
Cricut Design Space is a free software included with your Cricut machine that allows you to do everything from uploading images to editing designs to scoring and finalizing your project. You should make yourself familiar with Design Space and all it has to offer before you start using your Cricut machine. Design Space features project ideas, SVG files you can print on your products and other helpful tips for your DIY Cricut projects.
In addition to your Cricut cutter and all that is included with it, you can also buy a Cricut Machine Beginner Set, which includes the following Cricut tools:
- Weeders: These tools pull stray pieces out from adhesive vinyl or heat transfer vinyl patterns. You should weed your project while it's still on the mat.
- Scraper: These scrape stray pieces off of your Cricut cutter mats. You can also use your scraper to smooth your adhesive vinyl project onto the transfer paper.
- Tweezers: With their reverse grip design, tweezers can help you lift and secure small pieces with ease.
- Spatula: The spatula allows you to remove projects from your Cricut cutter mat.
- Scissors: The stainless steel blades of these scissors precisely cut through materials such as paper, cardstock, fabric and vinyl.
- Trimmer: With a trimmer, you can accurately cut and score straight lines.
- Scoring Stylus: Use this tool to score fold lines for cards and other projects. For the Cricut Maker, you would use a Scoring Wheel.

Cricut pens are included in your Cricut Machine Beginner Set, but you can also use other thick pens if you have some available. Always keep your vinyl scraps and weeded pieces for future projects. Design Space can also help you minimize waste by moving all the shapes closer together.
You'll eventually need to replace the blade included with your Cricut machine. You know you'll need a new blade for your Cricut machine when the blade isn't cutting all the way through or tearing the material from your mat.
Creative Ways to Use the Cutter
Before you start crafting your DIY Cricut creations, you can find inspiration online through Design Space and free blogs. Bloggers are eager to share their creative ideas with you, and you can find both beginner and advanced projects online. Your Cricut machine has the following features:
- Print and Cut: Use an inkjet printer and print out your design with registration marks around it. Your Cricut machine will recognize the design and use the print and cut feature to create your design.
- Write: Your Cricut machine comes with special Cricut pens, but you can use other types of pens to write your design. You can also find free font designs online.
- Score: Scoring makes folding easier. You can put your Scoring Stylus in your Cricut's pen holder.
- Emboss: Program your Cricut to cut, but if you put your accessory adapter in place of the blade and your Scoring Stylus in place of your pen, your Cricut will emboss the material instead.
Your Cricut machine software helps you create the best projects — from choosing the right materials for your project to loading the machine properly. Follow the prompts that arise as you complete your projects on your computer. As you create your first project, start small and use test cuts to get a feel for the machine.

In older models, Cricut machines used cartridges to remember what designs you've saved. You can now save your projects online with newer models, but if you replace your Cricut machine, use any old cartridges to link to your account and retrieve old projects.
Tips for Using the Machine
Before you use your Cricut cutting machine, you'll need to prepare properly, by:
- Reading the instructions before use: The box will have information regarding what's included with your Cricut and how to take care of it. Read the manual and the instructions on the box before you use your product.
- Watching tutorial videos: You can find videos online for safety tips and creative ideas. Design Space has videos that are related to each type of Cricut machine.
- Setting up your workspace: Clear the clutter from your office table and place your Cricut on a flat surface before use. You should also organize your Cricut supplies and materials so you can begin your projects without getting overwhelmed.

Finally, here are some troubleshooting tips for using your Cricut machine:
- Mirror image iron-on vinyl: Put the iron-on paper upside-down to print your design on iron-on vinyl. Cricut machines have a mirror-image setting. For HTV — Heat Transfer Vinyl — put the vinyl right side up.
- Load mat correctly: Your mat should slip below the rollers. Your machine may not run if you load the mat incorrectly.
- Use the right material setting: With each new project you do, make sure you use the right setting for the material you use. Check the material setting dial each time you're about to start a new project.
- Replace your pen caps after use: After you're finished with your project, you should replace the pen caps, so you don't dry out your Cricut markers.
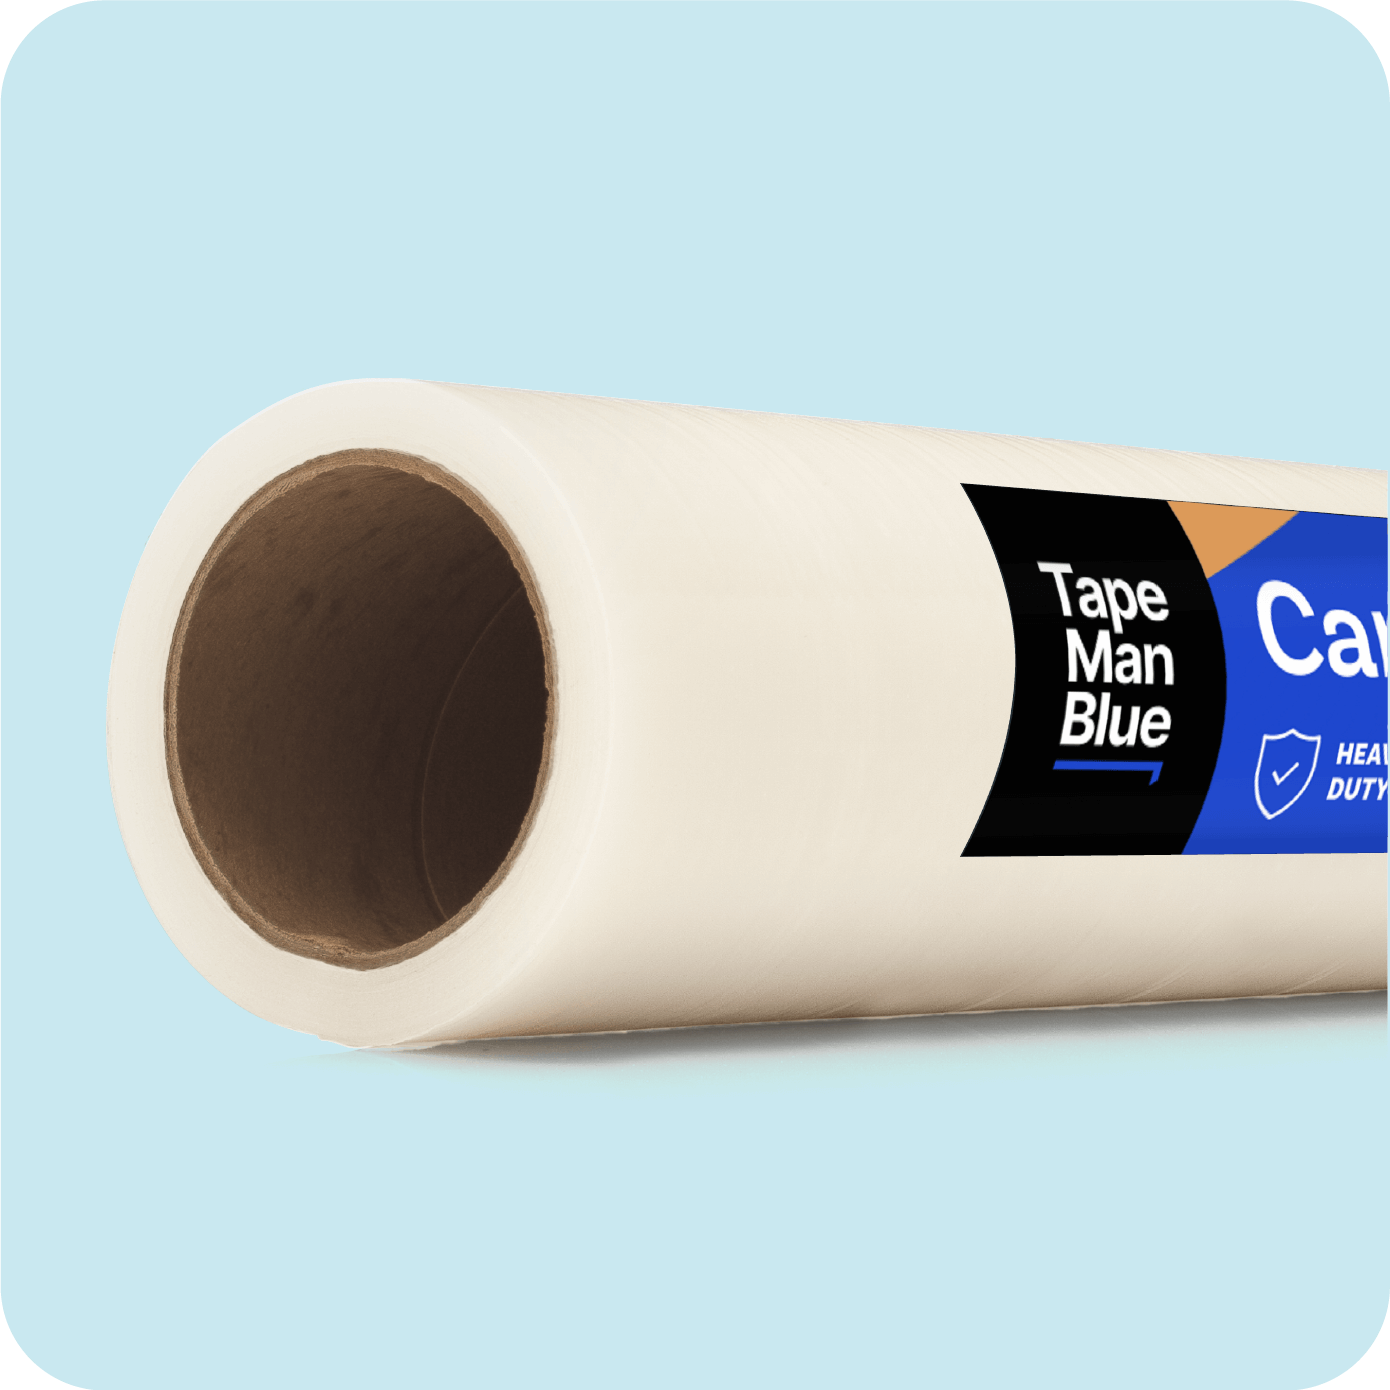
TapeManBlue Transfer Tape Is Perfect for Your Cricut Cutter Projects
To easily transfer your vinyl projects from the mat to the wall, purchase transfer tape for your projects from TapeManBlue. Our transfer tape is made in the United States from high-quality materials. We offer free shipping on all orders and everyday low prices for your products.
TapeManBlue is here for you. If you have any questions about our products, you can contact us through live chat on our website, or call us at 215-968-9088.
Shop Transfer Tape