
If you're looking to use transfer tape to install vinyl graphics and decals onto a surface, you'll need to know how to install it, what type of tape to use and other handy tips. As an expert in transfer tapes, we have collected a great deal of knowledge about transfer tape over the years. Whether you're using transfer tape for commercial or personal purposes, you'll find the information you need to get started below.
Shop Transfer TapeHow Is Transfer Tape Commonly Used?
There are several ways to use transfer tape. For example, it's often used to improve the visual appeal of a company's signs, buildings and other relevant surfaces. Typically, transfer tape is used with decals, stickers, vinyl graphics and craft projects.
For commercial use, transfer tape is often employed to make a company's building look more attractive, impressing potential clients or customers, while also making their space more pleasant for employees to work in. Companies that want to grow their brand awareness often utilize transfer tape to put up custom decals, graphics and stickers in key locations.
Many stores use transfer tape to place graphics in locations that attract potential customers. For instance, companies often use transfer tape to place an attractive decal in a storefront window that aims to attract foot traffic.
For personal use, many people like to use transfer tape in craft projects. DIY types love the feeling of crafting a graphic that can be placed directly onto their living room wall as decoration. To make sure they get the placement just right, they use transfer tape.
How Do You Apply and Use Transfer Tape?
If you're looking to use and apply transfer tape yourself, you'll need to follow a set of rules to ensure that the transfer tape is used properly for the most visually appealing final product. Below you'll find the proper steps to install transfer tape:
1. Create the Design and Cut the Vinyl
The first step to using transfer tape is to have a graphic that you want to apply to a surface. Once you have a graphic you want to use, you'll typically print it out on vinyl. Often, cutting machines have a kiss-cut feature that only cuts the vinyl, rather than cutting the backing paper as well. This sort of cut makes the vinyl decal peeling process much easier.
2. Weed Any Excess Vinyl
After you've printed out the decal that you want to use and had it kiss cut, you'll need to weed the transfer tape.
Weeding refers to the process of removing the unnecessary parts of a design that you don't want to use. Essentially, weeding is the process of removing the material that you don't want with your design. Just like weeding a garden, you are getting rid of the unattractive parts that distract from the main elements.
To complete the weeding process, you can remove the excess vinyl by peeling it off of the vinyl liner. After peeling, if there are any extra pieces of vinyl remaining, you can carefully cut them off. While weeding the excess vinyl, it's important to note that the vinyl's backing should remain intact.
3. Place the Transfer Tape
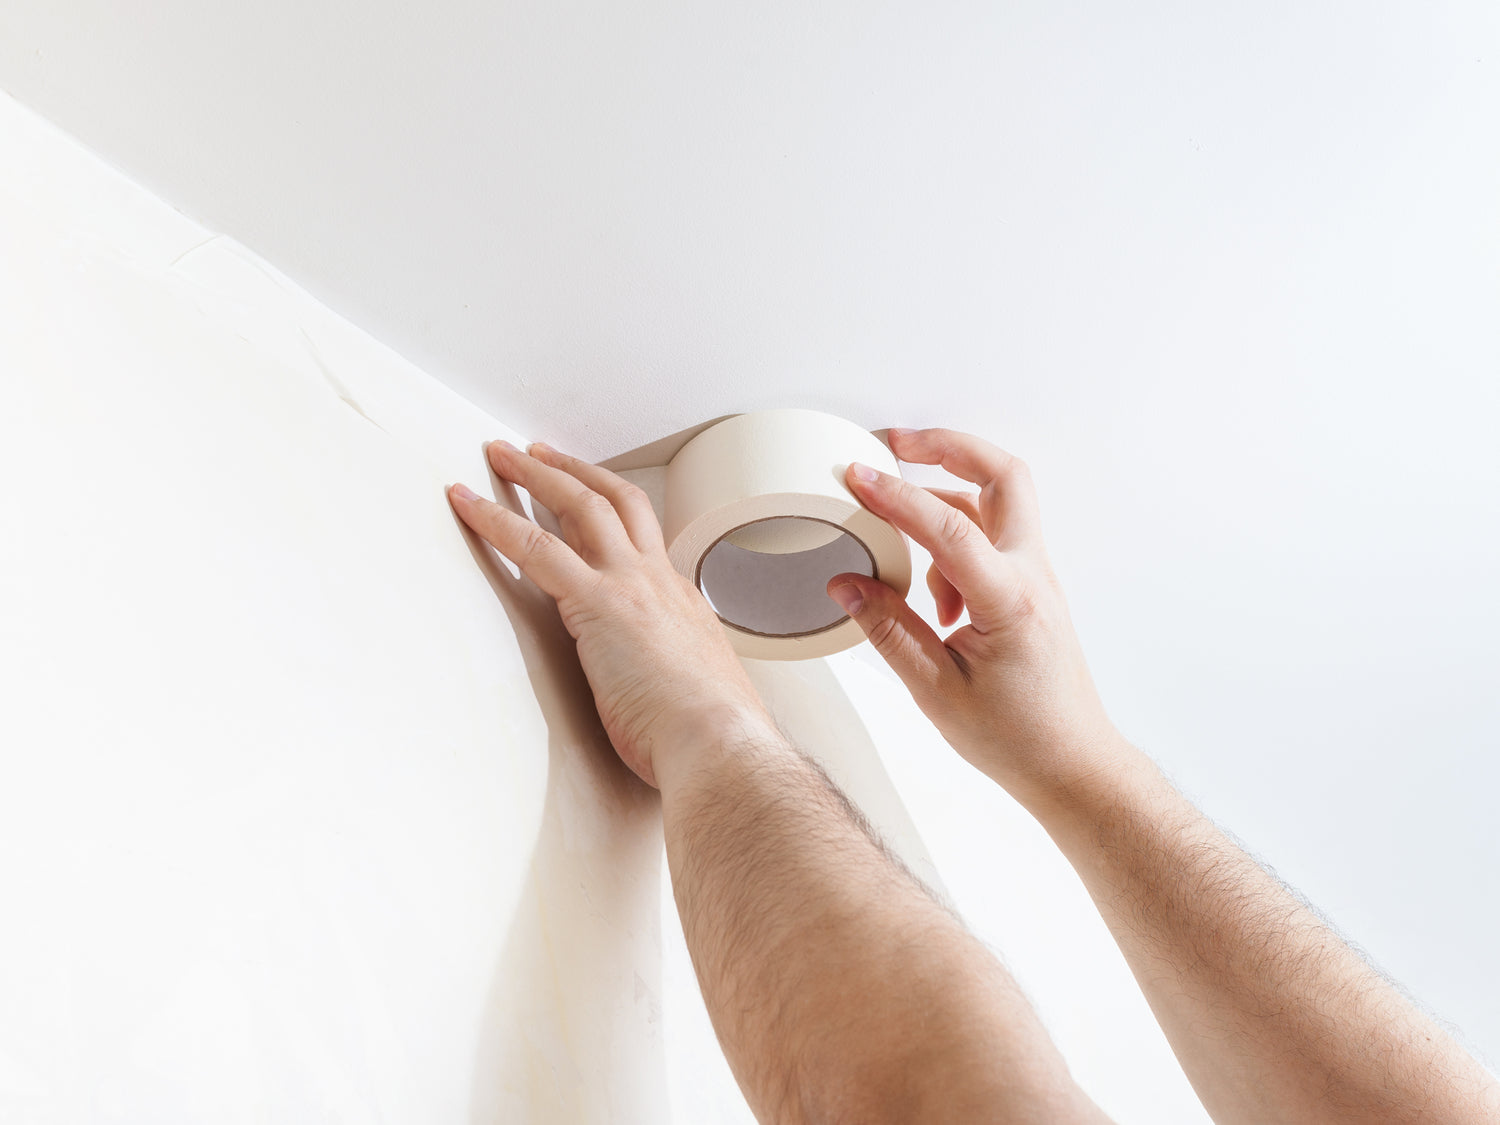
Next, you'll cut out a piece of transfer tape slightly larger than the decal. You'll place it over the vinyl graphic, making sure that there are no air bubbles in it. Once the tape is over the image, you'll then want to rub, or burnish, the tape onto the vinyl. You should begin burnishing the tape in the center of the tape, slowly working outwards until all of it is securely placed on the graphic.
4. Place the Vinyl Graphic
After the transfer tape has been placed on the graphic, you can then peel the decal from its backing. With the decal's adhesive now activated, you can then place the vinyl graphic onto the proper location.
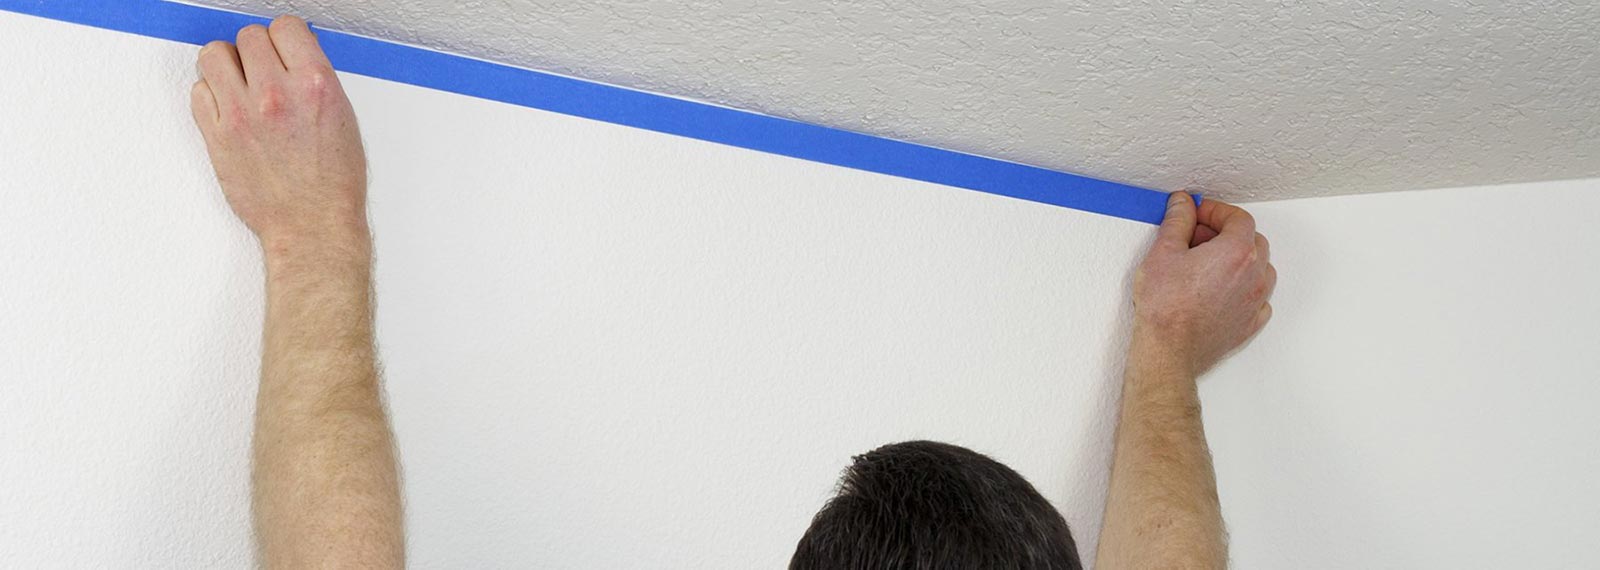
Finally, you'll place the transfer tape and graphic onto your desired surface. Start with the edge of the transfer tape to make sure you are in the proper position before fully placing it on the location. To complete the installation process, burnish the decal and tape, starting in the center and moving outward. When it's fully burnished, you can pull the tape off of the decal, leaving it firmly attached to the substrate.
Tips and Tricks for Easy Application of Transfer Tape

There are a few tips for applying transfer tape that you should follow to ensure proper application.
- Avoid removing all transfer tape: If you're unsure about where exactly you want the decal to be placed, you should wait to take all of the backing transfer tape off. First, only peel a corner off, striking it onto the part of the substrate you'd like it to be. Once you've evaluated how the rest of the design will look in that position and find it acceptable, you can then remove the rest of the tape, placing the decal confidently.
- Cut transfer tape larger than the vinyl: To help you peel transfer tape easily, you should cut the tape slightly larger than the vinyl you are looking to install. The larger piece of tape will help you easily pull it off of the graphic when it comes time to remove it.
- Snip the transfer tape for curved surfaces: At times, you'll need vinyl placed onto a curved surface. For the inexperienced, this kind of placement may result in wrinkles in the final product. To prevent this, you can snip little bits of the transfer tape to increase flexibility. Of course, you'll want to make sure that you don't cut the decal you'll be placing.

Looking for High-Quality Transfer Tape?
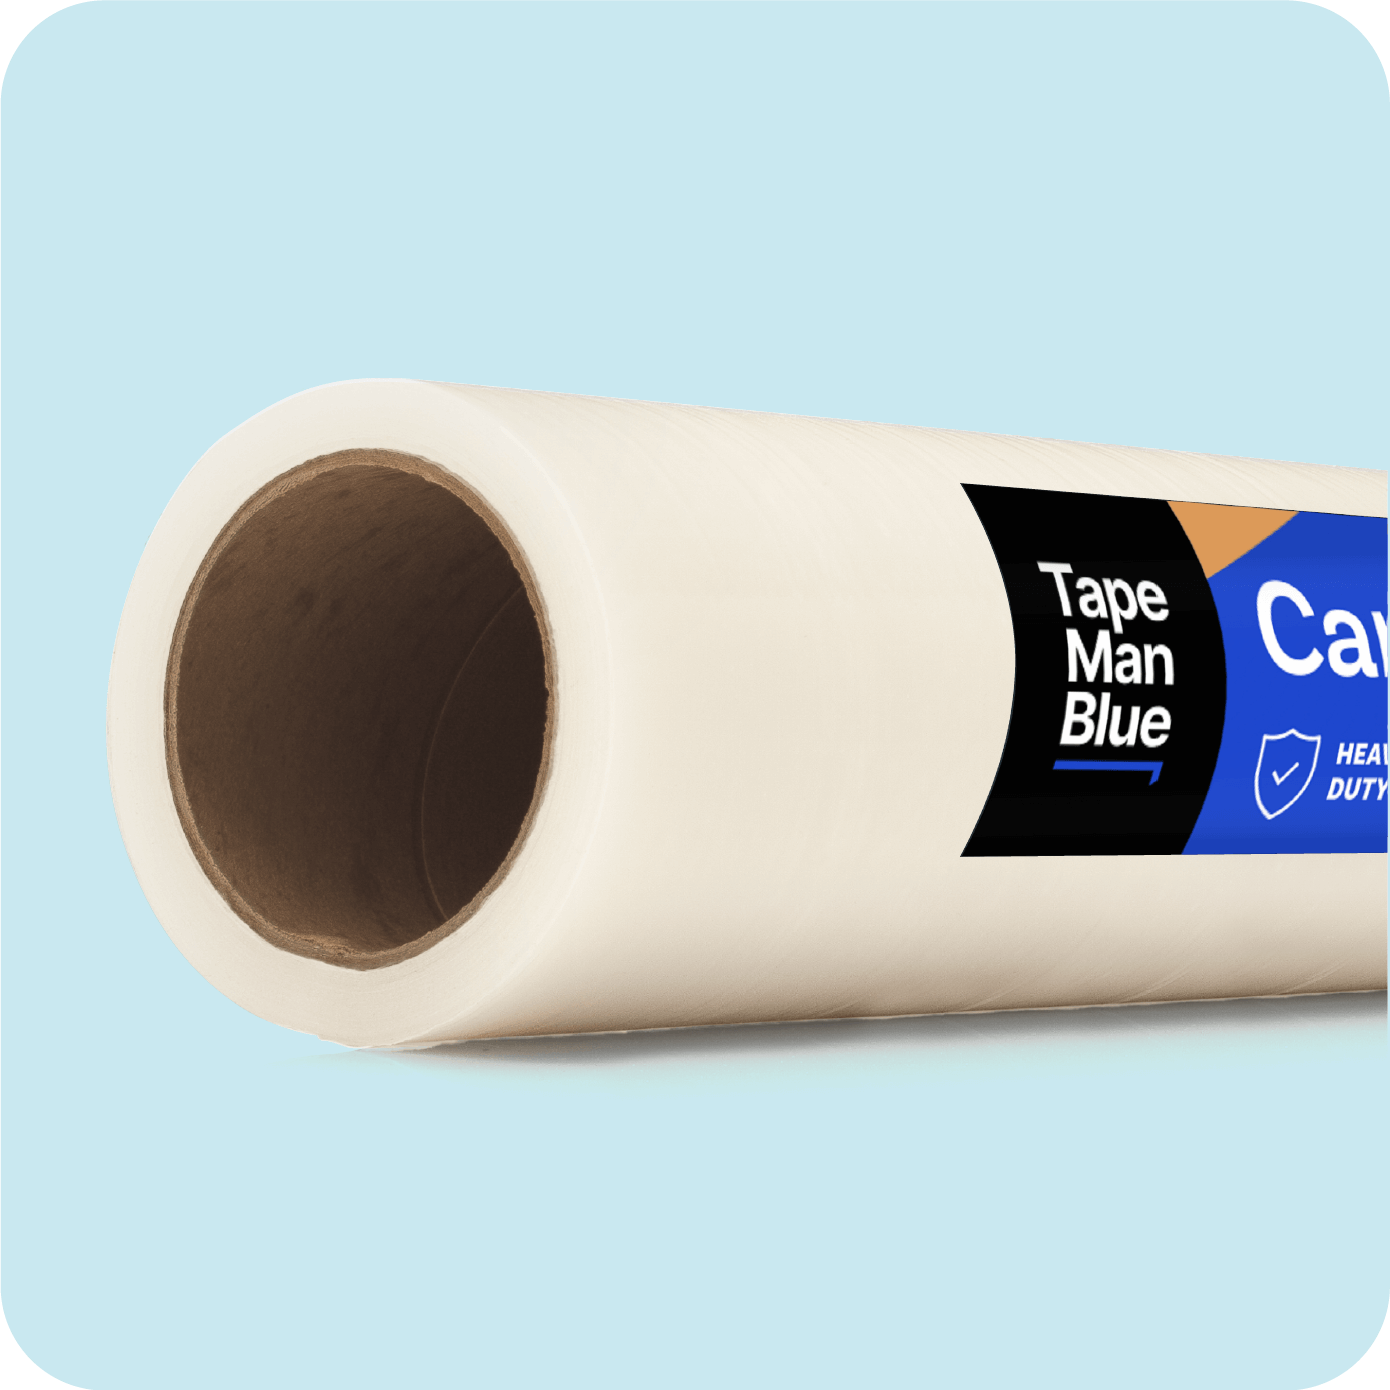
Whether you're looking for paper or clear transfer tape, TapeManBlue can help you find it. With our tape, you can be certain that you're getting the highest-quality transfer tape around. Our online store has a variety of paper and clear transfer tapes, all coming in different sizes to fit your needs. If you already know what you need, visit our store now to find what you're looking for.
If you're unsure about the type of tape you need or have any other questions, contact us today to speak to one of our knowledgeable representatives.