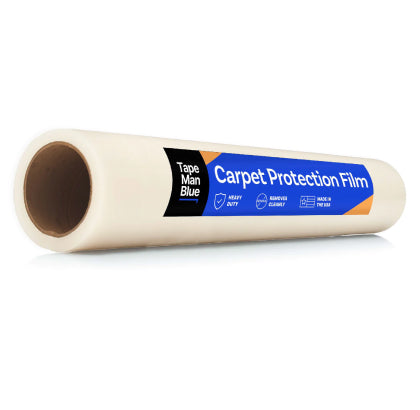
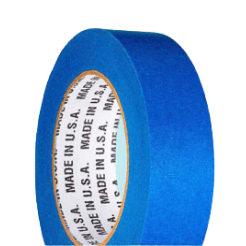
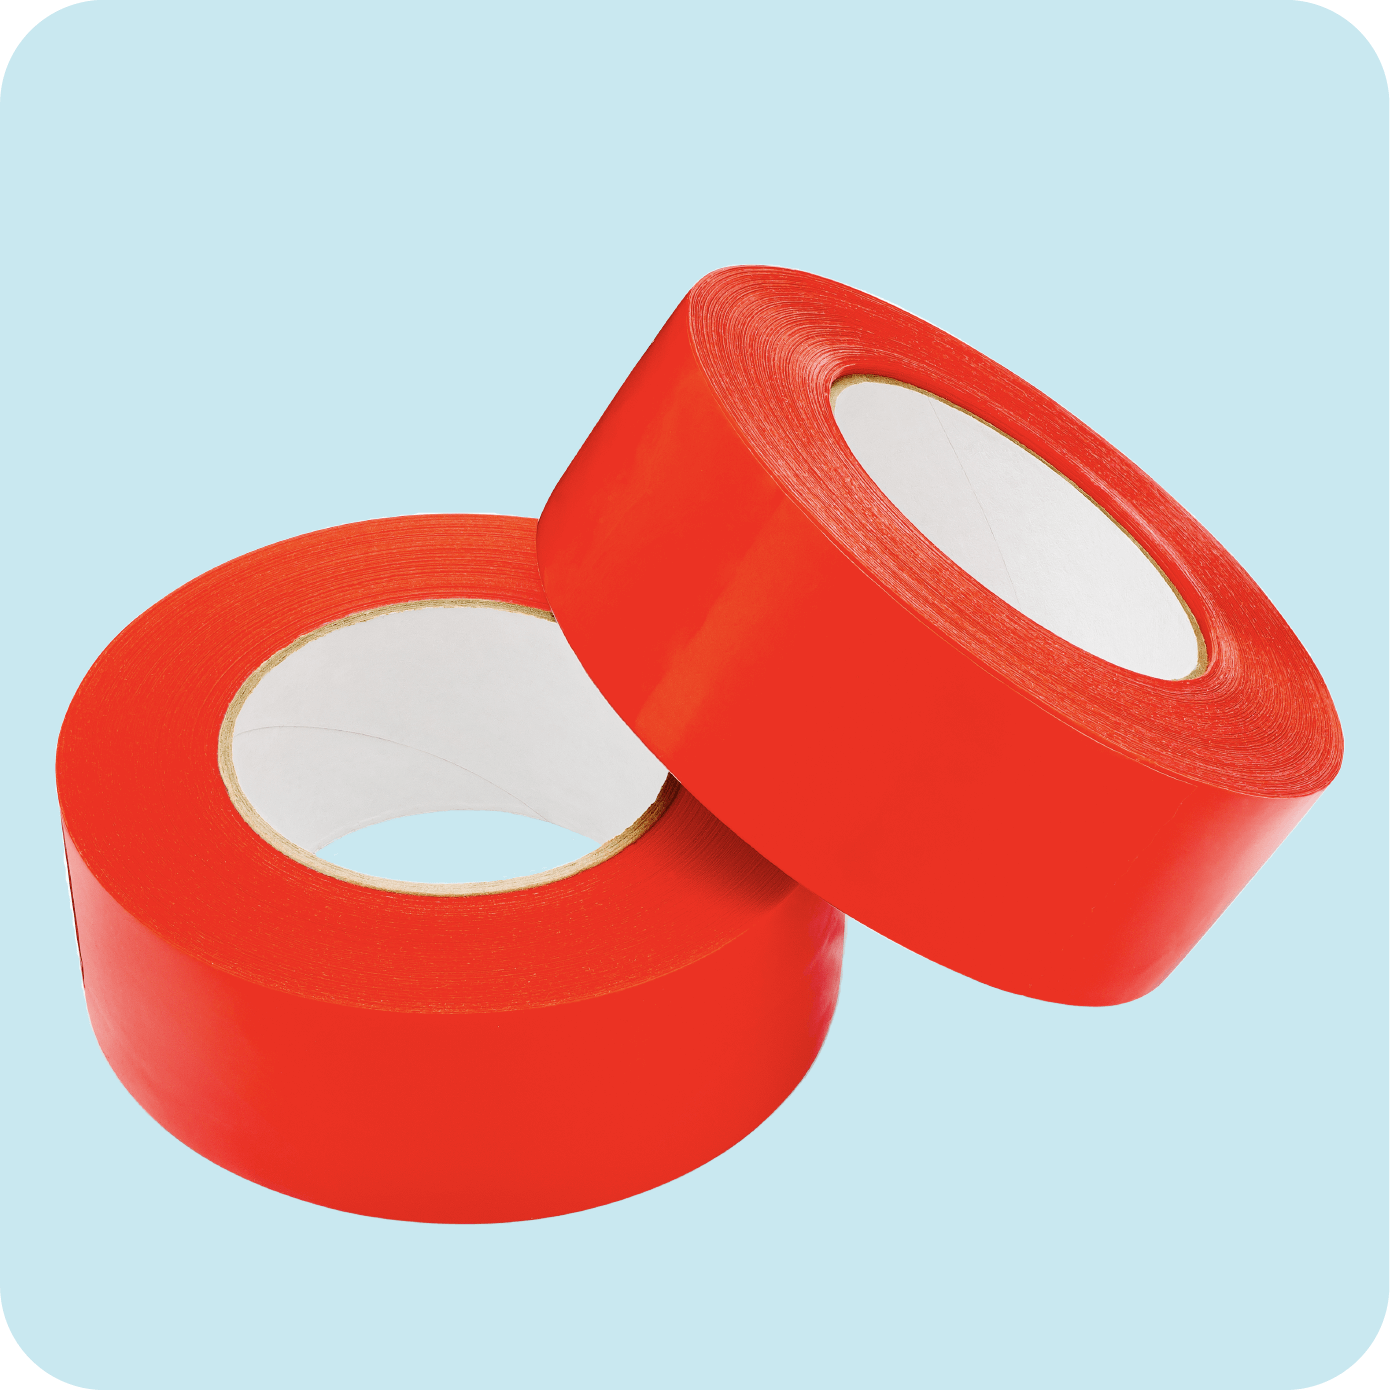
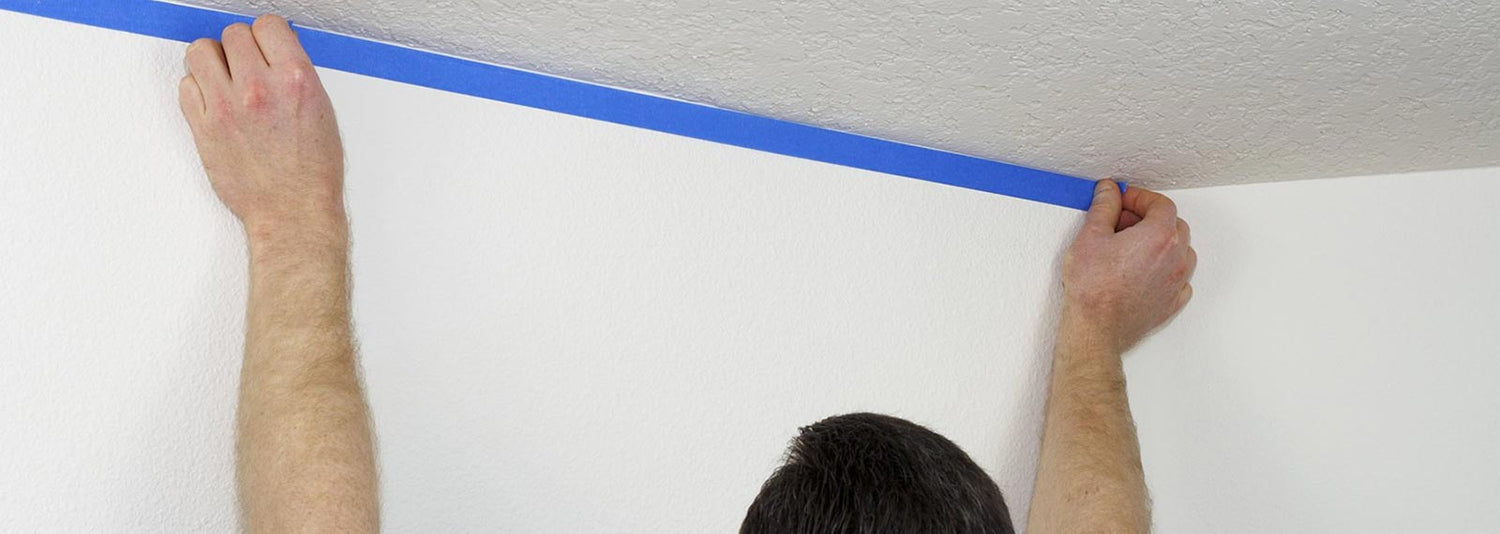
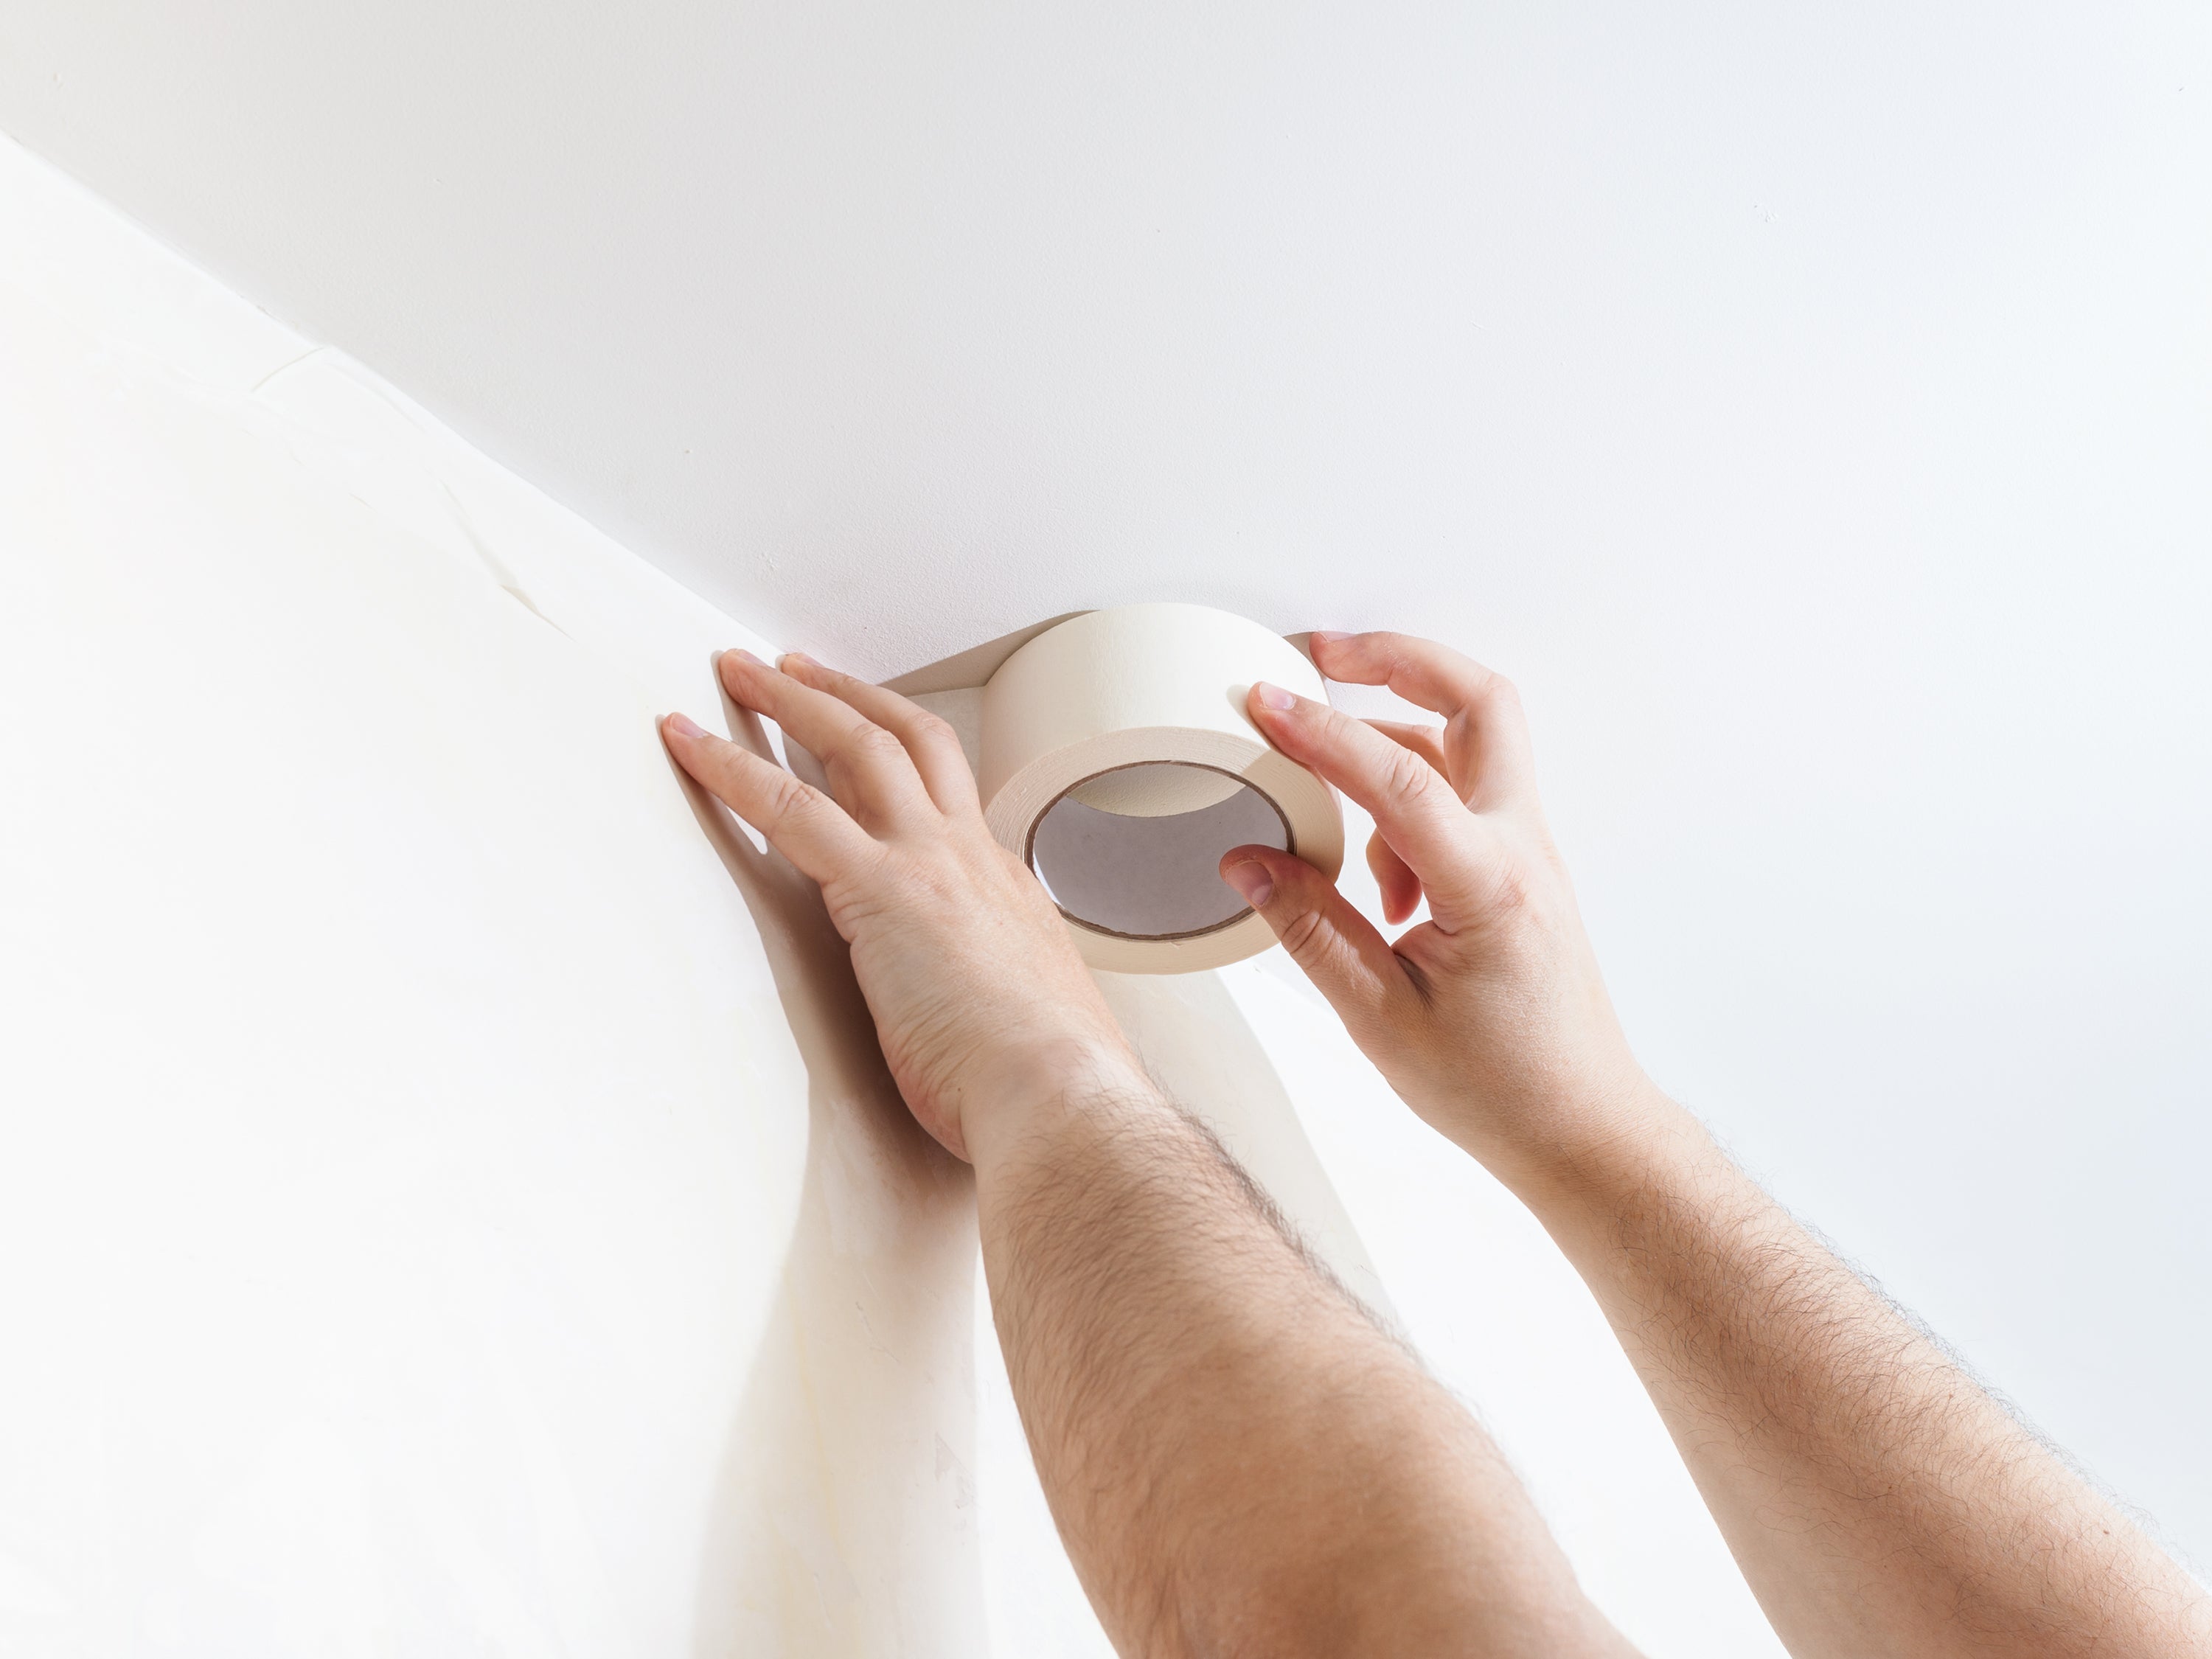
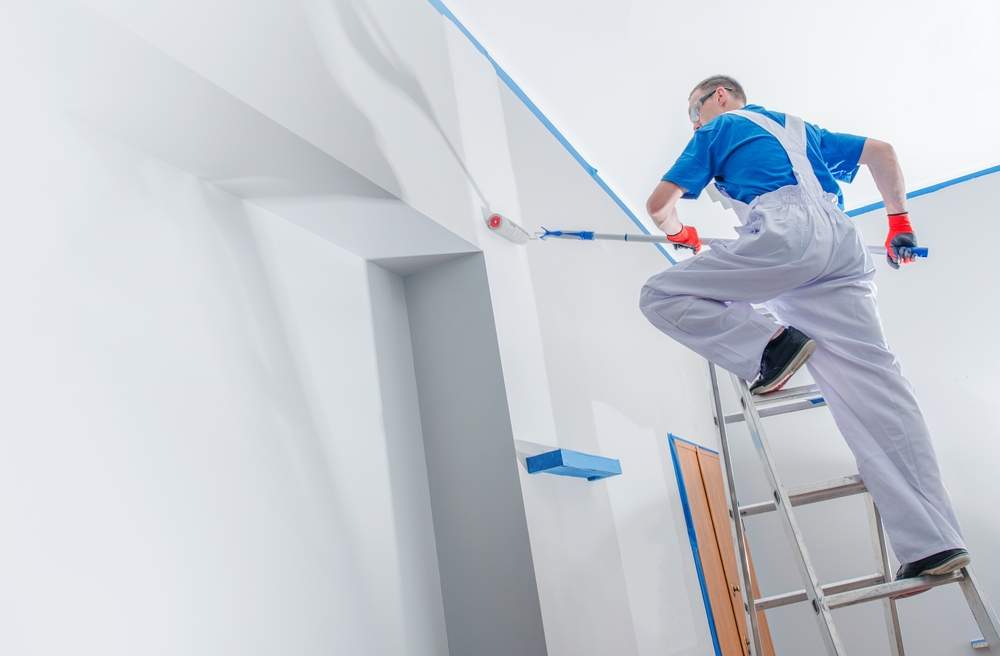
If you're a contractor working on a project, painter's tape is your best friend. This thin tape helps cover and protect surfaces and create clean, professional-looking lines. Multi-use blue painter's tape makes any painter's job easier, and the finished product looks impressive. However, you have to know how to use painter's tape to get that picture-perfect result!
Many factors can cause painter's tape to peel off paint as you remove it, causing damage and wasted time if you have to repaint. We'll explore some of the common causes of peeled paint, ways to prevent it and ways to fix it after the damage is done. Plus, we offer some tips for selecting the right tape for your job. Learn how to choose, apply and remove painter's tape for a professional finished look.

Factors That Cause Painter's Tape to Peel Off Paint
You spent hours painstakingly applying painter's tape and preparing a surface for a new paint job. You carefully painted to perfection. You're ready to peel away the tape and enjoy the finished result, but you find yourself pulling off your fresh coat of paint along with the tape. It's not uncommon — but why does paint peel off with tape? Several factors can contribute to this happening. Here are a few reasons why paint comes off with tape:
Incorrect Type of Tape
You may be using painter's tape that is too strong or too sticky for your surface. If this is the case, it may cause the tape to peel off layers of paint along with it. Masking tape will peel off paint, so you'll want to use a tape designed for painting. Check out our suggestions below for finding painter's tape that won't peel paint.
Unfavorable Temperatures
The temperature of the room can impact the quality and dryness of the paint, wreaking havoc on your painter's tape. A room that's too cold may cause the paint to be brittle. A hot room can make the tape sticky and difficult to remove. The room or area should be 50-100 degrees.
Waiting Too Long
Timing is everything. It's important to know when to pull off blue painter's tape for the best results. If you're new to painting, you may be surprised to learn that waiting until the paint is completely dry is a no-go. While it may seem counterintuitive, waiting for the paint to dry completely increases the likelihood of peeling. Instead, you'll want to wait about an hour after the application to start removing the tape. That way, the paint will be damp but not dripping wet.
Removing Tape Too Quickly
Ripping the tape from the surface too quickly can also result in damaged paint. Keep it slow and steady for better results. As you slowly remove the tape, keep your eyes peeled for any cracking or bubbling. That way, you can readjust your tape removal to address those issues.
Uneven Surfaces
An uneven surface could be the reason your painter's tape is peeling off paint. If there is debris, holes or bumps on your surface, the tape will not be able to adhere. Any gaps will create space for the paint to fill, which, when dry, will pull up along with the tape. The result is often a peeled mess. High-tack green painter's tape is often the best solution for painting on uneven surfaces.
How to Remove Painter's Tape Without Peeling Paint
What can you do to prevent peeled paint in the future? There are plenty of ways to ensure a peel-free and perfect paint job. In summary, the best way to remove painter’s tape without peeling off the paint is to remove the tape at just the right time when the paint is dry but not fully cured. This is typically about an hour after application.
There are a number of other tips that will help you avoid peeling any paint off with your painter’s tape. Follow these steps, both before and after you paint, to keep those lines as clean as advertised:
Before You Paint: Tips for Proper Tape Application
Before you start painting, follow these steps. You'll need a clean, smooth and primed surface to paint on. Dirt, dust or bumps on the surface can cause issues for your tape or paint. Be sure to use the right type of painter's tape and test it out before covering large surfaces. Here are a few tips for applying painter's tape:
1. Clean the Surface
Before applying your tape, clean the surface area with soapy water to remove any dirt or dust. Rinse it and let it dry completely before you start unrolling your painter's tape. Dust, sweep or vacuum the room where you'll be painting, especially around the edges of the surface.
2. Smooth the Surface
Any rough spots on the surface? Use fine-grit sandpaper to smooth any bumps. If you have any holes, fill them with putty until the surface is completely even. This will prevent gaps in the tape. A rough, bumpy surface is not a friend to paint or painter's tape.
3. Prime the Surface
Use a quality primer to prep the surface, whether it's a wall, door or trim. Applying primer allows for better adhesion of paint and helps create a clean, even surface. It's always a good idea to use primer — it's recommended for almost all painting projects. When in doubt, add a coat of primer.
4. Use the Right Type of Tape
Of course, using high-quality painter's tape will help you achieve the results you desire. But it's important to note that different paint jobs require different types of tape. Find the right tool for the task for the best results. Keep in mind that the strongest adhesives are almost never necessary for indoor projects — medium-tack blue tape is usually a better choice.
5. Give It a Test Run First
We recommend testing the tape on a patch of wall that you plan to paint over. Remove it after a few hours — if it pulls off any paint, you'll know the adhesive is too strong for the project.
6. Wait Before Painting
Once you've cleaned and primed the surface, you have the right kind of tape in-hand and you've tested it out, go ahead and apply it. You may want to jump right into painting at that point, but you should actually wait a bit first. After you've applied the tape, wait about 30 to 60 minutes to start painting.
After You Paint: Tips for Proper Tape Removal
Once you've finished painting, be careful as you remove the painter's tape. Remove the tape at the right time, without rushing or waiting too long. When you're ready to remove the tape, take it slow. Be mindful and pay attention as you remove the tape. Here are a few tips for removing painter's tape without running into issues:
1. Remove Before It's Dry
While you don't want the paint to be dripping wet, waiting until the paint is completely dry will increase the odds of peeling. If you're wondering when to take paint tape off for the best results, wait for about an hour after the application to remove the tape.
2. Be Gentle and Take Your Time
Slow and steady wins the race. While you might be eager to see the finished look, take your time. Be gentle as you peel the tape off. Do so at a 45-degree angle to help prevent any peeling. As you do, keep your eyes open for any peeling, splotches or other issues. The sooner you notice them, the more you can do to prevent them.
3. Remove and Reapply Tape Between Coats
You may be tempted to use the same tape for multiple coats of paint, but this is not a great idea. Instead, remove the tape while the first coat is still a bit damp. Then, retape in preparation for the second coat. This may seem painstaking, but it'll save you time by decreasing the odds of tape-removal issues.
4. Remove Tape Residue
You may need to remove leftover tape residue, especially if you used tape with too strong of an adhesive. This is easy to fix. Wait until the paint is completely dry, then gather a sponge and soapy water. You can use detergent, but only if it's mild-strength. Gently remove the residue using the soapy, wet sponge. If you try to scratch it off, you may damage the surface or the paint.
How to Fix Paint Peeled off by Painter's Tape
Perhaps you waited too long to remove the tape or used a tape with too strong of an adhesive. Maybe there were bumps or crevices in the wall you missed. Regardless of the reason, if you've noticed your tape pulling off paint, all hope is not lost. You can fix it!
If you find your painter's tape removing paint, stay calm. Following certain tips and tricks will help you fix your mistake and reverse its effects. When this happens, try some of these strategies for fixing the issue:
Stop as Soon as You Notice Paint Pulling Off
First of all, stop as soon as possible if you notice paint is coming off with your tape. It's much easier to prevent it from continuing than it is to fix it once it's happened. When you start to pull off tape, take it slow and watch for any issues.
Use a Razor Blade to Cut Away Tape
If you've started pulling off tape and noticed chipping, pause for a moment. Find a razor or putty knife. You can cut away the rest of the tape using the blade. Slide the blade between the tape and the wall to cut them apart as you go. This will break the adhesion between the tape and the layer of paint, allowing for a clean edge.
Sand the Edges
Before you attempt to reapply paint where the tape has pulled it off, be sure to sand down the edges. Otherwise, you'll have uneven, bumpy-looking paint. Feel the area with your hand to make sure it's smooth.
Reapply Primer and Paint
Once you've sanded the edges, reapply primer. Let the primer dry, and then repaint any missing paint spots. If you had already done more than one coat, you can wait for the repaint to dry and then go over it again.
When repainting, you can use new tape to block off the areas that need to be repainted, but be sure to follow all steps for proper applying and removal of tape.
Benefits of Using Multi-Surface Tape
As you can tell, it's much easier to use the right kind of tape in the first place than it is to fix tape removal problems. When tape pulls off fresh paint, it can be time-consuming and challenging to fix. For better results, choose a versatile painter's tape. A good option is to use multi-surface tape.
No matter your project, you can use multi-surface tape to create clean lines and a high-quality finished look. You can even save money by eliminating the need for any touch-ups after you're done painting. Instead of spending money on different types of tape or making numerous trips to the store, you can feel confident in choosing multi-surface tape.
This type of tape allows for clean removal from surfaces, both inside and outside. Some common applications include:
- Metal
- Glass
- Hardware
- Trim
- Carpet
- Cured painted walls
- Stone
- Unfinished wood
Multi-surface tape is perfect for basic masking applications or even more complicated designs, including stripes or geometric patterns. You can remove the tape without any sticky residue, and you'll notice the tape won't pull paint off as long as you apply it correctly. You'll get crisp lines and a perfect paint job every time you use it.
Purchase Premium Blue Painter's Tape From TapeManBlue
If you're on the lookout for quality, residue-free tape you can trust, order your bulk supply of blue painter's tape today from TapeManBlue. We offer premium multi-use painter's tape that will leave walls with clean lines and no sticky residue. Rather than going back over your work and fixing issues, you can simply pull off the tape, stand back and feel proud of the result. When you choose TapeManBlue's multi-surface tape, you'll save yourself time, frustration and energy.
With bulk quantity discounts and free shipping on all orders, our team at TapeManBlue is committed to providing painter's tape that's both durable and affordable. Place your TapeManBlue order today!

