
When painting a room in your home, you want to get the job done right the first time. You'll be looking at the walls every day, after all. Rest assured, you don't have to be a professional to pull off a professional-grade paint job. With the right paint supplies, anyone can spruce up a room in no time. Plus, the only thing getting ripped off will be your painter's tape after a job well done.
To save you time, we've put together a painting checklist with everything you'll need to start and finish a painting project. When you're ready to go shopping, print out the list, take it to the store and check things off as you put them into your cart.
Download the Painting Project ChecklistPainting Project Essentials
Some supplies are more important than others when you're painting a room. For example, you won't get very far without the paint. Beyond that, you need supplies to help you put the paint on the wall and to protect the area around you.
Here are the essential supplies you need to have handy when painting your home.
Paint
Picking out paint can be the most enjoyable part of a painting project. You get to envision how your home will look with a fresh coat of paint on the walls or with details such as an accent wall or freshly painted trim. Along with choosing paint colors, you also want to consider the type of paint you'll use.
Interior paints can be oil-based or water-based, with the majority of paints used today being water-based. Oil-based paints tend to have a longer lifespan compared to water-based products. They do take much longer to dry, though, and can be more difficult to remove or paint over.
Another thing to consider is whether you want to use a low-VOC paint or not. Low or no-VOC paints off-gas less than traditional paints, meaning they are less likely to cause respiratory issues or headaches. Usually, a low-VOC paint is water-based, rather than oil-based.
You also want to think about the finish of your paint, which determines how much sheen or shine it has. Finishes include:
- Flat or matte: This is the least shiny or reflective finish.
- Satin: Satin is slightly more reflective than flat.
- Eggshell: Eggshell is more reflective than flat but less shiny than a semi-gloss. These finishes are a good option for areas where you'll want to be able to wipe the walls clean.
- Semi-gloss: This finish is very reflective and often ideal for use in areas with a lot of moisture.
- Gloss: Gloss is the shiniest and most reflective paint finish.
How much paint you buy and the type of paint you use depends on where you're painting and the size of the rooms. If you're painting in the kitchen or a bathroom, it's a good idea to use bathroom/kitchen paint, which is often designed for high-moisture areas. You're also going to need two to three gallons of paint for the walls of the rooms and a gallon or two for the ceilings, doors and trim. You can use a paint calculator before shopping to take the guesswork out of buying enough paint.
Primer
Overlooking the need for primer is a rookie mistake. Applying a stain-blocking primer before painting can go a long way in ensuring that your paint job will look fresh for years to come. The primer will help to cover up any existing paint and imperfections on the walls. It also helps to create a smooth surface that your paint can better adhere to. Some paints include a primer in them, so you might not need to purchase two separate products.
Brushes and Rollers
Depending on your project, you'll probably need a few different tools in this department. Angled brushes are great for painting precise lines in tricky areas, like along the ceiling and windows. You'll want to use a roller if you're covering a wide area — it's much faster than using a brush, and it will give you clean, consistent coverage.
Here's a quick rundown of the brushes, rollers and other supplies you'll need:
- Flat paintbrushes: You'll want to stock up on several 3-inch, flat-edged paintbrushes for your project. You'll use the flat paintbrushes to cut in or paint a border around the area where you'll be painting. Cutting in helps to define the project area.
- Angled paintbrushes: Corners and edges can be tricky to paint without having the paint bleed. Using an angled paintbrush is one way to prevent bleeding or paint drips and to help your project look neat and tidy.
- Paint rollers: A paint roller covers a much larger area all at once compared to a brush. Get at least one roller for each person working on the project.
- Extension rods: An extension rod screws into the bottom of a paint roller and allows you to reach up to the top of the wall. You can also use an extension rod to help you reach a ceiling you're painting. Get one for each roller you'll be using.
- Paint roller covers: A paint roller cover is a foam or fabric-covered cylinder that slides over the roller frame. Get at least one cover for each roller. You can usually find them in multi-packs. You can wash and reuse roller covers if you wish, or you can swap out covers every time you change the paint color.
Paint Trays
A paint tray is a necessity if you're using a roller. It's a lot easier to dip a roller into a wide, shallow paint tray that it is to try to get it into the mouth of a paint bucket. Using a paint tray also lets you remove excess paint from the roller or brush before you apply it to the wall, which helps to prevent drips. Metal trays work best with rollers.
Even with brushes, a paint tray will help you control how much paint you're using and avoid spills. If you're using a small brush and you only need a little bit of paint, you don't need a fancy tray — a disposable plastic cup will work just fine!
Surface Protection
Make sure to wear clothes you don't mind getting a little paint on. More importantly, you'll want to be careful about protecting furniture and surfaces in your home — these things aren't as easy to replace.
For big furniture that would be a hassle to move into another room, invest in some plastic covers or tarps. Use a tarp or drop cloth on your floor, too, to keep paint from staining the carpet or other material. Dropcloths come in a variety of sizes and materials. Thin, plastic dropcloths usually have the lowest price but are also usually single-use. Canvas dropcloths cost more upfront, but you can often reuse them many times.
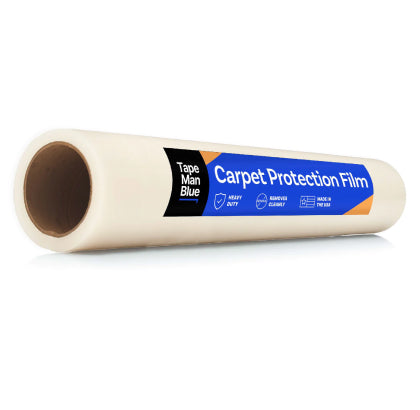
For surface protection that's safer and more reliable, consider using carpet or floor protection film to keep paint off of the floors. Protection films are self-adhesive, provide clean removal, reduce the likelihood of tripping and ensure the paint doesn't stain your carpet or floor as you work.
Shop Carpet Protection Film Shop Floor Protection FilmPainter's Tape
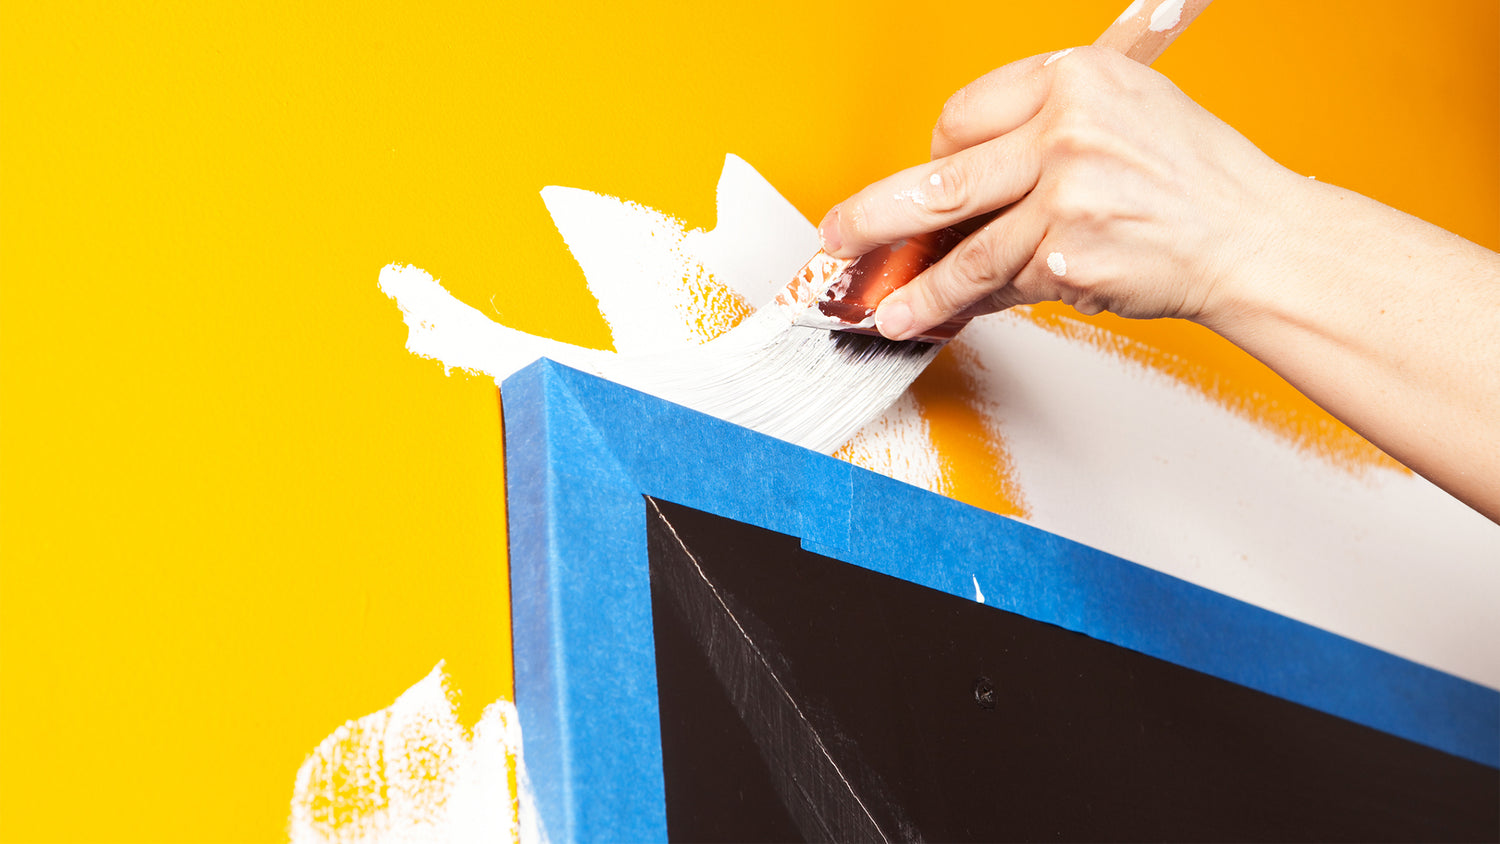
Even with a precise, angled brush, it's nearly impossible to get perfectly clean lines without the use of painter's tape. Using high-quality painter's tape is the best way to make sure you're getting the job done right the first time. You don't want to worry about paint seeping through tape that's not sticky enough, or residue damaging your walls if the tape is too sticky or left on too long.
Make sure you get enough painter's tape for your entire project so that you don't have to run to the store in the middle of things. For example, if you're painting three 100-square-foot rooms, you're likely to need three 60-yard rolls of painter's tape, and you might want to buy an extra one just to be safe. There are lots of creative ways to use painter's tape, so it doesn't hurt to have extra rolls on hand.
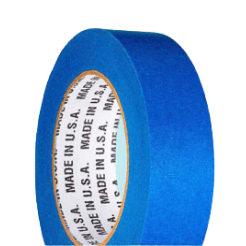
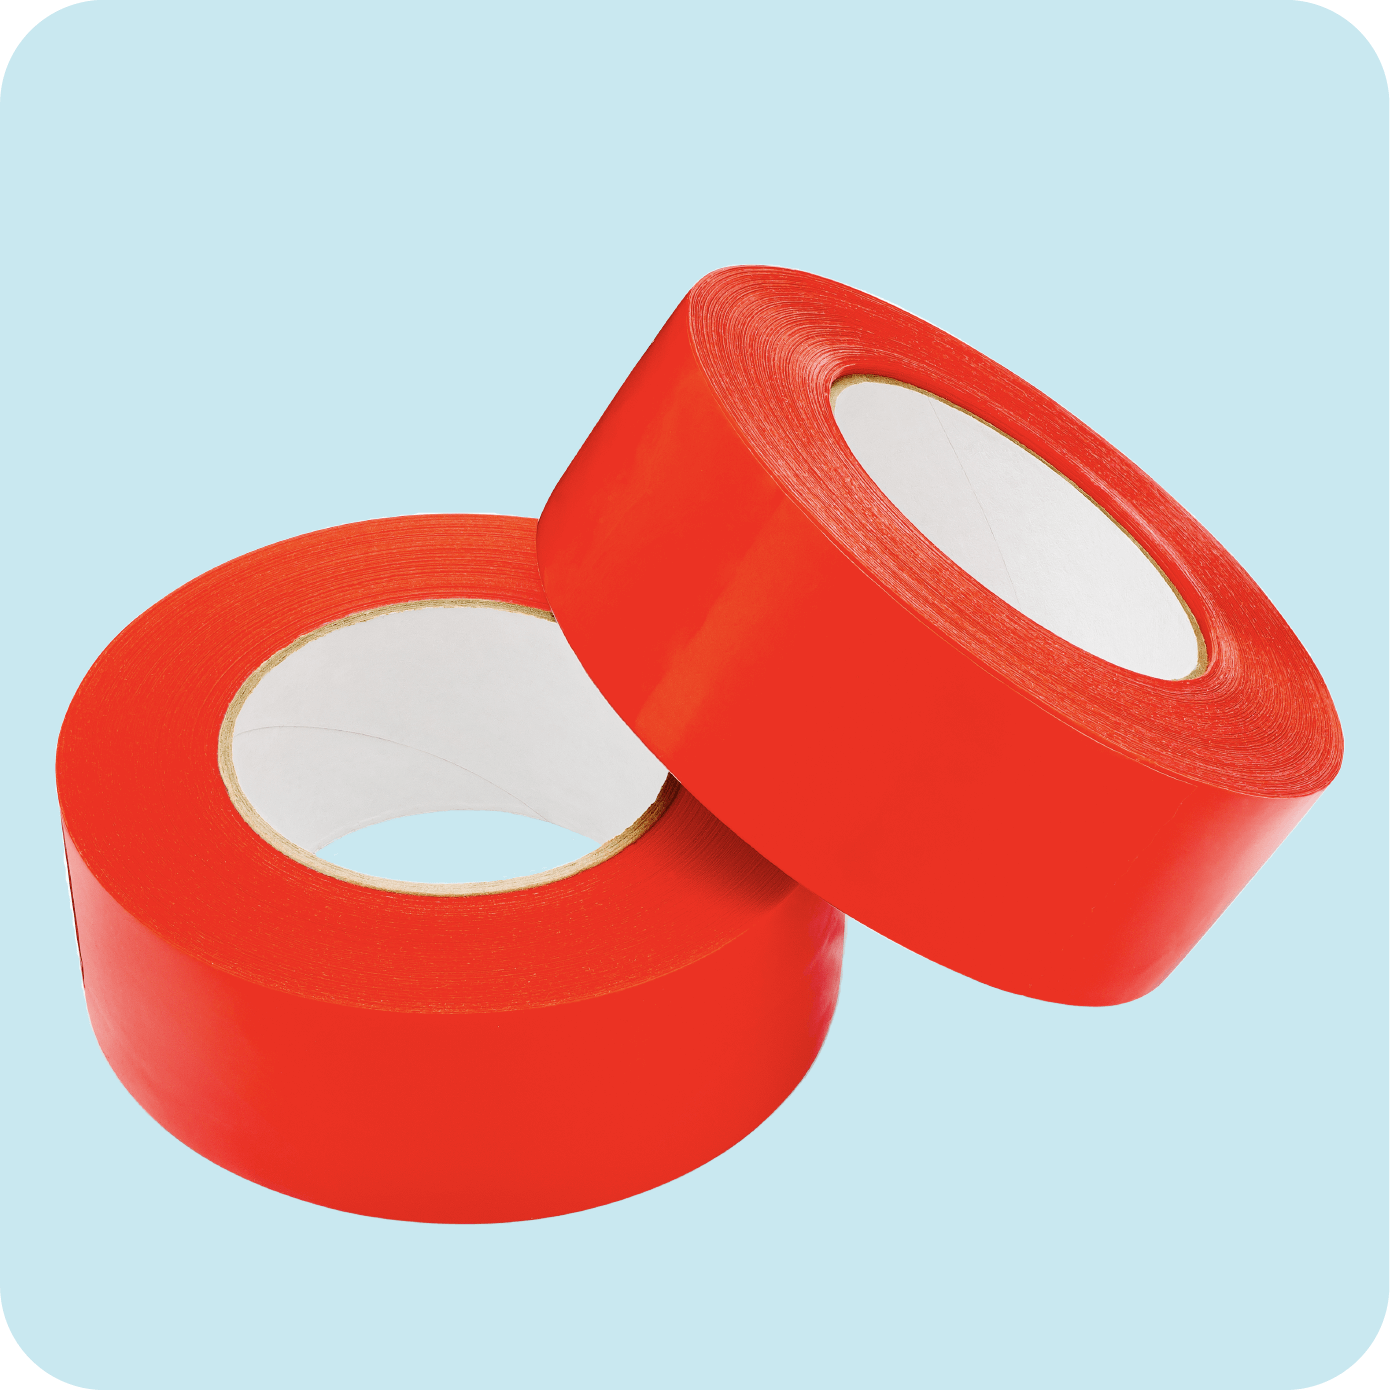
Knowing which type of tape you need is another vital step in getting the job done right. If you plan on painting on rough, uneven surfaces, you may want to opt for green painter's tape over blue painter's tape.
Along with having the basics, there are some additional supplies you'll need for a smooth project from start to finish. We've broken down the list by project phase, from prep all the way to clean-up.
Shop Blue Painter's Tape Shop Green Painter's TapeCleaning Prep Essentials
Depending on the state of your home's walls, you might need to do some cleaning before you start painting. Here's what you'll need for the pre-painting clean:
- Microfiber cloths: Use microfiber cloths to catch and remove any dust from the walls and ceilings before you start your project.
- Detergent: It's a good idea to wash the walls before you begin painting. Use a mild detergent or soap to clean the walls.
- Bucket: You'll want to get a bucket to hold the soapy water you use to wash the walls.
- Sponges: Stock up on a few sponges to make it easier to clean the walls.
- Scrub brushes: There might be a few areas that have stuck-on dirt or other hard-to-remove stains. Get a couple of scrub brushes to make it easier to remove any tricky stains.
- Bleach: If you're going to paint in a bathroom or other area that's been exposed to moisture, you might encounter mold or mildew. If that is the case, some bleach will make it easy for you to remove the mold. Dilute the bleach with water per the instructions on the bottle.
- Vinyl gloves: Get some vinyl gloves to wear to protect your hands from the bleach. You might want to wear gloves even if you're only going to use mild detergent or soap.
Painting Prep Essentials
Once everything is cleaned, you can focus on preparing the area for paint. Here's what you're likely to need for the prep stage:
- Screwdriver: You'll need a screwdriver to remove the switch plate covers from outlets and light switches, as well as the covers from any registers and vents before you start painting. Depending on the size and type of the screws that hold the covers in place, you might need both a Philips and a flathead screwdriver.
- Spackle: If you had anything hanging from the walls, the hanging hardware might have left holes. Use spackle to fill in the holes to create a smoother surface for paint.
- Spatula or putty knife: You'll need a spatula or putty knife to apply the spackle to the wall.
- Paint scraper: Depending on the condition of the paint on your walls, you might need a paint scraper to remove peeling paint.
- Sandpaper: Stock up on some fine-grit sandpaper to use to smooth the surface of the paint on the walls, helping the new coat to adhere better.
- Sponge or washcloth: After you've spackled, scraped and sanded, you'll want to wipe the walls clean with a damp cloth or sponge.
- Caulk and caulk gun: You'll want to caulk certain areas, such as the joints of walls, to help the paint adhere better.
- Wood putty: If you are painting any wooden areas, you'll want to apply wood putty to any holes before you begin.
- Ladder: Depending on how tall you are and how tall the walls you're painting are, you might need a ladder or step-stool to reach the highest parts.
- Stirrer: You'll need to stir the paint before you begin. You can usually get wooden stirrers for free when you buy your paint.
Clean-Up Essentials
After you've finished painting the room or are wrapping up for the day, it's time to clean up. While you can most likely reuse many of the supplies you bought for the pre-painting cleaning, there might be a few items you want to purchase specifically for the post-painting clean-up:
- Paint thinner: If you were using oil-based paints, you'll need paint thinner to clean up any paint that spilled somewhere it shouldn't have.
- Rags or washcloths: Get some rags or cloths to make it easy to wipe up spills or the top of the paint bucket.
- Trash bags: Have a few trash bags handy to collect any debris or garbage from the project, such as used floor coverings, worn-out roller covers and empty paint buckets.
- Hammer: If you have paint left over, you'll need a hammer to secure the lid back on the bucket.
- Mineral spirits: If you use oil-based paint, you'll want to use mineral spirits to clean the brushes and rollers. If you use latex or water-based paint, you can clean the brushes and roller covers using soap and water.
- Paper towels: It's always a good idea to have a roll or two of paper towels handy to wipe up spills or to help clean the brushes.
Essential Protective Gear
Although painting is generally a safe project, and the introduction of low-VOC and no-VOC paints has helped to make it even safer, there is some gear you'll want to keep your eyes, respiratory system and skin safe:
- Safety goggles: Get at least one pair of safety goggles for every person working on the project. The goggles will keep paint and dust from getting into your eyes.
- Vinyl gloves: Vinyl gloves will protect your hands from bleach and detergent when you're cleaning up before and after painting. They're also good to wear if you're using mineral spirits or paint thinner to clean up.
- Dust mask: Sanding and scraping paint produces a fair amount of dust. Wearing a mask that covers your mouth and nose will help you avoid breathing in dust. If the paint you use is particularly smelly, the mask will also help you avoid breathing in a lot of fumes.
Project Planning and Painting Tips
Along with knowing what to buy for your painting project, it's important to know how much you need so you don't have to drop everything and run to the store for more painter's tape or paint in the middle of the project. It's also helpful to know the best way to paint to get an amazing-looking finished project. Here are a few tips to help you:
- Split up larger projects: You can likely finish painting one room in a single day, but bigger projects are going to take more time. Divide the project so you have a logical endpoint for each day and so that you don't have to walk away with half of a wall painted. For example, decide to paint one small bedroom on the first day, then return to do the ceiling on day two. On day three, paint two walls in the much larger living and dining room of your home, then paint the remaining two walls on the fourth day. When you split up your project, you also have a goal to work toward each day, which can help you feel a sense of accomplishment as you work through a bigger project.
- Work in small segments at a time: Instead of trying to tackle the entire surface of a wall at once, use a brush to cut in smaller sections, measuring about 3 or 4 feet on each side. Once you've cut in a section, you can use the roller to fill it with paint.
- Paint with "M" or "W" patterns: When you're using the roller to apply the paint, create patterns in the shape of an "M" or "W." Doing so helps you get the most coverage and will create an even, smooth look.
- Buy the best quality products you can: The higher the quality of paint, brushes and painter's tape you use, the better your project will look.
- Remove painter's tape ASAP: Although painter's tape can stay on the walls for up to 21 days and still remove cleanly, if you want to minimize the risk of peeling away the new coat of paint, try to remove it before the paint has dried completely.
Browse our selection of blue painter's tape and surface protection products, like floor protection film. Contact us today for help getting started on your next project.
TapeManBlue Is Here for You
Ready to start painting a room in your home? Stick to TapeManBlue for quality, American-made painter's tape you can trust. Plus, we offer free shipping and discounts on bulk purchases.

Download the Painting Project Checklist Shop Green Painter's Tape