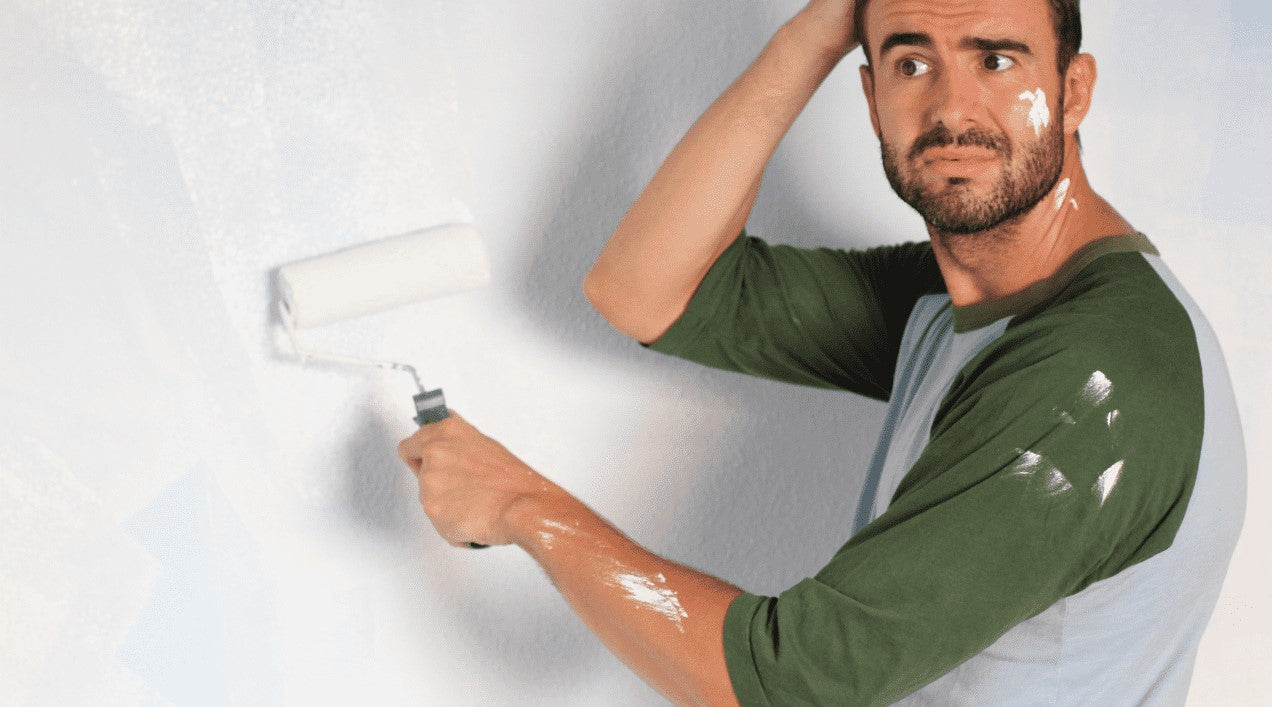

While painting fails may seem hilarious in retrospect, they still cost you time and money to redo. In this article, we'll cover the most common painting mistakes, so you can learn from others' errors.
@shay_creates Open to suggestions on how to salvage my design! 🥺🙏 #fail #renovation #painting #momlife ♬ Oh No - Kreepa
1. Painting Your Interior on Rainy Days
It's essential to consider the weather, even when doing an interior paint job. Though painting your interior walls seems like a good project for rainy weather, you'll need to open your windows for ventilation purposes — and when the windows are open on a rainy day, your space will become much more humid. Unfortunately, extra moisture can slow down the drying process of the paint, resulting in blisters or bubbles ruining its appearance.
Therefore, even when you paint indoors, do it on a sunny day with minimal wind. To keep the humidity low while your paint dries, use a dehumidifier or a few fans to circulate the air.
2. Painting Your Exterior in Hot Weather
Choosing optimal weather is even more important when painting outside. To avoid exterior paint fails, you want to avoid extreme weather at all costs. In direct sunlight or high heat, paint tends to lift away from the underlying surface, resulting in blisters or bubbles. Pick a day with temperatures under 85 degrees Fahrenheit. Also, follow the shade, as the temperature of a surface is often much higher in direct sunlight.
If you're painting with a dark color, you'll want to be extra careful, as darker shades absorb heat instead of reflecting it. Check out the light reflective value (LRV) on the back of the paint chip to see the reflectiveness of the paint.
3. Skipping the Primer
Outside paint jobs need additional lasting power to withstand the harsh natural elements, which is why using a good primer is especially important. DIYers sometimes skip over this step to save time, painting directly on the surface. However, doing this on wood can result in peeling and cracking, and doing this on stucco can lead to blisters and bubbles.
A primer is also important when covering up stains or going from a dark to a light color to ensure the darker base won't affect the new hue. When picking the right primer for your exterior paint job, there are several variables to consider, so make sure to consult the experts at your local hardware store.

4. Not Buying Enough Paint
Another common painting fail many DIYers make is underestimating the amount of paint to buy. The wrong measurements can cause a DIYer to miscalculate the amount they need to cover all their surfaces. Before you know it, you're left with a half-painted dresser.
Running out of paint necessitates an emergency run to the hardware store — and you may end up with two mismatched colors. To avoid this situation, carefully measure the space you'll be painting and check over your calculations with the professionals at your closest hardware store. Whatever you calculate, buy a little extra for touch-ups.
5. Not Buying the Best Tools
Many DIYers end up purchasing budget rollers and brushes, but to do a quality paint job, you'll need more than quality paints — you'll need quality tools. Cheap tools will cause high-quality finishes to show tracking, streaks, fuzz and brush marks. Spending a bit more money on the right rollers and brushes will ensure your paint job looks perfect. Plus, you'll have everything you need for your next project.
Additionally, you'll want to pick the appropriate roller cover, which will depend on the surface you're painting. If the surface is smooth, a short-nap or foam cover is most suitable, and for rougher surfaces, you'll want to get a medium-nap roller. A long-nap roller is best for textured surfaces.
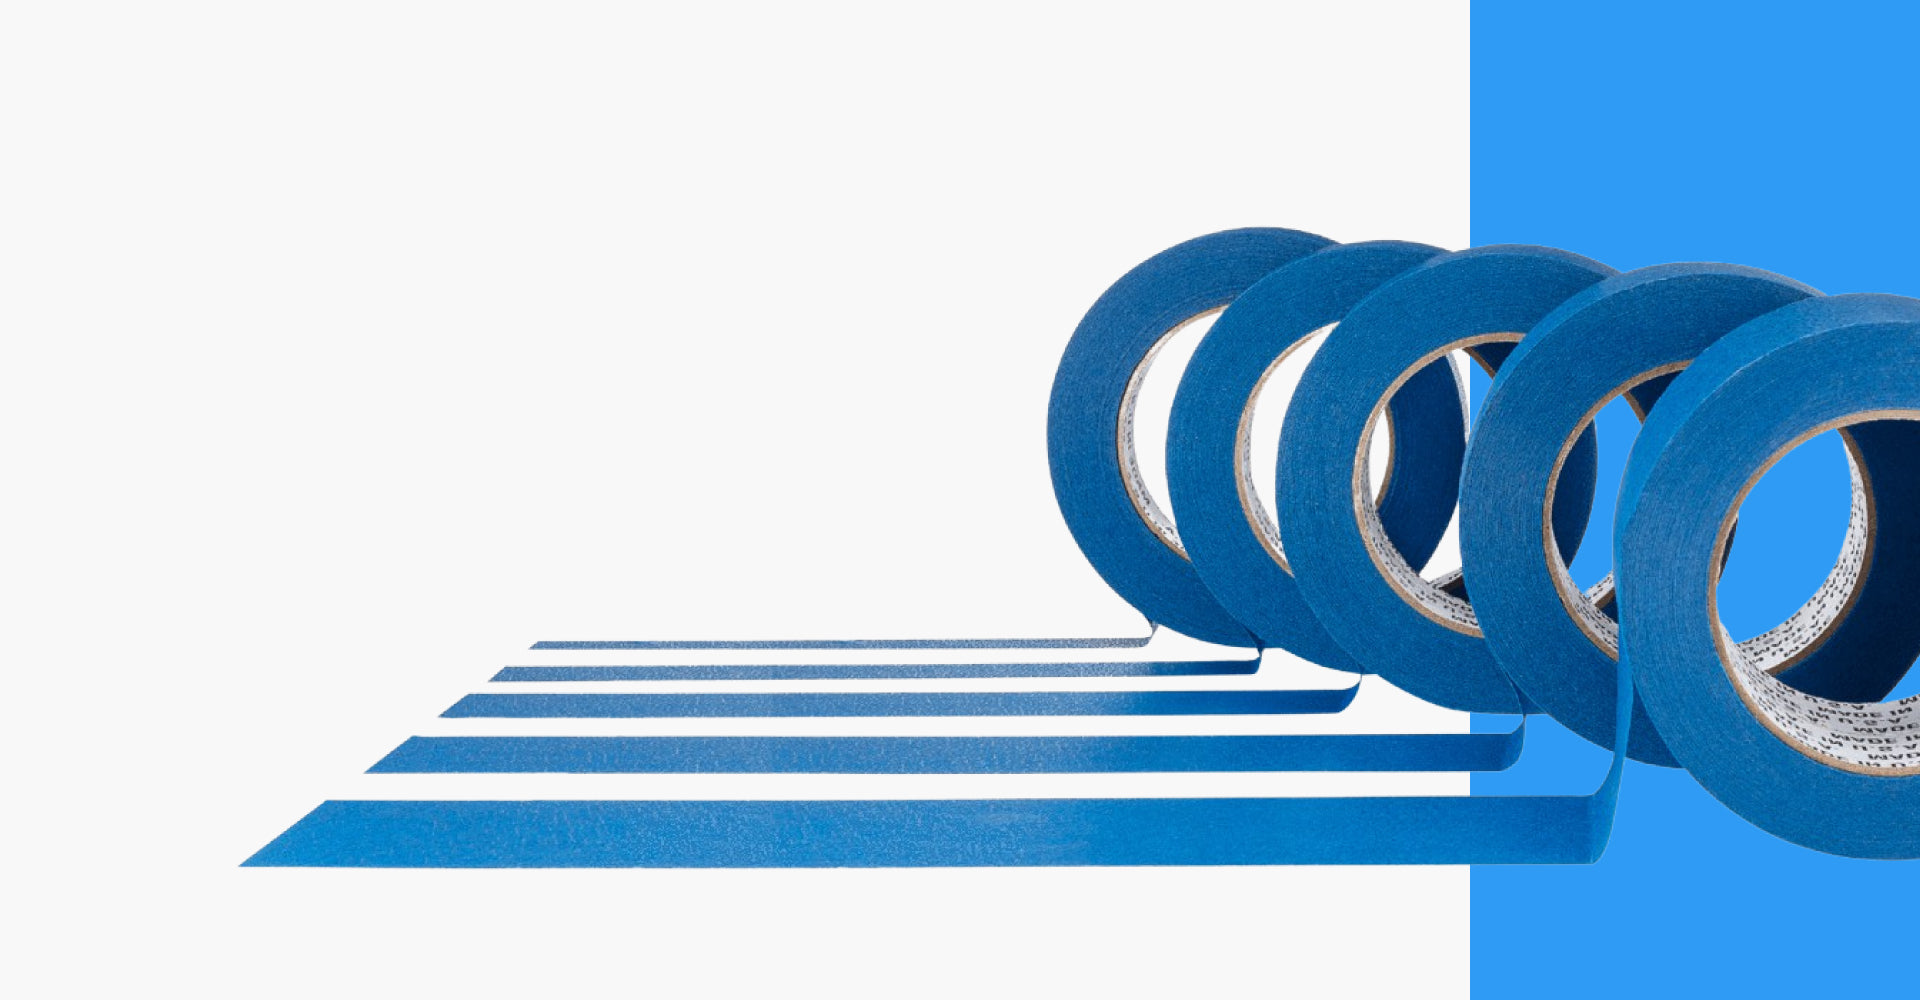
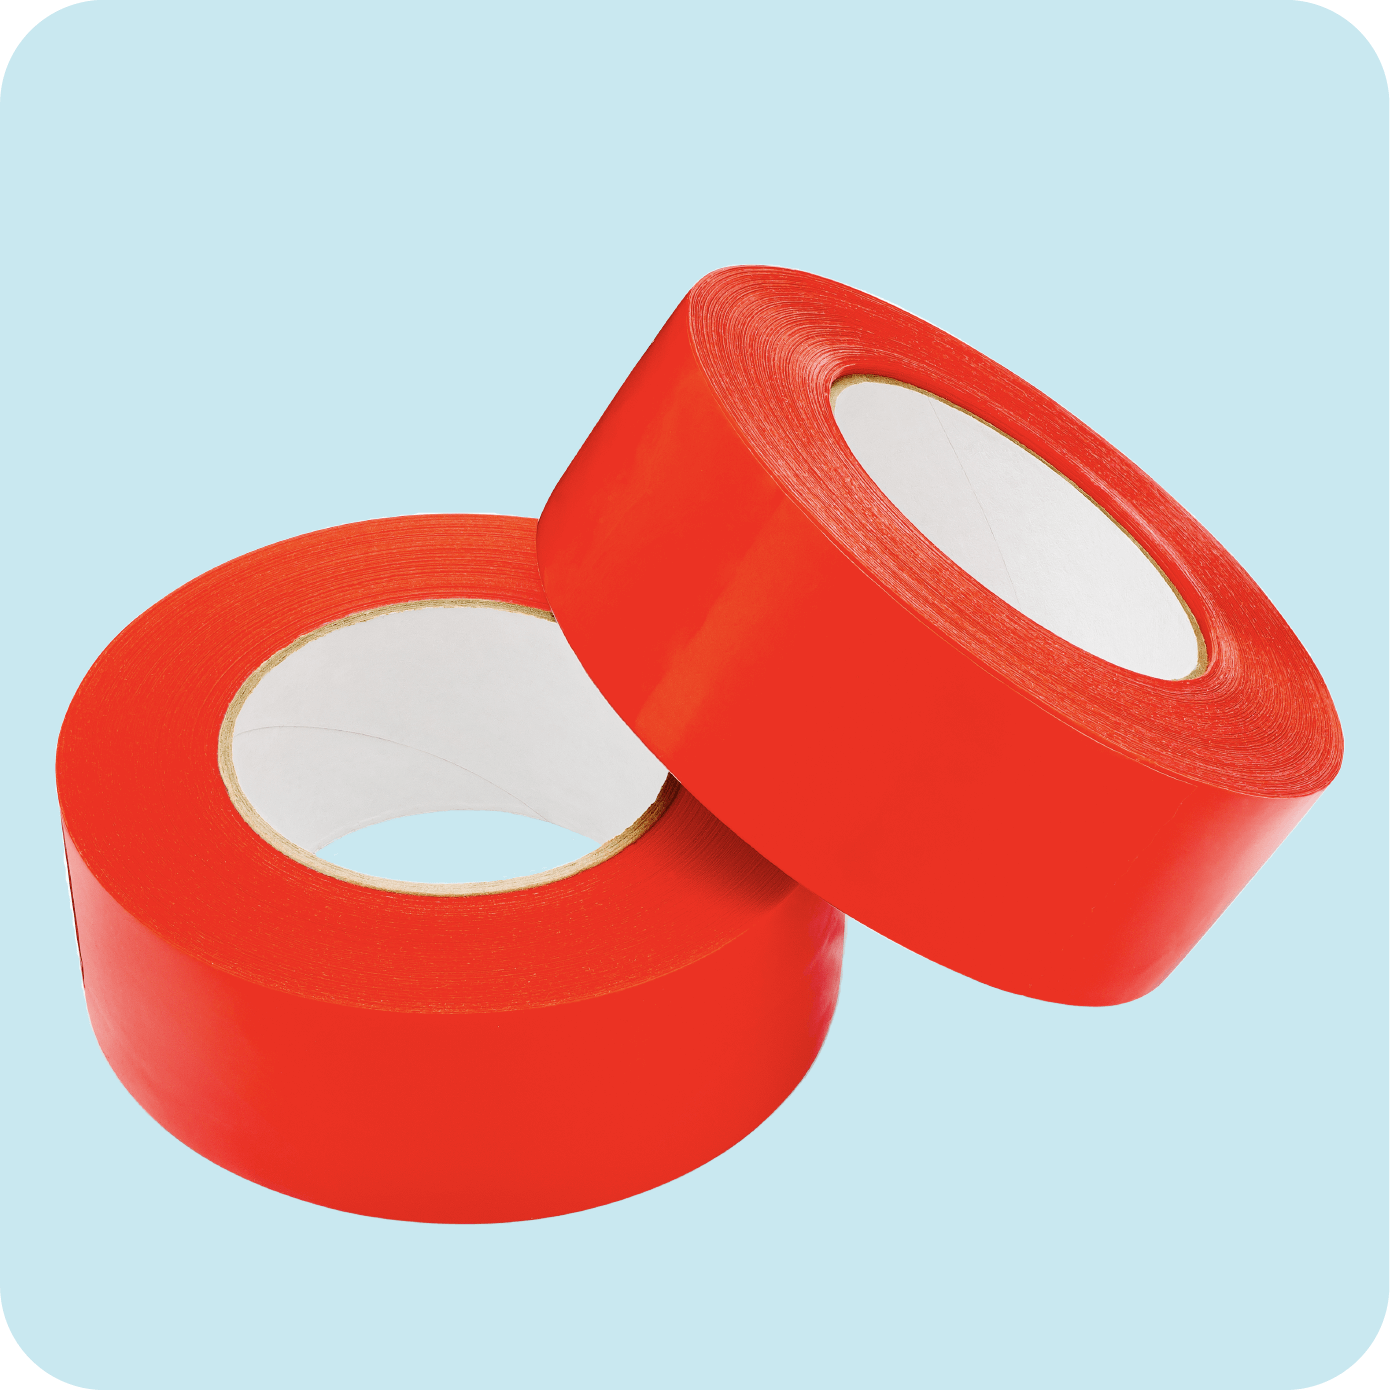
Don't skimp on painting tape, either. In fact, if you buy low-quality masking tape for your painting project, there's a good chance it won't stick for the duration of your project — or when removing it, it'll leave residue on the surface. With painter's tape from TapeManBlue, you can avoid both of these problems. When you buy our tape wholesale, you'll skip the frustrations both DIYers and professionals experience on projects of all sizes.
Shop Blue Painter's Tape6. Not Drawing Straight Lines
Perhaps the easiest way to tell a professional painter from a beginner is how straight they paint lines. While a beginner often has trouble painting straight lines by baseboards or ceilings, experienced painters can create perfectly straight lines every time. There are many tips for achieving straighter lines, including using an angled brush, but the single most effective tool is painter's tape, which you can use to create straight lines on almost any surface.
7. Bumping the Ceiling
Accidentally bumping the ceiling can sometimes require a time-consuming touch-up. However, you can avoid this situation altogether if you start the project by putting tape horizontally across the areas where the wall meets the ceiling. This tape buffer will ensure you're only painting the tape when you roll the roller up toward the top of the wall.
8. Bumping the Floor
If you're painting new walls and the baseboard hasn't been installed, leave a strip unpainted along the bottom where the baseboard will go. By painting too close to your floor, the roller cover might start picking up lint, dirt and hair, which will transfer to the wall.

9. Dripping on the Floor
To protect your floor from paint marks and spills, you need a drop cloth and some painter's tape. Simply drop the cloth across your floor, securing it with some painter's tape. Once the paint dries, you can easily pick up the cloth.
10. Not Using the Right Sheen
If you're not using the right sheen, your project won't turn out like you imagine — even if your application technique is flawless. To pick the right sheen for your job, keep the following in mind:
- Don't use high-sheen paints on imperfect surfaces: Its glossiness will bring more attention to the imperfections. If you want to use a gloss or semigloss sheen, you must ensure the surface is prepared properly and is as smooth as possible.
- Don't mix up multiple sheens: If you're using different sheens of the same color, label both of your cans. Mixing the two up is an easy thing to do, and you won't realize you've made a mistake until the paint is dry.
11. Not Cleaning Your Walls
It's all too common that a DIYer finishes their paint job only to notice there are rippled areas or dust particles stuck to their walls. You can easily avoid this situation by cleaning your walls before you start painting. Begin by running a vacuum over your walls. Then, wash your walls with a rag and water-vinegar solution. The solution should contain a gallon of warm water and two cups of vinegar. Don't forget to wash the baseboards and the corners, as well.
12. Using the Incorrect Paintbrush
The paintbrush you use depends on which kind of paint you're applying. If you're using latex paint, pick up a brush that has synthetic bristles. Alternatively, when you're using oil-based paint, a natural bristle brush will be your best bet. This way, you'll get the perfect finish.
13. Leaving Painter's Tape Up for Too Long
Ideally, you should remove your tape about an hour after you're done painting. However, if you leave it for too long and the paint starts to come off with the tape, there's a solution — gently score along the tape's edge with a razor blade while peeling it back. Another option is to heat up the adhesive with a blow dryer, which will loosen it. Then, roll it away from the wall with your fingers.
14. Leaving the Lid Off the Paint Can
When you take the lid off your paint can, you should put it back on immediately. The most obvious reason for doing so is that an open lid is easy to step on. Furthermore, keeping a lid on your paint will keep it clean and prevent it from drying. Also, if you're working with multiple similar colors, keeping the lids on your can will reduce the chance of mixing the colors up.
15. Forgetting to Lock Your Pets Out
A dog or cat can wreak havoc on a painting project, knocking paint cans over, brushing against walls and even grabbing the paintbrush with their mouth. If you have pets, keep them locked away throughout the duration of your project. As a result, you can keep them safe while protecting your project.

16. Picking an Inappropriate Color
Another common paint mistake is one that happens before you even pick up your brush — picking a color based on a color chip. DIYers will often choose an attractive color from a strip at their local hardware store and order the paint. Unfortunately, when they eventually put the paint on their walls, it looks different from the one they chose at the store.
To avoid this issue and get a real idea of what your paint will look like on your walls, ask the store to provide a small paint sample for you to take home and try on your wall. Then, look at the paint in both natural and artificial light and during the day and night. If you end up not liking it, you can easily make another run to the paint store and request a different sample.
17. Rolling in Only One Direction
To avoid creating overlap marks on the ceiling, make sure to maintain a wet edge. We recommend working in 5- to 6-foot square sections. Move from one section to another quickly to ensure the paint along the edge doesn't dry before rolling the next section. Roll each section again at 90 degrees to your first rolling direction as you go along.
18. Painting in Poor Light
If you paint in dim light, you may end up with a paint job that doesn't look right in any other light. To avoid this problem, aim to start painting in the early morning. If the room you're painting has lots of big windows, be sure to open them to get all of the natural light possible. Alternatively, you may be painting a closet or bathroom that doesn't have windows. Try bringing in extra lights to help illuminate the space while you work in these areas.
19. Missing Spots
Missing a few spots is a mistake both beginners and experts make. If you're in a hurry or painting a big room, missing spots is easy, as is spreading the paint a little too thin in places. Painting too thinly can ruin the overall aesthetic of the paint job, so it's a good idea to focus on making the coverage as even as possible.
If you've noticed there's a spot missing paint, don't grab the leftover paint right away. Wait for your wall to completely dry, which can take several hours, then touch up the area.
Explore Our High-Quality Painter's Tape and Surface Protection
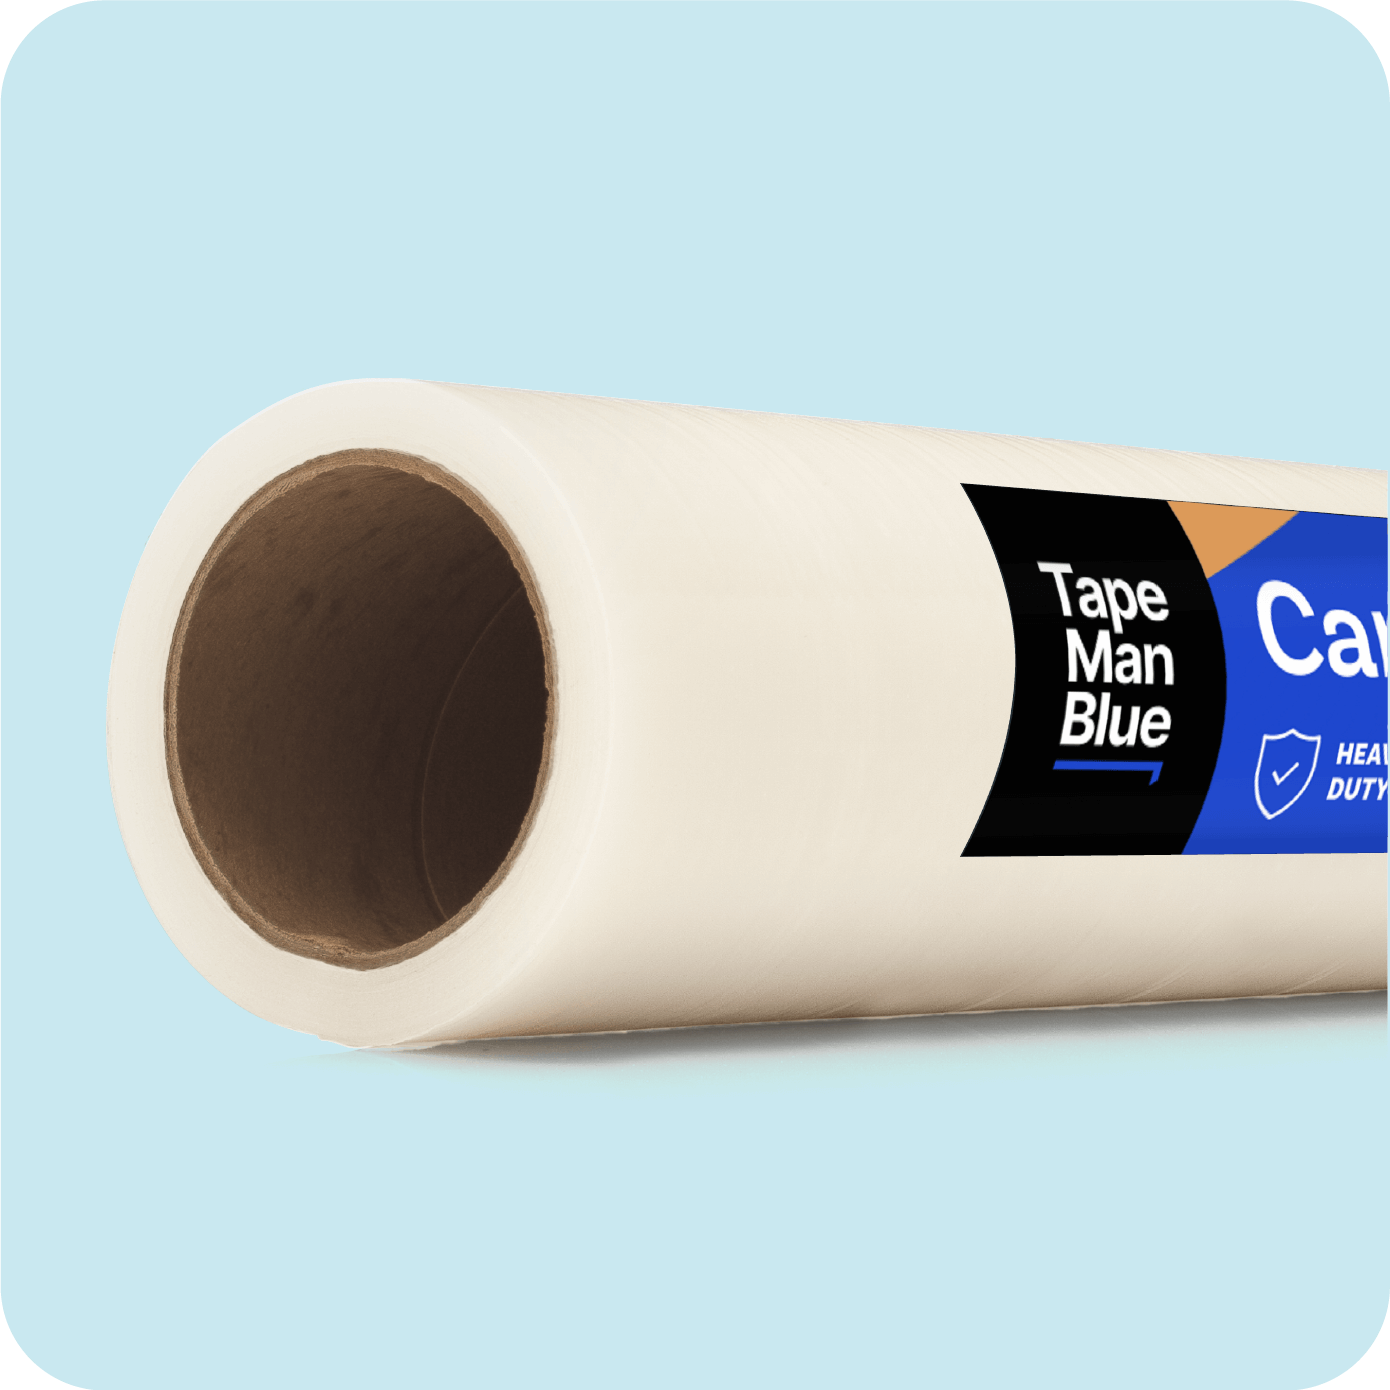
To ensure your paint job turns out great, you'll want to use Blue Painter's Tape from TapeManBlue, a high-quality product you can cleanly remove for up to 21 days. It's also UV-resistant, which means it can be used for both indoor and outdoor projects. Our tape comes in a variety of widths ranging from 3/4 inches to 3 inches.
At TapeManBlue, we want our customers to be satisfied with their product and productive in their work, which is why we provide our tapes and protective films at reasonable prices. Other benefits our customers receive include:
- Free shipping: If you're located anywhere in the contiguous 48 states, you'll enjoy free shipping on all your orders.
- Bulk discounts: We keep our prices down by maintaining reasonable order minimums, which also helps our customers sustain manageable inventory.
- Easy ordering online: Whether you buy our products from our site or on Amazon, purchasing TapeManBlue products is extremely convenient. All products include useful descriptions and measurements, so you can always have peace of mind when buying online.
- Made in the USA: While many other brands source their materials internationally, our tape is made in the USA with entirely American-made materials.
In addition to all the above benefits, we offer strategic partnerships. Get in touch with us to talk about our strategic affiliate partnership for franchisees and distributors looking for scaled discounts below the already discounted retail rates.