
You never know when a day intended for outdoor house work will turn into an unexpected rainy day. We are here to give you some tips on what to do if the weather takes a turn for the worst during your outdoor project.

Yard Work
When it starts to pour during your yard work tasks, it may be best to change directions for the day. Staying off of wet lawns is very important for keeping your grass healthy. Walking on a soaked lawn can damage your grass’s roots, ultimately causing the grass to die out in those areas. To avoid damaging grass after a hard downpour, it is best to wait two days for the lawn to dry before restarting your project.
Here are some indoor project ideas to improve your yard during a rainy day:
1. Go to Your Local Nursery
This newly rainy day could be a great time to find some new plants and flowers for your garden. Most local nurseries have many options to choose from, giving you multiple ideas to expand your outdoor space.
2. Clean Gardening Tools
Bring your gardening tools inside and take some time to give them a good scrub. Start by washing off all the dirt you can get off easily. Then place these tools in soapy hot water for one hour to loosen up any extra dirt on the surface. Once you have taken your tools out of the water, wipe off the loosened dirt pieces with a wet rag to complete your cleaning process.
If there is rust left on these tools after your initial clean, use a stiff wire brush or steel wool to remove the spots of rust. These tools can be found at local gardening supplies stores or online. Make sure to be gentle when scrubbing as many rust spots are located where the tool is most fragile.
3. Create New Yard Plans
Take out your planner or notepad to start brainstorming some ideas to improve your outdoor space. These ideas may include adding new plants, starting a garden, or adding statues. With these ideas in mind, you can go shopping for the project items needed or create a plan for project completion.
If you are in dire need to get your hands dirty out in the rain, grab your rain gear and spend some time pulling out weeds. While avoiding as many grassy areas as possible, try to pull as many weeds surfacing around your plants. Weeds tend to germinate after a rainy day so getting a head start on weed removal may be beneficial in the long run.

Painting Project
When painting the exterior of your house, outdoor sculptures, or other yard fixtures, it is important to make sure that the wet paint job stays dry at all costs. Rain hitting a freshly painted surface can cause rivulets to form , affecting the paint's color and texture.
The best way to combat this is to start by trying to shelter as much of the newly painted surface as possible. If you have the resources, cover up small, immovable yard sculptures with a tarp or waterproof cloth to protect your paint job from the rain.
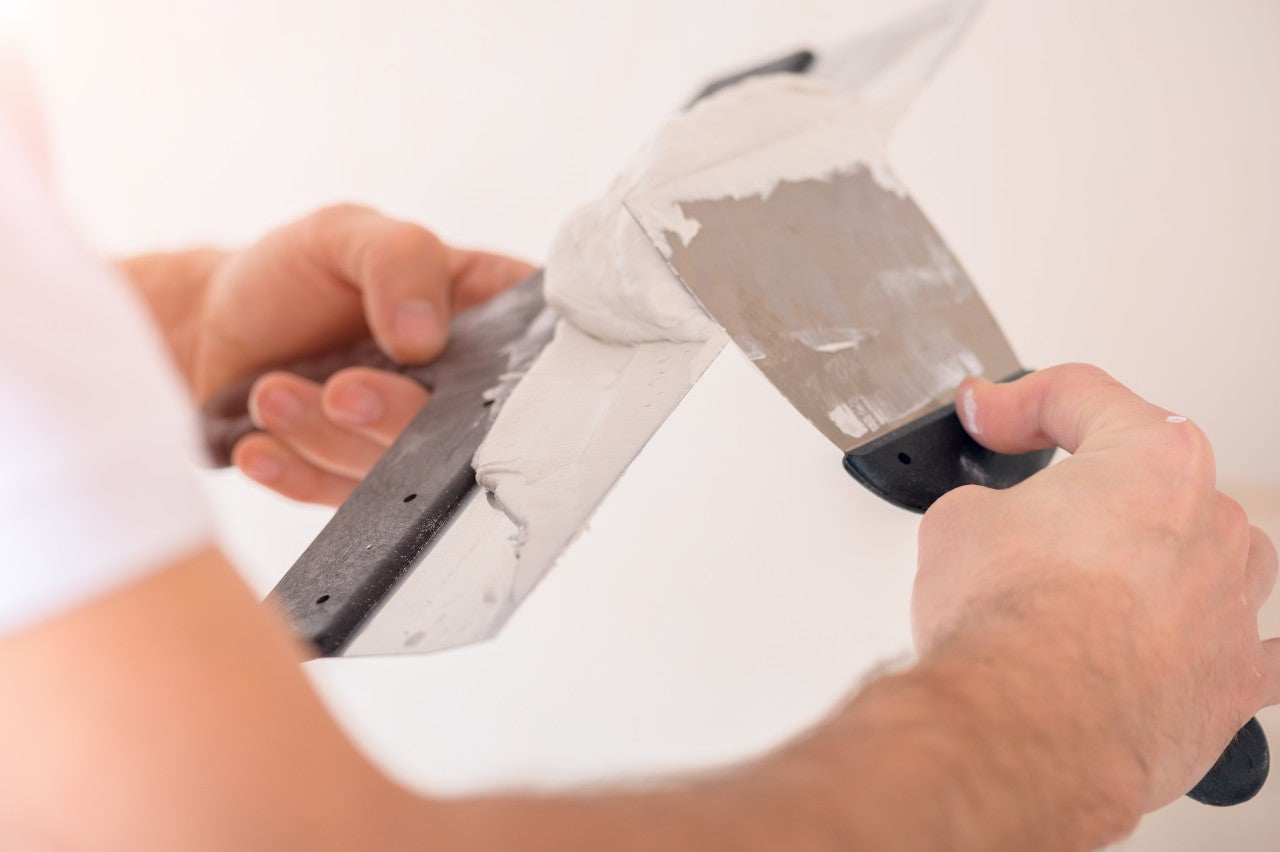
If you are unable to cover the fresh coat, wait 24 hours post-rain to tackle the problem. To remove any formed rivulets, start by cutting away the raised lines with a straight-edge razor. After this, smooth out the old rivulet streaks with sandpaper lightly. Once smooth, you should be able to repaint the surface on a sunnier day to complete the project to your liking.
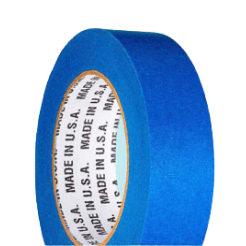
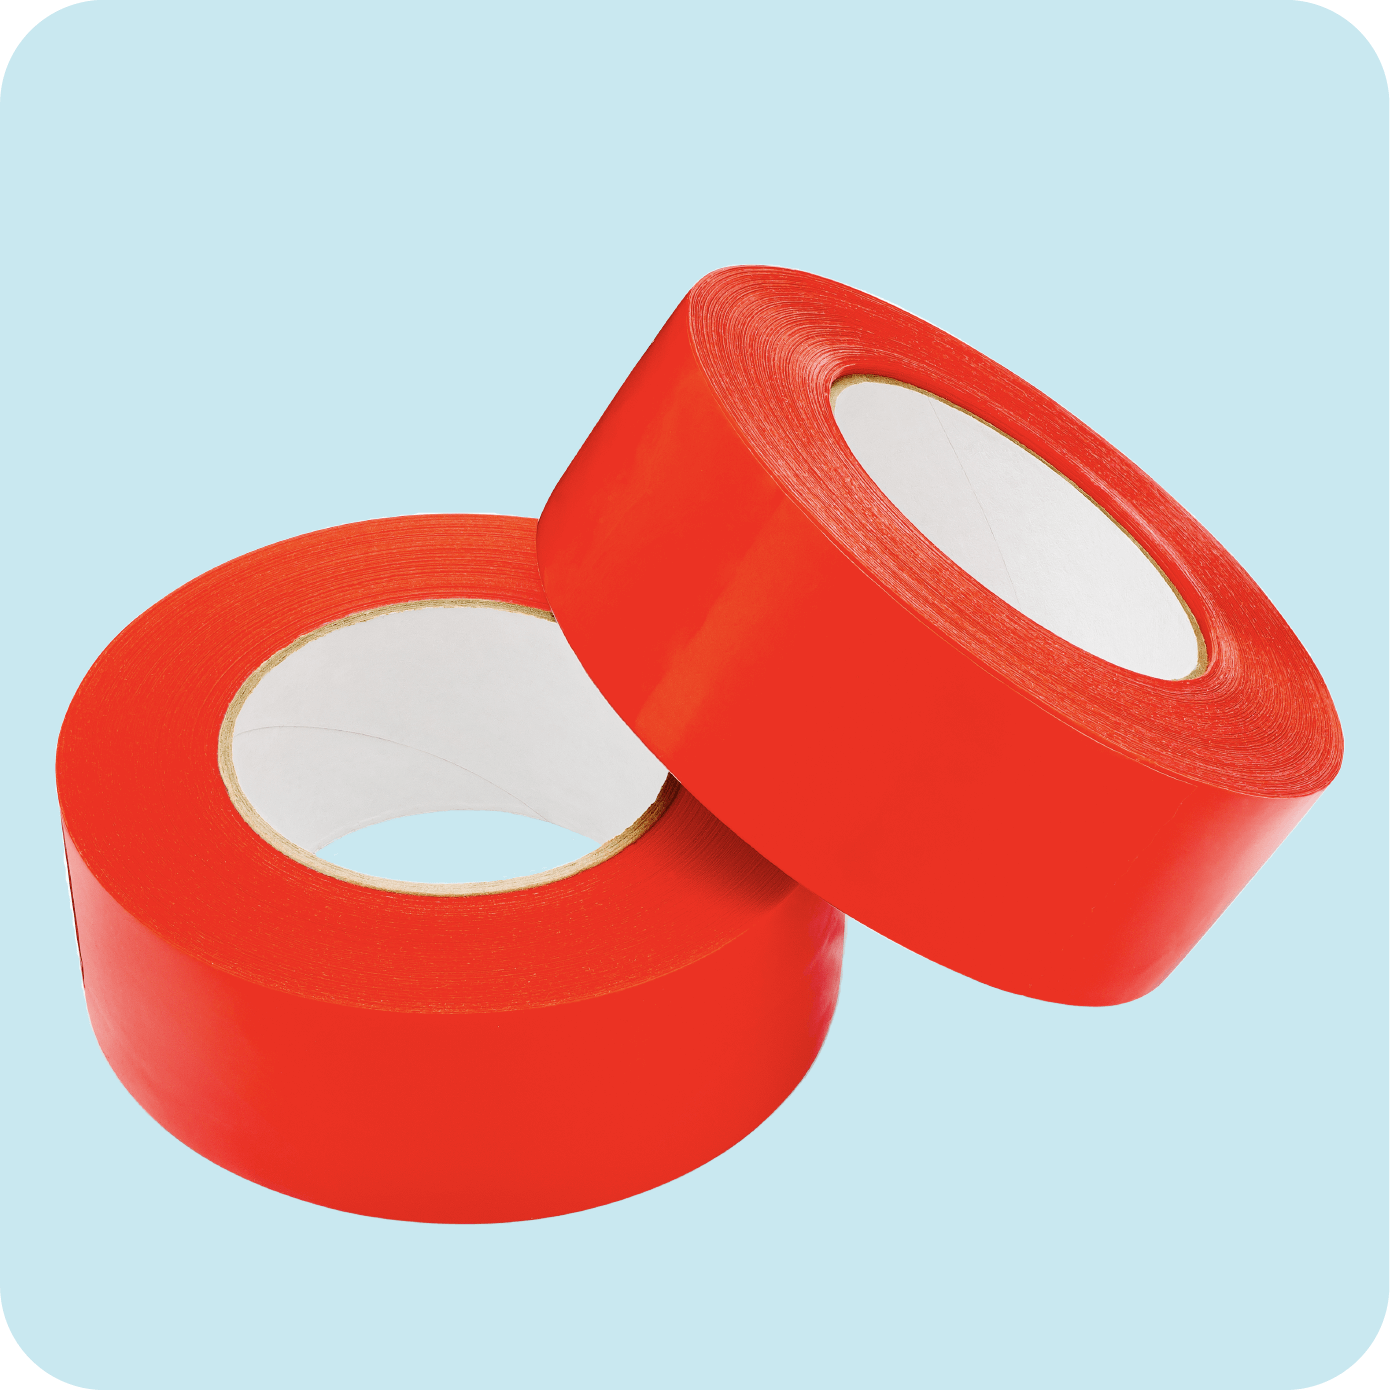
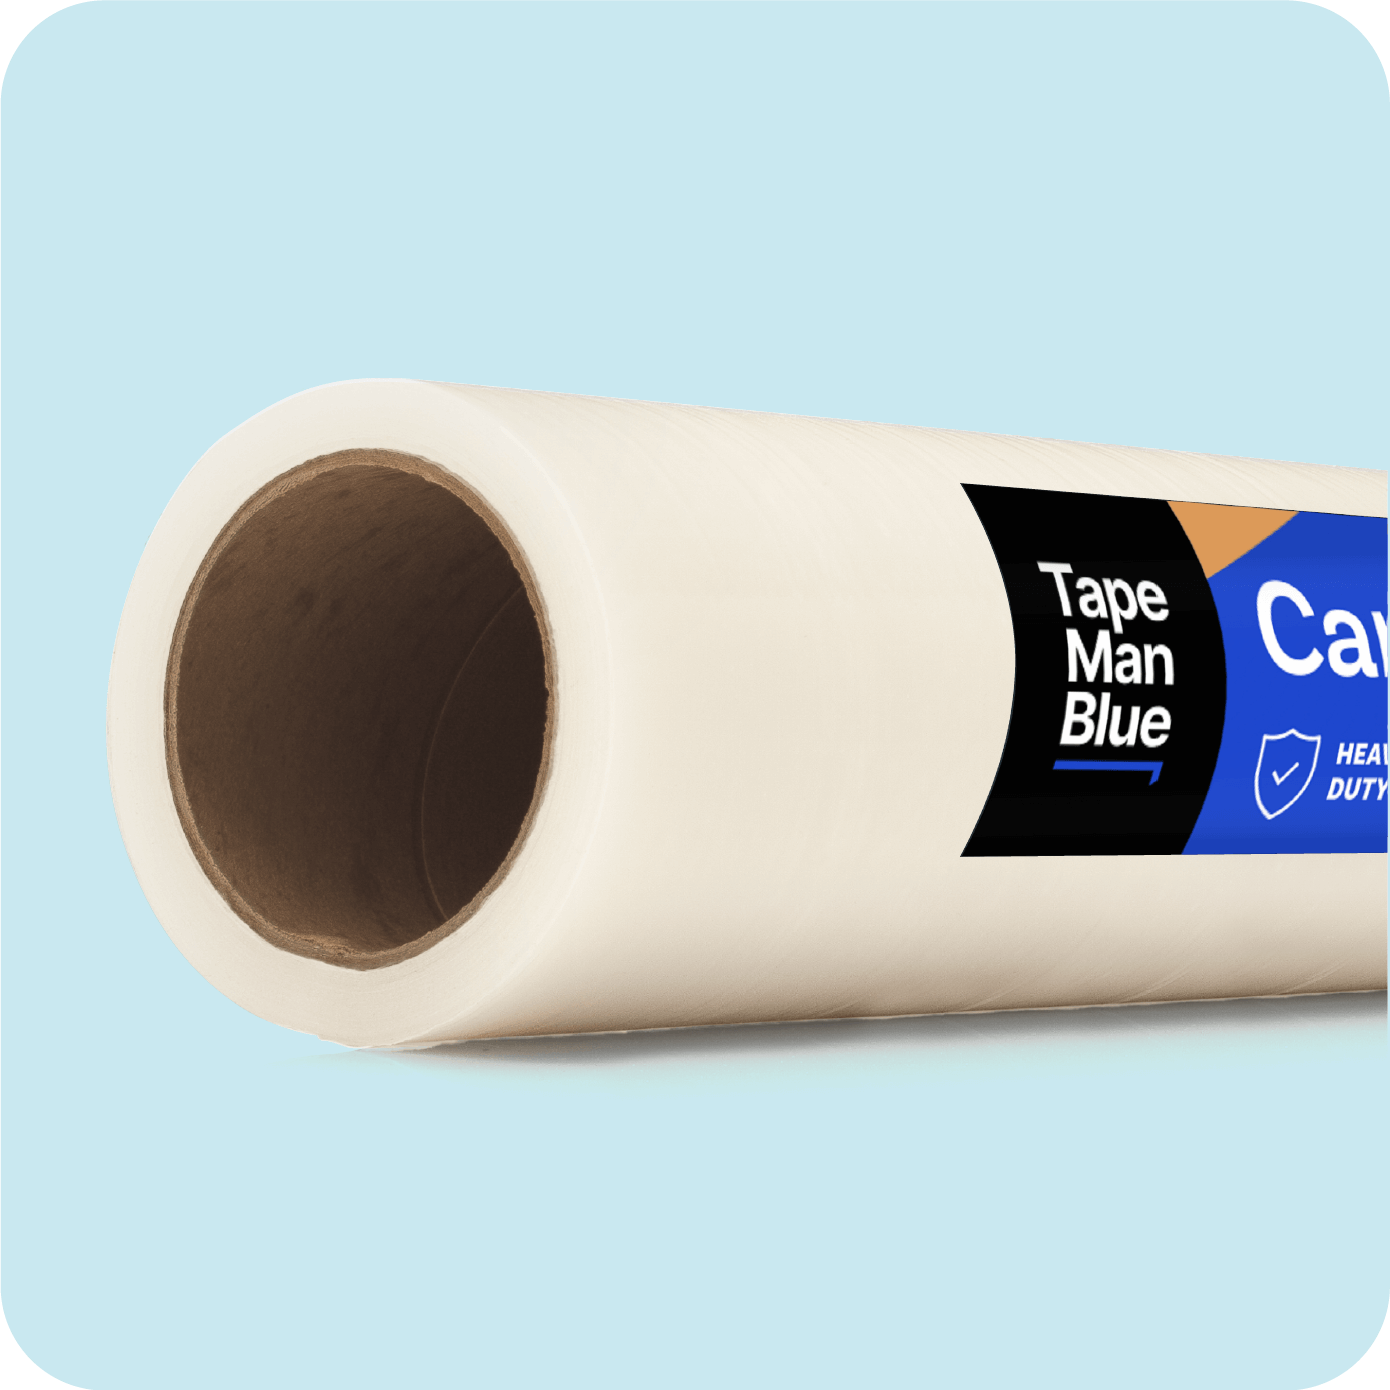
If you are planning on outdoor painting right after the rain has stopped, keep in mind that humidity and temperature can still play a role in the drying process. These two factors can cause fresh paint to smear due to the need for a longer drying period. To combat this, purchase TapeManBlue’s high quality blue or green painter’s tape to allow for crisper edges when painting during unfavorable weather situations.
Shop Blue Painter's Tape Shop Green Painter's Tape

Patio Concrete Filling
Cracks within patio layouts are very common after years of weather damage and distress on the surface. Filling in tiles or other patio floorings with concrete is a common DIY project to make your patio look newer.
Before starting your project, look for gutter and sewer locations in case the weather unexpectedly does not go your way. Note that having a gutter nearby will be beneficial if water removal actions need to be taken.
If it starts raining during this project, stop wherever you are in the process and bring your materials to a dry area. Once the rain has passed, push off the excess water from the newly laid out concrete. It is best to push this water in the direction of your located sewer or gutter to remove the water as easily as possible.
Many make the mistake of mixing the rainwater in with the laid-out mixture. This will mess up the setting process and cause the concrete to crack once again. Also, note that you should not add dry cement to the wet concrete. This mistake will weaken the top concrete layer which may cause the surface to chip early after layout.
Wood Deck or Balcony Polishing
Checking the whole week's weather forecast is highly important when tackling a wood staining project outside. No matter if you are planning on staining your outdoor wooden deck, staircase, or balcony, it typically takes 48 hours after application for a stainer to be completely dry. When it rains during this time frame, the stain can turn blotchy, or flake off your wooden surface.
If your staining project does not look its best due to an unexpected pour, wait for the rain to stop before starting the fixing process. Start by cleaning off your wooden surface with a pressure washer to clear it from any leaves, dirt, or rain debris. Once dry, apply a light recoat to see if your stain color can combat the damages.
If this recoat does not cover your uneven stain, sand out the uneven spots and try to only recoat the unmatched areas again. Worst comes to worst, you can easily pick up a stain stripper at your local supplies store and restart your project to hopefully achieve perfection.