{"id":385637679184,"title":"How to Remove Tape After Painting","created_at":"2020-11-19T08:34:14-05:00","body_html":"\u003cp\u003e\u003cimg src=\"https:\/\/cdn.shopify.com\/s\/files\/1\/2425\/6539\/files\/01-How-to-remove-tape-after-painting.jpg?v=1605793931\" alt=\"How to Remove Tape After Painting\"\u003e\u003c\/p\u003e\n\u003cp\u003eFeature walls, trim and edges — a clean paint line on these and other surfaces gives your project a professional, quality finish. Painter's tape comes to the rescue for those tricky situations. But to get the best possible result, you need to know how to remove tape after painting.\u003c\/p\u003e\n\u003cp\u003eBefore you begin your project, know that proper tape removal will be more straightforward with the right tape. It would be too challenging to remove \u003ca href=\"https:\/\/tapemanblue.com\/blogs\/tips-tricks\/the-difference-between-blue-painters-tape-and-masking-tape\"\u003emasking tape\u003c\/a\u003e or duct tape and maintain a clean project, so instead, opt for quality painter's tape. With the right tools for the job, the only thing left is knowing how to remove painting tape. Learn how below!\u003c\/p\u003e\n\u003cp\u003e \u003ca href=\"https:\/\/tapemanblue.com\/products\/transfer-tape\"\u003e\u003cimg src=\"https:\/\/cdn.shopify.com\/s\/files\/1\/2425\/6539\/files\/05-Shop-painters-tape-from-TapeManBlue_1024x1024.jpg?v=1634149273\"\u003e\u003c\/a\u003e\u003c\/p\u003e\n\u003ch2\u003eTips For Removing Painters Tape\u003c\/h2\u003e\n\u003ch3\u003eLet the Paint Dry\u003c\/h3\u003e\n\u003cp\u003eMany suggestions for how to remove painter's tape go back and forth on this. Some recommend leaving the tape until the paint cures, while others advocate for taking it off when the paint is still wet. The specific tape you choose for your project might provide instructions, in which case it's best to side with the manufacturer. But if they didn't offer advice, you should remove tape after painting, but once it's dry to the touch.\u003c\/p\u003e\n\u003cp\u003eBy dry to the touch, we mean leaving the paint for \u003ca href=\"https:\/\/tapemanblue.com\/blogs\/tips-tricks\/using-painters-tape-like-a-pro\"\u003eabout an hour or so\u003c\/a\u003e. Check your can of paint for specific manufacturer's estimates for drying time. You don't want to leave the paint for days to cure all the way, but you also want to avoid working with a surface that's still wet.\u003c\/p\u003e\n\u003cp\u003eWhen the paint dries too much, it could come off the surface with the tape. That means you went through all that effort only to rip up your work and ruin clean paint lines. While quality tape and other measures can help prevent this issue, it's best to peel tape within the just-dried timeframe.\u003c\/p\u003e\n\u003cp\u003eIf the paint is still wet, it could splatter or get all over you, making a mess that you risk transferring to your newly painted surfaces. Wet paint may also spread over the clean line you created, especially if it's on a vertical surface or you have a thicker application. Instead, let the paint dry a bit, so it's easier to work with.\u003c\/p\u003e\n\u003cp\u003e\u003cimg src=\"https:\/\/cdn.shopify.com\/s\/files\/1\/2425\/6539\/files\/02-Let-the-paint-dry.jpg?v=1605793721\" alt=\"When to remove tape after painting\"\u003e\u003c\/p\u003e\n\u003ch3\u003eConsider How Many Coats You Need\u003c\/h3\u003e\n\u003cp\u003eMany paint jobs require more than one coat of paint. In that case, you need to know whether to take off the tape between layers and reapply it or leave it up for the entire project. That will depend on the paint and conditions of your work area.\u003c\/p\u003e\n\u003cp\u003eIf your project needs multiple coats, you could leave the tape up until you finish the last layer. If you remove the tape after the first coat, you have to reapply it in the same spot as the first time. You risk ruining your line and placing tape on the painted area by mistake. Instead, leave it in place. Once the last coat is dry to the touch, remove the painter's tape following the other tips in this guide.\u003c\/p\u003e\n\u003cp\u003eBut you should only leave the tape up if you know how long it can stay on surfaces. Blue painter's tape offers a 21-day clean removal. Have the tape up for a max of 21 days, and when you remove it, it shouldn't leave behind residue.\u003c\/p\u003e\n\u003cp\u003eIf you anticipate a long project or don't have too many intricate edges and lines to cover, you could remove the tape between coats. Before you reapply the tape, remember to let the surface cure, so you don't risk peeling away any fresh paint. Remember to let the coats of paint dry to the touch before removing the tape and following the other tips in this guide for each layer.\u003c\/p\u003e\n\u003ch3\u003ePeel the Tape at an Angle Back on Itself\u003c\/h3\u003e\n\u003cp\u003eOnce you grab an end of your tape, start peeling at a 45-degree angle. This approach will help you keep the peeled tape away from the wall, meaning it won't stick onto your freshly painted surface. Peeling the tape back against itself rather than adjacent to the wall will also help prevent that problem.\u003c\/p\u003e\n\u003cp\u003eThe direction you pull the tape will depend on where it is relative to the paint. If your tape is below the painted area — like on a baseboard as you paint the wall or on the wall as you paint the ceiling — pull slightly downward. With tape above the painted area — on crown molding or the ceiling as you paint the wall — pull slightly upward or away from the painted surface. That also ensures the peeled tape doesn't stick on the fresh paint.\u003c\/p\u003e\n\u003cp\u003eWith this method, you can peel carefully instead of ripping tape off at a 90-degree angle. If the adhesive sticks, you can gently work at 90 degrees, but only do this if necessary. Check out our \u003ca href=\"https:\/\/tapemanblue.com\/blogs\/tips-tricks\/how-remove-tape-residue\"\u003eguide on removing tape residue\u003c\/a\u003e if your painter's tape left adhesive behind on a surface.\u003c\/p\u003e\n\u003ch3\u003ePeel Slowly\u003c\/h3\u003e\n\u003cp\u003eIt may be tempting to peel off painter's tape in a rush and see the results of your hard work. But going too fast means you risk damaging all that effort. Instead, for proper tape removal, you should be slow and careful as you peel. Going slow and steady gives you the chance to double-check your lines along the way. You can also make sure the tape is coming up without taking your paint with it.\u003c\/p\u003e\n\u003ch3\u003eWork in Sections\u003c\/h3\u003e\n\u003cp\u003eWhen peeling painter's tape from a tall, vertical area, it may be tempting to stay on the ground and peel the length of tape right off the wall. Or if you have a long section of tape, you might want to peel it off in one long, satisfying strand. But as the tape you remove gets longer, you have less control. It's best to work in one-foot sections to remove painter's tape.\u003c\/p\u003e\n\u003cp\u003eNow, you don't have to measure out an exact foot. The goal is to work in manageable sections that allow you to focus on peeling slowly and at 45 degrees. You can then either ball up the tape or rip off sections and discard them as you go.\u003c\/p\u003e\n\u003ch3\u003eCarefully Cut Attached Paint\u003c\/h3\u003e\n\u003cp\u003eFor the most part, the sharp edge of painter's tape should cut through the dried layer of paint as you peel it away. However, sometimes you may have a bit of paint that sticks, even with quality tape. If you notice an issue like this, stop peeling. Take a sharp hobby blade or utility knife and slice the paint. Don't use too much pressure, or you'll risk damaging the surface you painted.\u003c\/p\u003e\n\u003cp\u003eIf you're concerned that you left the paint too long to dry or that the tape will peel up your hard work, you can score before you peel. Go along the tape's edge with a blade or putty knife to cut the paint away and help ensure a clean line.\u003c\/p\u003e\n\u003cp\u003eIf you're still having a bit of trouble with proper tape removal, do some troubleshooting with our guide on \u003ca href=\"https:\/\/tapemanblue.com\/blogs\/tips-tricks\/why-is-my-painters-tape-pulling-off-paint\"\u003ewhy your tape is pulling off paint\u003c\/a\u003e and learn more tips for a flawless paint job.\u003c\/p\u003e\n\u003ch2\u003e\u003ca href=\"https:\/\/tapemanblue.com\/products\/blue-painters-tape\"\u003e\u003cimg src=\"https:\/\/cdn.shopify.com\/s\/files\/1\/2425\/6539\/files\/03-Make-removing-tape-after-painting-easy-with-TapeManBlue.jpg?v=1605793576\" alt=\"Easy Painter's Tape Removal\"\u003e\u003c\/a\u003e\u003c\/h2\u003e\n\u003ch2\u003eMake Removing Tape After Painting Easy With TapeManBlue\u003c\/h2\u003e\n\u003cp\u003eWant to ensure you have clean lines and edges for every painting project? Get your job done right with TapeManBlue. We offer quality, American-made painter's tape with just the right amount of stickiness. It adheres to surfaces to ensure crisp edges, but once it's time to remove tape after painting, you'll have a clean and easy removal. Trust our products to help you create a reliable, professional finish.\u003c\/p\u003e\n\u003cp\u003e\u003ca href=\"https:\/\/tapemanblue.com\/products\/blue-painters-tape\"\u003eShop our blue painter's tape\u003c\/a\u003e in bulk, available in various sizes, and get what you need for your next project!\u003c\/p\u003e\n\u003ca href=\"https:\/\/tapemanblue.com\/products\/blue-painters-tape\" class=\"button-primary\" style=\"color: white;\"\u003eShop Blue Painter's Tape\u003c\/a\u003e \u003ca href=\"https:\/\/tapemanblue.com\/products\/blue-painters-tape\"\u003e\n\u003cp\u003e \u003c\/p\u003e\n\u003c\/a\u003e","blog_id":2693791771,"author":"Rich Speeney","user_id":2909372443,"published_at":"2020-11-20T10:37:17-05:00","updated_at":"2022-04-18T07:59:26-04:00","summary_html":"","template_suffix":"","handle":"how-to-remove-tape-after-painting","tags":"","image":{"created_at":"2021-01-14T07:54:50-05:00","alt":"How to Remove Tape After Painting","width":1920,"height":1280,"src":"\/\/tapemanblue.com\/cdn\/shop\/articles\/paint-4191399_1920.jpg?v=1610628890"}}
How to Remove Tape After Painting

How to Remove Tape After Painting

How to Remove Tape After Painting

Feature walls, trim and edges — a clean paint line on these and other surfaces gives your project a professional, quality finish. Painter's tape comes to the rescue for those tricky situations. But to get the best possible result, you need to know how to remove tape after painting.

Before you begin your project, know that proper tape removal will be more straightforward with the right tape. It would be too challenging to remove masking tape or duct tape and maintain a clean project, so instead, opt for quality painter's tape. With the right tools for the job, the only thing left is knowing how to remove painting tape. Learn how below!


Tips For Removing Painters Tape

Let the Paint Dry

Many suggestions for how to remove painter's tape go back and forth on this. Some recommend leaving the tape until the paint cures, while others advocate for taking it off when the paint is still wet. The specific tape you choose for your project might provide instructions, in which case it's best to side with the manufacturer. But if they didn't offer advice, you should remove tape after painting, but once it's dry to the touch.

By dry to the touch, we mean leaving the paint for about an hour or so. Check your can of paint for specific manufacturer's estimates for drying time. You don't want to leave the paint for days to cure all the way, but you also want to avoid working with a surface that's still wet.

When the paint dries too much, it could come off the surface with the tape. That means you went through all that effort only to rip up your work and ruin clean paint lines. While quality tape and other measures can help prevent this issue, it's best to peel tape within the just-dried timeframe.

If the paint is still wet, it could splatter or get all over you, making a mess that you risk transferring to your newly painted surfaces. Wet paint may also spread over the clean line you created, especially if it's on a vertical surface or you have a thicker application. Instead, let the paint dry a bit, so it's easier to work with.

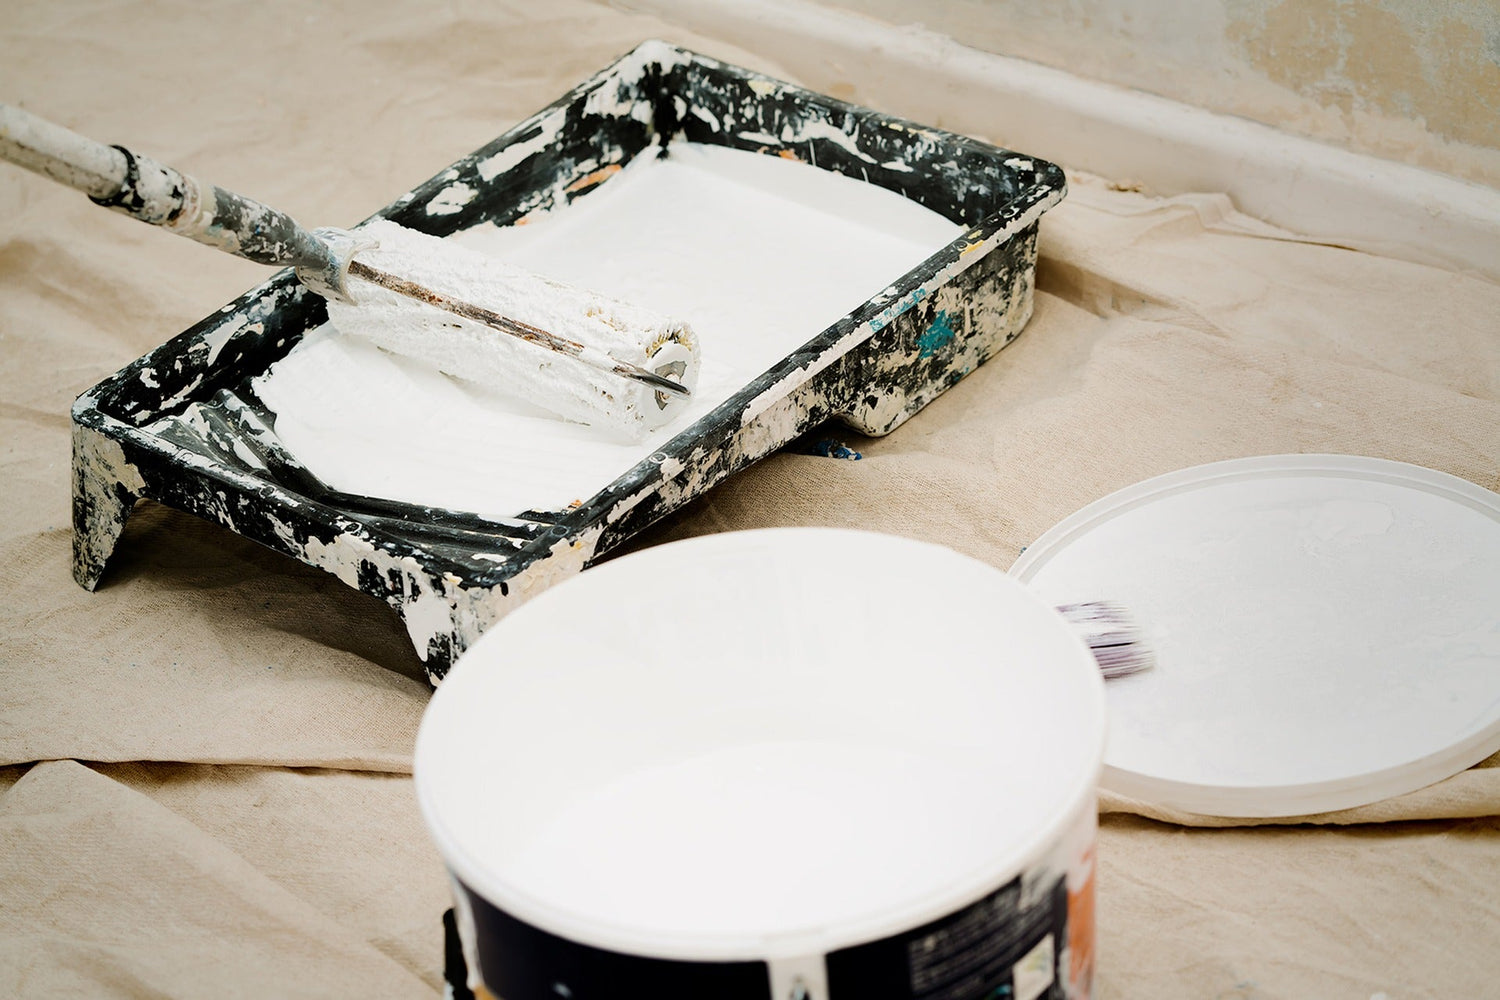
When to remove tape after painting

Consider How Many Coats You Need

Many paint jobs require more than one coat of paint. In that case, you need to know whether to take off the tape between layers and reapply it or leave it up for the entire project. That will depend on the paint and conditions of your work area.

If your project needs multiple coats, you could leave the tape up until you finish the last layer. If you remove the tape after the first coat, you have to reapply it in the same spot as the first time. You risk ruining your line and placing tape on the painted area by mistake. Instead, leave it in place. Once the last coat is dry to the touch, remove the painter's tape following the other tips in this guide.

But you should only leave the tape up if you know how long it can stay on surfaces. Blue painter's tape offers a 21-day clean removal. Have the tape up for a max of 21 days, and when you remove it, it shouldn't leave behind residue.

If you anticipate a long project or don't have too many intricate edges and lines to cover, you could remove the tape between coats. Before you reapply the tape, remember to let the surface cure, so you don't risk peeling away any fresh paint. Remember to let the coats of paint dry to the touch before removing the tape and following the other tips in this guide for each layer.

Peel the Tape at an Angle Back on Itself

Once you grab an end of your tape, start peeling at a 45-degree angle. This approach will help you keep the peeled tape away from the wall, meaning it won't stick onto your freshly painted surface. Peeling the tape back against itself rather than adjacent to the wall will also help prevent that problem.

The direction you pull the tape will depend on where it is relative to the paint. If your tape is below the painted area — like on a baseboard as you paint the wall or on the wall as you paint the ceiling — pull slightly downward. With tape above the painted area — on crown molding or the ceiling as you paint the wall — pull slightly upward or away from the painted surface. That also ensures the peeled tape doesn't stick on the fresh paint.

With this method, you can peel carefully instead of ripping tape off at a 90-degree angle. If the adhesive sticks, you can gently work at 90 degrees, but only do this if necessary. Check out our guide on removing tape residue if your painter's tape left adhesive behind on a surface.

Peel Slowly

It may be tempting to peel off painter's tape in a rush and see the results of your hard work. But going too fast means you risk damaging all that effort. Instead, for proper tape removal, you should be slow and careful as you peel. Going slow and steady gives you the chance to double-check your lines along the way. You can also make sure the tape is coming up without taking your paint with it.

Work in Sections

When peeling painter's tape from a tall, vertical area, it may be tempting to stay on the ground and peel the length of tape right off the wall. Or if you have a long section of tape, you might want to peel it off in one long, satisfying strand. But as the tape you remove gets longer, you have less control. It's best to work in one-foot sections to remove painter's tape.

Now, you don't have to measure out an exact foot. The goal is to work in manageable sections that allow you to focus on peeling slowly and at 45 degrees. You can then either ball up the tape or rip off sections and discard them as you go.

Carefully Cut Attached Paint

For the most part, the sharp edge of painter's tape should cut through the dried layer of paint as you peel it away. However, sometimes you may have a bit of paint that sticks, even with quality tape. If you notice an issue like this, stop peeling. Take a sharp hobby blade or utility knife and slice the paint. Don't use too much pressure, or you'll risk damaging the surface you painted.

If you're concerned that you left the paint too long to dry or that the tape will peel up your hard work, you can score before you peel. Go along the tape's edge with a blade or putty knife to cut the paint away and help ensure a clean line.

If you're still having a bit of trouble with proper tape removal, do some troubleshooting with our guide on why your tape is pulling off paint and learn more tips for a flawless paint job.

Easy Painter's Tape Removal

Make Removing Tape After Painting Easy With TapeManBlue

Want to ensure you have clean lines and edges for every painting project? Get your job done right with TapeManBlue. We offer quality, American-made painter's tape with just the right amount of stickiness. It adheres to surfaces to ensure crisp edges, but once it's time to remove tape after painting, you'll have a clean and easy removal. Trust our products to help you create a reliable, professional finish.

Shop our blue painter's tape in bulk, available in various sizes, and get what you need for your next project!

Shop Blue Painter's Tape


Previous article The Top 10 Must-Read Cricut Blogs of 2021
Next article The Top 75 Must-Read Construction Blogs of 2021
-