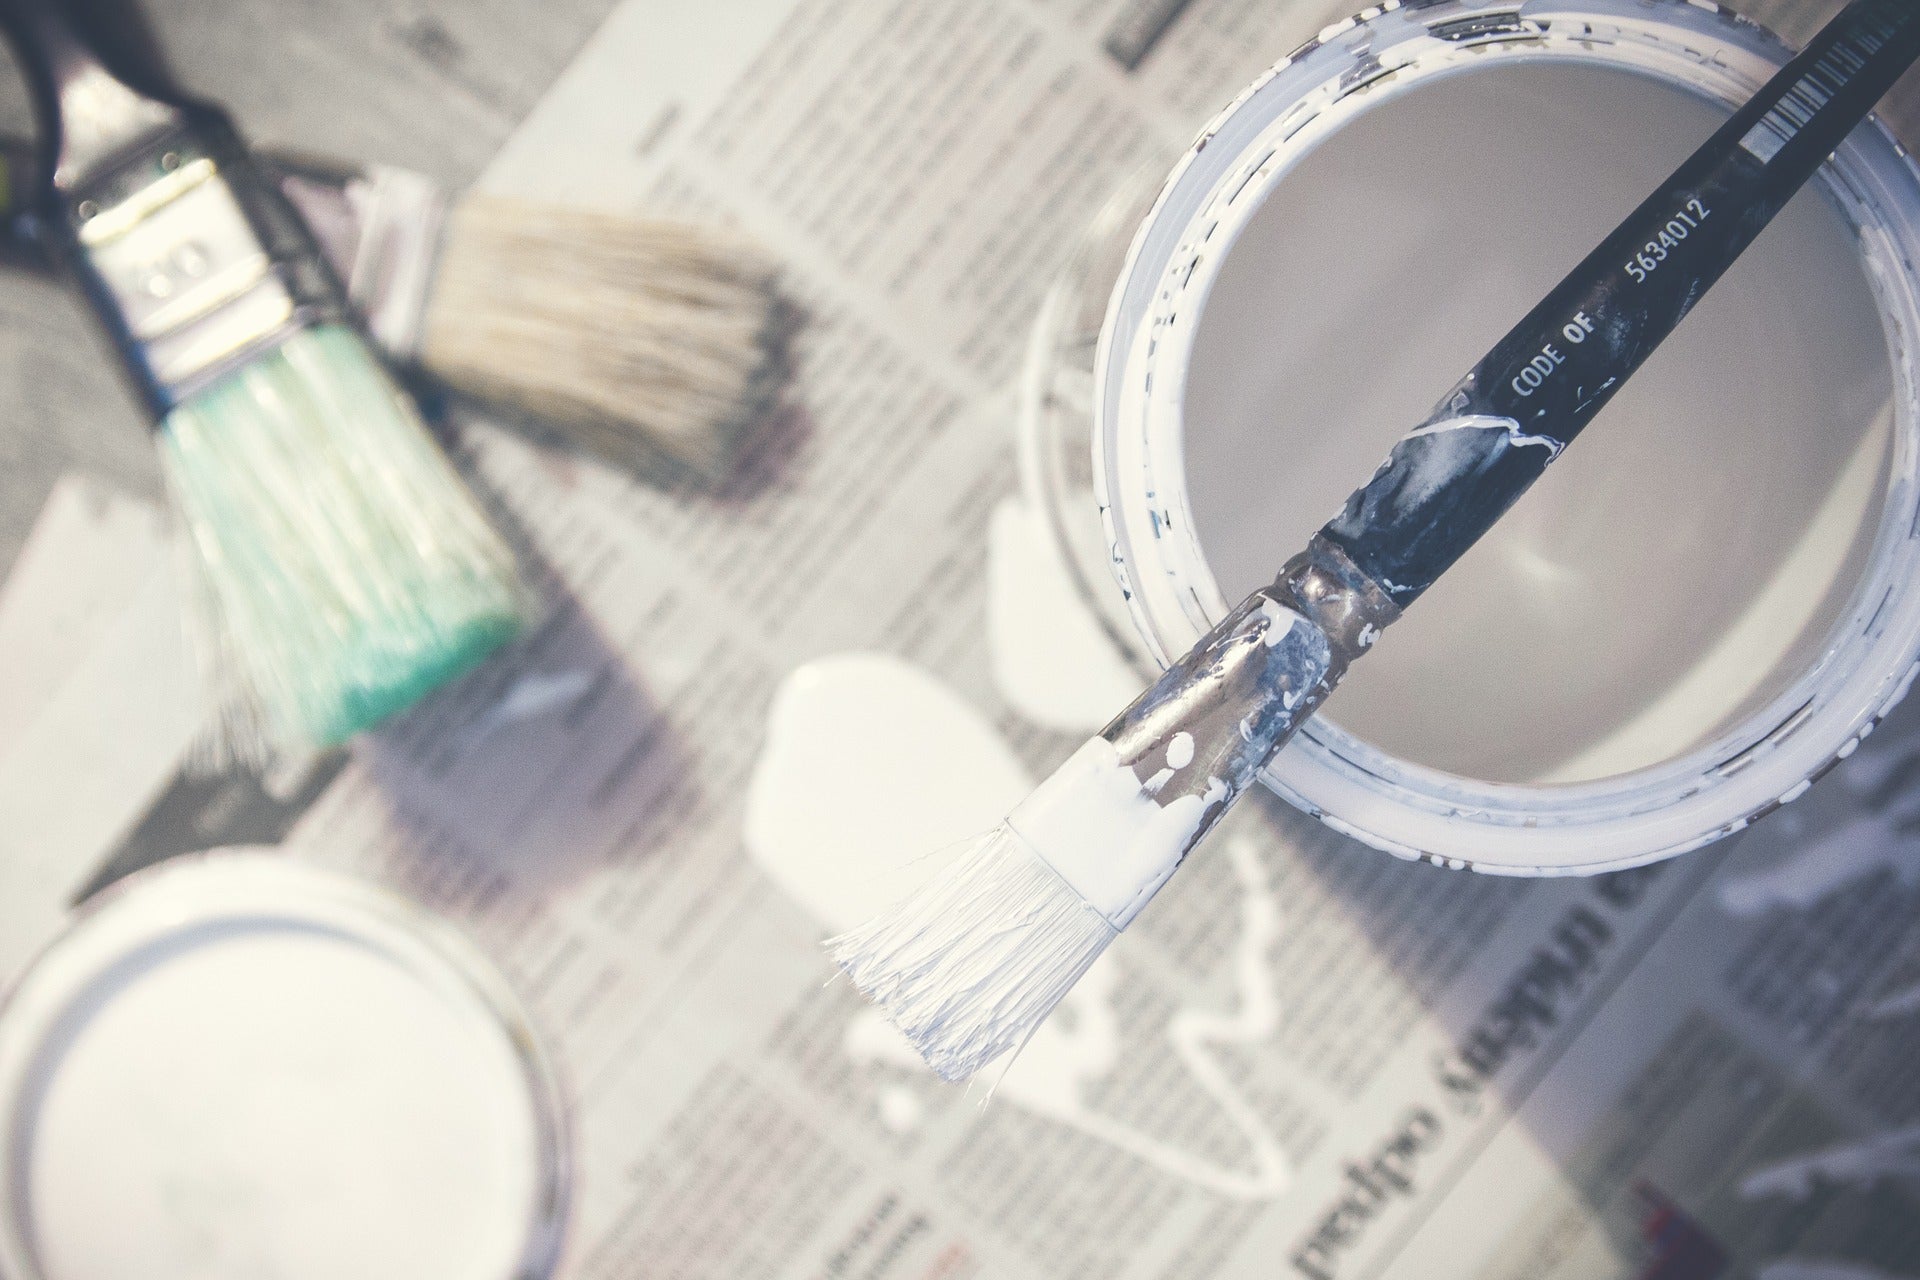

Seasoned pros and handy homeowners alike know the value of painter's tape — it allows you to create sharp, clean lines on a variety of surfaces. But some of those surfaces can be trickier to work with than others.
Crown molding, windows, corners, and other areas with complicated faces might be daunting, but painter's tape can still help you create a crisp line. Let's take a look at what techniques you can use to tape complex areas and get professional results every time.
Proper Paint Techniques for Painting Complex Spots

Before we talk about the tricky spots, you won't get anywhere if you're not using the tape right in the first place. There are actually quite a few factors that go into keeping your painter's tape from pulling off paint.
For the best results with blue painter's tape, make sure you:
- Clean the surface thoroughly. Any dust or dirt will stop the tape from adhering and allow the paint to seep under the edges. It prevents a tight seal, so wipe it all off and let the surface dry before applying the tape.
- Smooth the tape. Similarly, smoothing out the tape helps to keep any bubbles at bay so the paint can't get underneath. Flexible putty knives are great for this task.
- Don't work in extreme temperatures. An overly hot room can make the adhesive too sticky and difficult to remove, while a cold room can make the paint brittle and easier to peel up. Aim for temperatures between 50 and 100 degrees Fahrenheit.
- Remove the tape gently and at the right time. Peel the tape at a 45-degree angle at a light pace. Timing is critical when removing the painter's tape. Remove it too late, and you can have leftover residue, but remove it too early, and you could bring paint chips with it. You'll want to take it off when the paint feels dry to the touch but hasn't fully dried to the wall, usually about an hour.
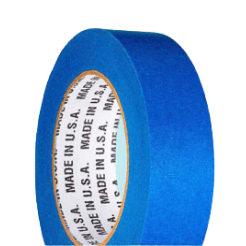
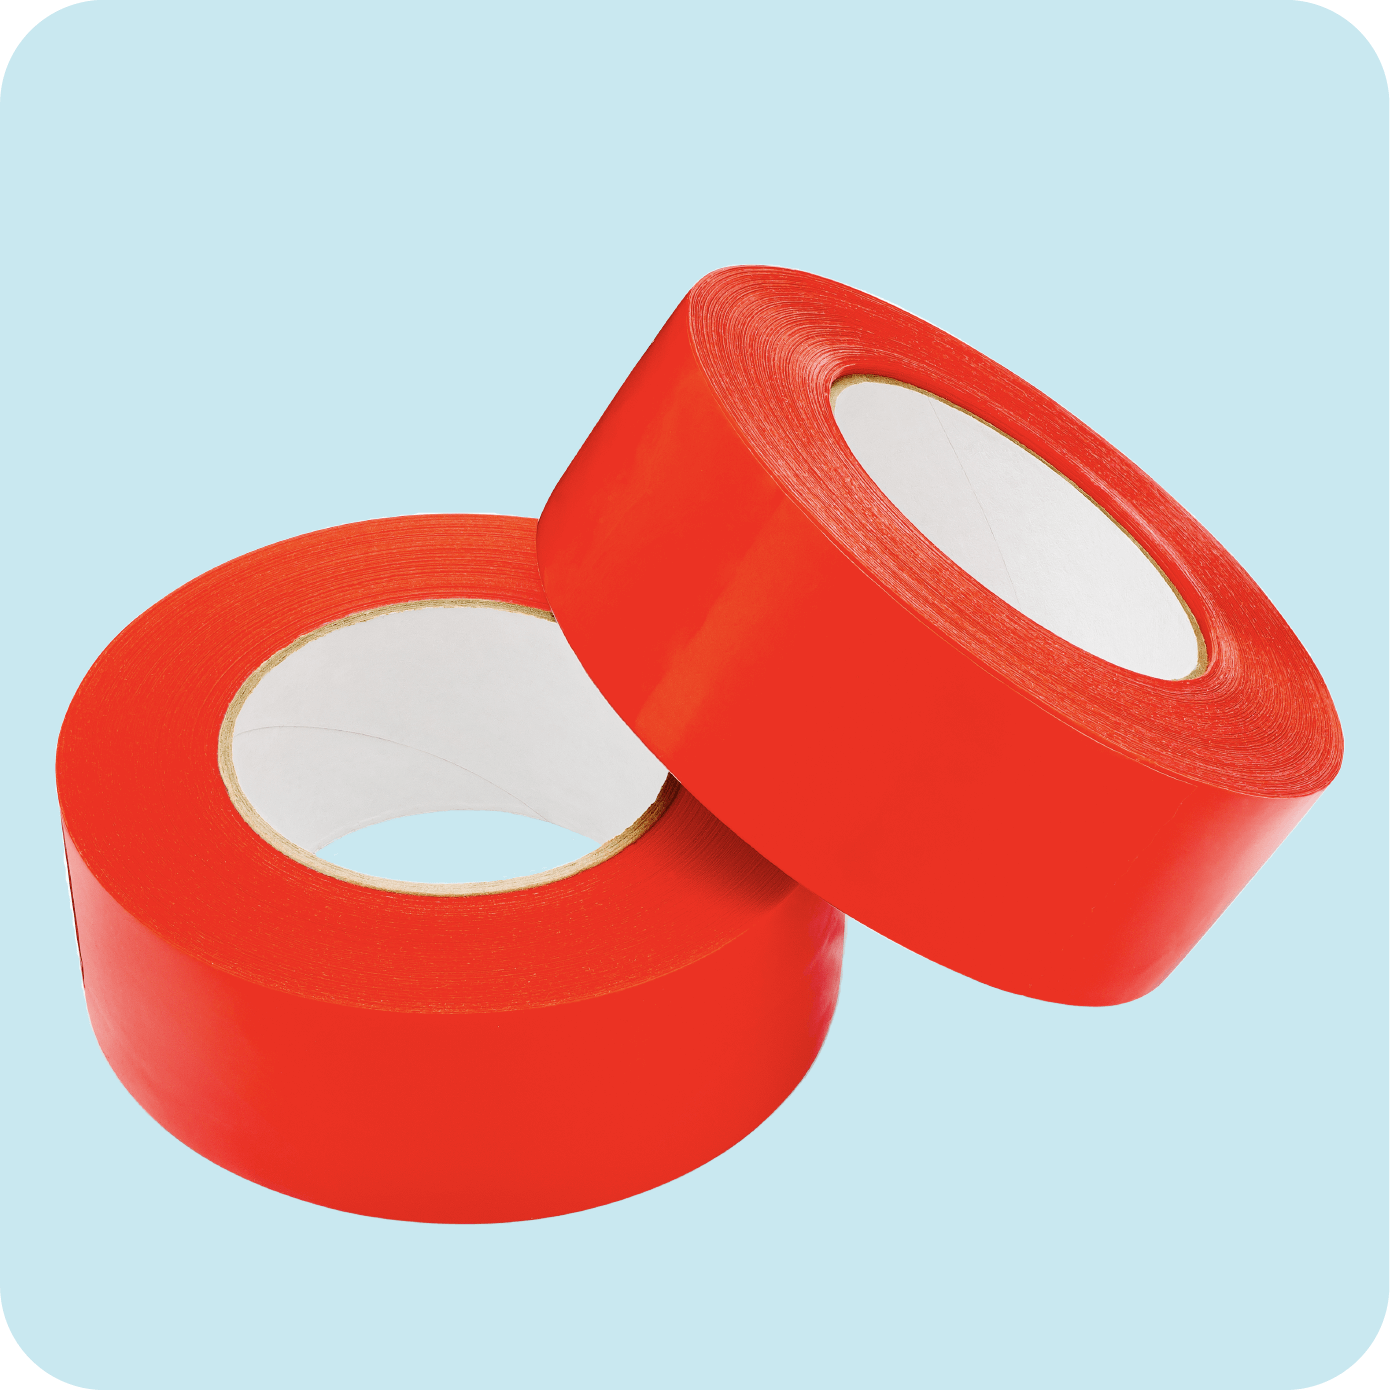
- Use quality tape. Poor-quality tape might not stick well, or it could have a lousy adhesive that leaves a residue. Always work with high-quality tape.
If you aren't abiding by these practices, anyone of them could be the reason for inadequate paint tape lines. Check out our guide to blue painter's tape for a more detailed overview.
Taping Complicated Areas
The most important thing to think about with taping complex areas is to ensure a tight seal. Curves or corners often make this tough. Crepe-backed tape is flexible, so it conforms to these shapes better than some other materials.
Putty knives are excellent to have in your toolbox, as they can help you press down the tape in tight quarters. The wide tape can also be helpful when you're working with something like trim so you can cover the entire surface with one piece of tape.
With those general tips covered, here is how to mask specific areas for painting.
1. Rough Surfaces
While making a straight edge on a wall might not sound like a "complex area" at first, consider uneven surfaces. Many walls have textures on them that can make it difficult for painter's tape to adhere. One way to combat this is to use caulk.
- Put down your tape and run a bead of caulk across the edge that you'll be painting over.
- Wipe off most of the caulk, gently wiping in the direction of the tape seam, so some of the caulk goes into it.
- Paint over the caulk and onto the tape.
- Before the paint and caulk have a chance to dry, remove the tape.
Following these steps should give you sharp, clean lines on uneven surfaces.
If you're not using this method, ensure that you peel the tape up at the right time. If you don't, it could take more paint with it when you peel it up.
Painting on rough or uneven surfaces can be difficult if you do not have the right painter's tape. Green painter's tape works well on uneven surfaces because of its higher level of tack adhesion.
2. Windows
Windows can come in a wide variety of designs and styles, meaning it's often easier to tape up windows than it is to freehand paint around them. If using painter's tape, put down a strip slightly longer than you need and press it into the corner with a putty knife. Once you've got it pushed in, use a utility knife to cut off the excess, leaving you with a well-sized covering.
Another option that will work well for standard-sized windows is to use window protectors. These rolls of film come in a variety of sizes to adhere to windows so you can confidently paint around them.
3. Moldings and Trim
Before we talk about how to tape trim for painting, remember the importance of cleaning it. Trim is a hotspot for gathering dust and dirt, so make sure you wipe down those baseboards and let them dry before attempting to tape them.
The best way to tape off trim for painting may require some practice before you get the hang of it. For the top of the baseboards, start your tape as close to the wall as you can. Then, with the roll of tape flat up against the wall, continue to unroll it and smooth it down into all the nooks and crannies. Use a putty knife to press the tape down and smooth out any wrinkles.
4. Corners
If you're trying to paint two walls different colors, the corner can give you some trouble. Here's how to tape corners for painting.
- Paint around the corner with one color.
- Once it dries, put your tape in a straight line about 1/8 of an inch from the corner on the painted side, but not in the corner exactly.
- Paint over and remove your tape as usual.
This approach makes it easier to smooth out the tape and get a straight line. Plus, the gap between the tape and the corner is pretty unnoticeable.
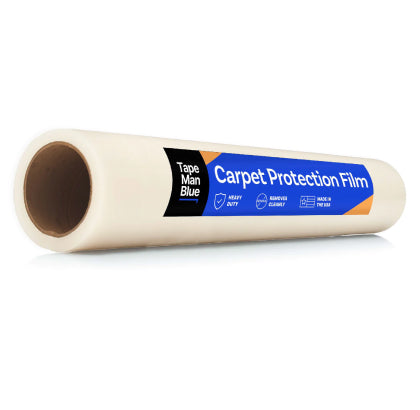
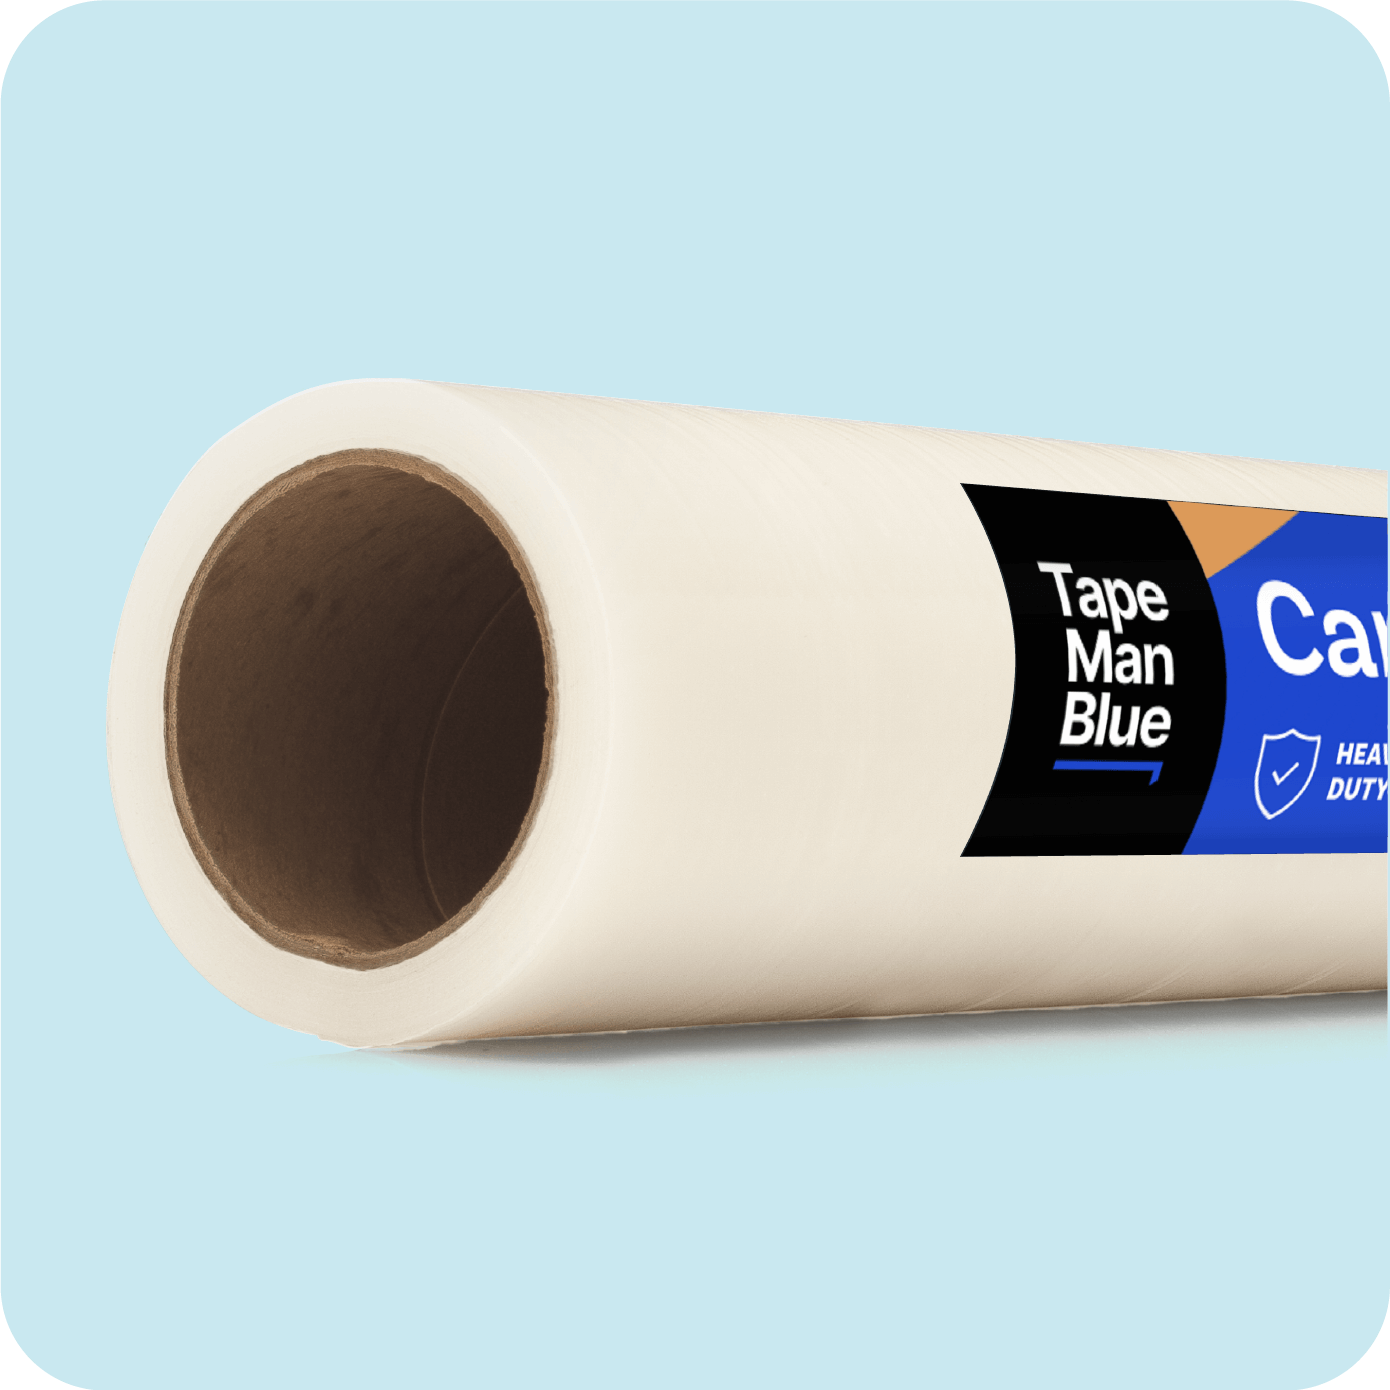
Protector Films

Uneven edges aren't the only thing that tape helps prevent — it also helps keep paint drips and splatters off of places you want to protect.
A close cousin to the painter's tape is a protective film. These are large rolls of adhesive material that cover your surfaces to keep them free of paint. You don't need to worry as much about how to tape windows before painting if you can just cover the whole thing in a protective film.
In addition to window films, you can also find protection films for counters, carpet, hard floors, cabinets and more. Make sure you have all the tools necessary for a quality paint job before you start working.
Shop Surface Protection FilmsFor Quality Results, Try TapeManBlue Painter's Tape
One of the quickest paths to poor results is using low-quality tape. It could refuse to stick, or it might stick too well and leave behind a sticky residue. It could tear easily or take chunks of paint with it when removed. You can avoid all of these problems by purchasing from a trusted seller like TapeManBlue.
Our blue painter's tape has no residue, is UV resistant for indoor and outdoor use and offers clean removal for up to 21 days so you can take your time with your projects. We're American-made and competitively priced, too, so you can count on TapeManBlue for quality and cost-efficiency. Check out our blue painter's tape today, and see how much you can save by purchasing in bulk.